Difference between revisions of "Second battle of El Alamein (Ground Forces)"
(→Map configuration: Removed "Domination" link) |
(Updated page with new layout) |
||
| (4 intermediate revisions by 2 users not shown) | |||
| Line 1: | Line 1: | ||
| − | {{DISPLAYTITLE:Second Battle of El Alamein}} | + | {{DISPLAYTITLE:Second Battle of El Alamein (Ground Forces)}} |
| − | + | {{About | |
| − | + | |about=map page '''Second battle of El Alamein (Ground Forces)''' | |
| − | + | |usage=the World War battle | |
| − | + | |link=Second Battle of El Alamein | |
| − | + | }} | |
| − | + | <div class="ttx"> | |
| − | + | <div class="ttx-image">[[File:MapIcon Ground ElAlamein.jpg]]</div> | |
| − | + | <div class="ttx-table"> | |
| − | + | <div class="ttx-table-line ttx-table-head">Possible Layouts</div> | |
| − | + | <div class="ttx-table-line"><span class="ttx-value">[[File:Icon GreenCheckmark.png|link=]]</span><span class="ttx-name">Domination</span></div> | |
| − | + | <div class="ttx-table-line"><span class="ttx-value">[[File:Icon GreenCheckmark.png|link=]]</span><span class="ttx-name">Conquest</span></div> | |
| − | + | <div class="ttx-table-line"><span class="ttx-value">[[File:Icon GreenCheckmark.png|link=]]</span><span class="ttx-name">Battle</span></div> | |
| − | + | <div class="ttx-table-line"><span class="ttx-value">[[File:Icon RedXCross.png|link=]]</span><span class="ttx-name">Break</span></div> | |
| − | + | <div class="ttx-table-line"><span class="ttx-value">[[File:Icon RedXCross.png|link=]]</span><span class="ttx-name">Skirmish</span></div> | |
| − | + | <div class="ttx-table-line ttx-table-head">Other Information</div> | |
| − | + | <div class="ttx-table-line"><span class="ttx-value">4 km x 4 km</span><span class="ttx-name">Full tank area size</span></div> | |
| − | + | <div class="ttx-table-line"><span class="ttx-value">El Alamein, Egypt [[File:CountryIcon GBR.png]]</span><span class="ttx-name">Real World Location</span></div> | |
| + | <div class="ttx-table-line ttx-table-head">Full Map</div> | ||
| + | <div class="ttx-image">[[File:MapLayout_Ground_ElAlamein.jpg]]</div> | ||
| + | </div> | ||
| + | </div> | ||
__TOC__ | __TOC__ | ||
==Overview== | ==Overview== | ||
| − | + | <!--''Write an introduction to the article in 2-3 small paragraphs. Briefly tell about the location and also about its features.''--> | |
The '''Second Battle of El Alamein''', or simply '''El Alamein''' is a ground forces map available in all modes. It was added alongside another North African map [[Tunisia]] in [[Update 1.55 "Royal Armour"]]. The map has three distinct areas; the northeast, the middle and the southwest. The north east and middle areas of the map the terrain is more rocky, with rock formations and plateaus breaking up the map. In the southwest the map consists of open desert with large sand dunes. | The '''Second Battle of El Alamein''', or simply '''El Alamein''' is a ground forces map available in all modes. It was added alongside another North African map [[Tunisia]] in [[Update 1.55 "Royal Armour"]]. The map has three distinct areas; the northeast, the middle and the southwest. The north east and middle areas of the map the terrain is more rocky, with rock formations and plateaus breaking up the map. In the southwest the map consists of open desert with large sand dunes. | ||
| Line 32: | Line 36: | ||
In the very southwest of the map there is a large military camp, and in the very northeast there is another (smaller) castle. These areas are not always included in the battle area. | In the very southwest of the map there is a large military camp, and in the very northeast there is another (smaller) castle. These areas are not always included in the battle area. | ||
| − | The full tank battles map | + | The full tank battles map is 4km x 4km however the full area is not usually playable; the air battle area is 65km x 65km in all modes. The exact size of the tank battles area in each game mode can be seen below. |
| − | + | {| class="wikitable" | |
| − | + | |+ Battle area Size | |
| − | + | ! Game Mode | |
| − | + | ! AB | |
| − | + | ! RB | |
| + | ! SB | ||
| + | |- | ||
| + | | Domination | ||
| + | | 2.15 km x 2.15 km | ||
| + | | 2.15 km x 2.15 km | ||
| + | | 3.5 km x 3.5 km | ||
| + | |- | ||
| + | | Conquest #1 | ||
| + | | 1.6 km x 1.6 km | ||
| + | | 1.6 km x 1.6 km | ||
| + | | 2.55 km x 2.55 km | ||
| + | |- | ||
| + | | Conquest #2 | ||
| + | | 2.15 km x 2.15 km | ||
| + | | 2.15 km x 2.15 km | ||
| + | | 3.5 km x 3.5 km | ||
| + | |- | ||
| + | | Conquest #3 | ||
| + | | 1.8 km x 1.8 km | ||
| + | | 1.8 km x 1.8 km | ||
| + | | 3.2 km x 3.2 km | ||
| + | |- | ||
| + | | Battle | ||
| + | | 1.3 km x 1.3 km | ||
| + | | 1.3 km x 1.3 km | ||
| + | | 2.2 km x 2.2 km | ||
| + | |} | ||
===Game Description=== | ===Game Description=== | ||
| + | <!--''Description in the map loading screen prior to joining the battle. Remove if non-existent.''--> | ||
After stalling successfully the Axis advance into Egypt, the British forces initiated the offensive to gain control over the region. | After stalling successfully the Axis advance into Egypt, the British forces initiated the offensive to gain control over the region. | ||
===Historical Background=== | ===Historical Background=== | ||
| + | <!--''Describe historical context of the location.''--> | ||
This map is set in the desert, inland from the town of El Alamein (located on the coast). The tank map is a fictional location, inspired by the terrain in the area. The air battles map puts the tank battles map approximately 75km (47 miles) southwest of the town of El Alamein (at approximately 30°20'07.2"N 28°26'17.6"E). | This map is set in the desert, inland from the town of El Alamein (located on the coast). The tank map is a fictional location, inspired by the terrain in the area. The air battles map puts the tank battles map approximately 75km (47 miles) southwest of the town of El Alamein (at approximately 30°20'07.2"N 28°26'17.6"E). | ||
| Line 51: | Line 84: | ||
==Map configuration== | ==Map configuration== | ||
| − | + | <!--Under this heading is the box to change game mode--> | |
| − | + | {| style="width:314; margin-left: auto; margin-right: auto; border: none;" class="wikitable" | |
| + | ! colspan="3" | Change Maps by Game Modes | ||
| + | |- | ||
| + | ! <div class="ttx-switch-mode"><div class="ttx-switch-mode-button" id="ttx-ab-button">AB</div><div class="ttx-switch-mode-button" id="ttx-rb-button">RB</div><div class="ttx-switch-mode-button" id="ttx-sb-button" >SB</div></div> | ||
| + | |} | ||
| + | ===Domination=== | ||
| + | <!--Put map screenshot, layout sizes and basic description (where each cap point is) in table using ttx-ab, ttx-rb &ttx-sb spans appropriately. If a more detailed description is desired then insert it as a paragraph of text above the table--> | ||
| + | {| style="width: 300px;" class="wikitable" | ||
| + | ! Domination Mode - Map Layouts | ||
| + | |- align="center" | ||
| + | | | ||
| + | <div style="float: none;" class="ttx-ab">[[File:MapLayout Domination ElAlamein ABRB.jpg|300px]]</div> | ||
| + | <div style="float: none;" class="ttx-rb">[[File:MapLayout Domination ElAlamein ABRB.jpg|300px]]</div> | ||
| + | <div style="float: none;" class="ttx-sb">[[File:MapLayout Domination ElAlamein SB.jpg|300px]]</div> | ||
| + | |- align="center" | ||
| + | | | ||
| + | <span class="ttx-ab">2.15 km x 2.15 km</span> | ||
| + | <span class="ttx-rb">2.15 km x 2.15 km</span> | ||
| + | <span class="ttx-sb">3.5 km x 3.5 km</span> | ||
| + | |- | ||
| + | | | ||
| + | <span class="ttx-ab">In AB point A is in the southwestern town, B is in the middle town (in the centre of the map), and C is in the castle in the northeast.</span> | ||
| + | <span class="ttx-rb">In RB point A is in the southwestern town, B is in the middle town (in the centre of the map), and C is in the castle in the northeast.</span> | ||
| + | <span class="ttx-sb">In SB point A is in the military camp, B is in the middle town (in the centre of the map), and C is at a castle gate in the far northeast.</span> | ||
| + | |} | ||
| − | + | ===Conquest=== | |
| − | + | <!--Put map screenshots, layout sizes and basic descriptions (where each cap point is) in table using ttx-ab, ttx-rb &ttx-sb spans appropriately. If a more detailed description is desired then insert it as a paragraph of text above the table--> | |
| − | [[File:MapLayout Conquest1 ElAlamein.jpg| | + | {| style="width: 900px;" class="wikitable" |
| − | [[File:MapLayout | + | ! colspan="3" | Conquest Mode - Map Layouts |
| − | [[File:MapLayout | + | |- |
| + | ! Conquest #1 | ||
| + | ! Conquest #2 | ||
| + | ! Conquest #3 | ||
| + | |- align="center" | ||
| + | | | ||
| + | <div style="float: none;" class="ttx-ab">[[File:MapLayout Conquest1 ElAlamein ABRB.jpg|300px]]</div> | ||
| + | <div style="float: none;" class="ttx-rb">[[File:MapLayout Conquest1 ElAlamein ABRB.jpg|300px]]</div> | ||
| + | <div style="float: none;" class="ttx-sb">[[File:MapLayout Conquest1 ElAlamein SB.jpg|300px]]</div> | ||
| + | | | ||
| + | <div style="float: none;" class="ttx-ab">[[File:MapLayout Conquest2 ElAlamein ABRB.jpg|300px]]</div> | ||
| + | <div style="float: none;" class="ttx-rb">[[File:MapLayout Conquest2 ElAlamein ABRB.jpg|300px]]</div> | ||
| + | <div style="float: none;" class="ttx-sb">[[File:MapLayout Conquest2 ElAlamein SB.jpg|300px]]</div> | ||
| + | | | ||
| + | <div style="float: none;" class="ttx-ab">[[File:MapLayout Conquest3 ElAlamein ABRB.jpg|300px]]</div> | ||
| + | <div style="float: none;" class="ttx-rb">[[File:MapLayout Conquest3 ElAlamein ABRB.jpg|300px]]</div> | ||
| + | <div style="float: none;" class="ttx-sb">[[File:MapLayout Conquest3 ElAlamein SB.jpg|300px]]</div> | ||
| + | |- align="center" | ||
| + | | | ||
| + | <span class="ttx-ab">1.6 km x 1.6 km</span> | ||
| + | <span class="ttx-rb">1.6 km x 1.6 km</span> | ||
| + | <span class="ttx-sb">2.55 km x 2.55 km</span> | ||
| + | | | ||
| + | <span class="ttx-ab">2.15 km x 2.15 km</span> | ||
| + | <span class="ttx-rb">2.15 km x 2.15 km</span> | ||
| + | <span class="ttx-sb">3.5 km x 3.5 km</span> | ||
| + | | | ||
| + | <span class="ttx-ab">1.8 km x 1.8 km</span> | ||
| + | <span class="ttx-rb">1.8 km x 1.8 km</span> | ||
| + | <span class="ttx-sb">3.2 km x 3.2 km</span> | ||
| + | |- | ||
| + | | | ||
| + | <span class="ttx-ab">In AB the capture point is in the southwestern town.</span> | ||
| + | <span class="ttx-rb">In RB the capture point is in the southwestern town.</span> | ||
| + | <span class="ttx-sb">In SB the capture point is in the southwestern military camp.</span> | ||
| + | | | ||
| + | <span class="ttx-ab">In AB the capture point is in the middle town.</span> | ||
| + | <span class="ttx-rb">In RB the capture point is in the middle town.</span> | ||
| + | <span class="ttx-sb">In SB the capture point is in the middle town.</span> | ||
| + | | | ||
| + | <span class="ttx-ab">In AB the capture point is in the northeast castle.</span> | ||
| + | <span class="ttx-rb">In RB the capture point is in the northeast castle.</span> | ||
| + | <span class="ttx-sb">In RB the capture point is in the far northeast castle gate.</span> | ||
| + | |} | ||
| − | + | ===Battle=== | |
| − | + | <!--Put map screenshots, layout sizes and basic descriptions (where each cap point is) in table using ttx-ab, ttx-rb &ttx-sb spans appropriately. If a more detailed description is desired then insert it as a paragraph of text above the table--> | |
| − | + | {| style="width: 300px;" class="wikitable" | |
| + | ! Battle Mode - Map Layouts | ||
| + | |- align="center" | ||
| + | | | ||
| + | <div style="float: none;" class="ttx-ab">[[File:MapLayout Battle ElAlamein ABRB.jpg|300px]]</div> | ||
| + | <div style="float: none;" class="ttx-rb">[[File:MapLayout Battle ElAlamein ABRB.jpg|300px]]</div> | ||
| + | <div style="float: none;" class="ttx-sb">[[File:MapLayout Battle ElAlamein SB.jpg|300px]]</div> | ||
| + | |- align="center" | ||
| + | | | ||
| + | <span class="ttx-ab">1.3 km x 1.3 km</span> | ||
| + | <span class="ttx-rb">1.3 km x 1.3 km</span> | ||
| + | <span class="ttx-sb">2.2 km x 2.2 km</span> | ||
| + | |- | ||
| + | | | ||
| + | <span class="ttx-ab">In AB the capture points are located to the northeast and southwest of the middle town.</span> | ||
| + | <span class="ttx-rb">In RB the capture points are located to the northeast and southwest of the middle town.</span> | ||
| + | <span class="ttx-sb">In SB the capture points are located to the northeast and southwest of the centre of the map.</span> | ||
| + | |} | ||
==Strategy== | ==Strategy== | ||
| + | ''Describe what focus a team should have when spawning into the map'' | ||
== Media == | == Media == | ||
| − | + | ''An excellent addition to the article will be video guides, as well as screenshots from the game and photos.'' | |
==References== | ==References== | ||
<references /> | <references /> | ||
| − | == | + | == See also == |
| − | <!--''Links to the articles on the War Thunder Wiki that you think will be useful for the reader, for example | + | <!--''Links to the articles on the War Thunder Wiki that you think will be useful for the reader, for example:'' |
| − | * ''reference to | + | * ''reference to related locations;''--> |
| − | + | * [[Tunisia]] | |
| − | |||
| − | [ | ||
| − | == | + | == External links == |
| − | ''Paste links to sources and external resources, such as:'' | + | <!--''Paste links to sources and external resources, such as:'' |
* ''topic on the official game forum;'' | * ''topic on the official game forum;'' | ||
| − | * ''other literature.'' | + | * ''encyclopedia page on location/battle;'' |
| + | * ''other literature.''--> | ||
| + | |||
| + | * [https://warthunder.com/en/devblog/current/858 [Devblog<nowiki>]</nowiki> Second battle of El Alamein] | ||
[[Category:Maps_and_missions]] | [[Category:Maps_and_missions]] | ||
[[Category:Ground forces maps]] | [[Category:Ground forces maps]] | ||
Latest revision as of 19:51, 28 September 2019
| This page is about the map page Second battle of El Alamein (Ground Forces). For the World War battle, see Second Battle of El Alamein. |
Contents
Overview
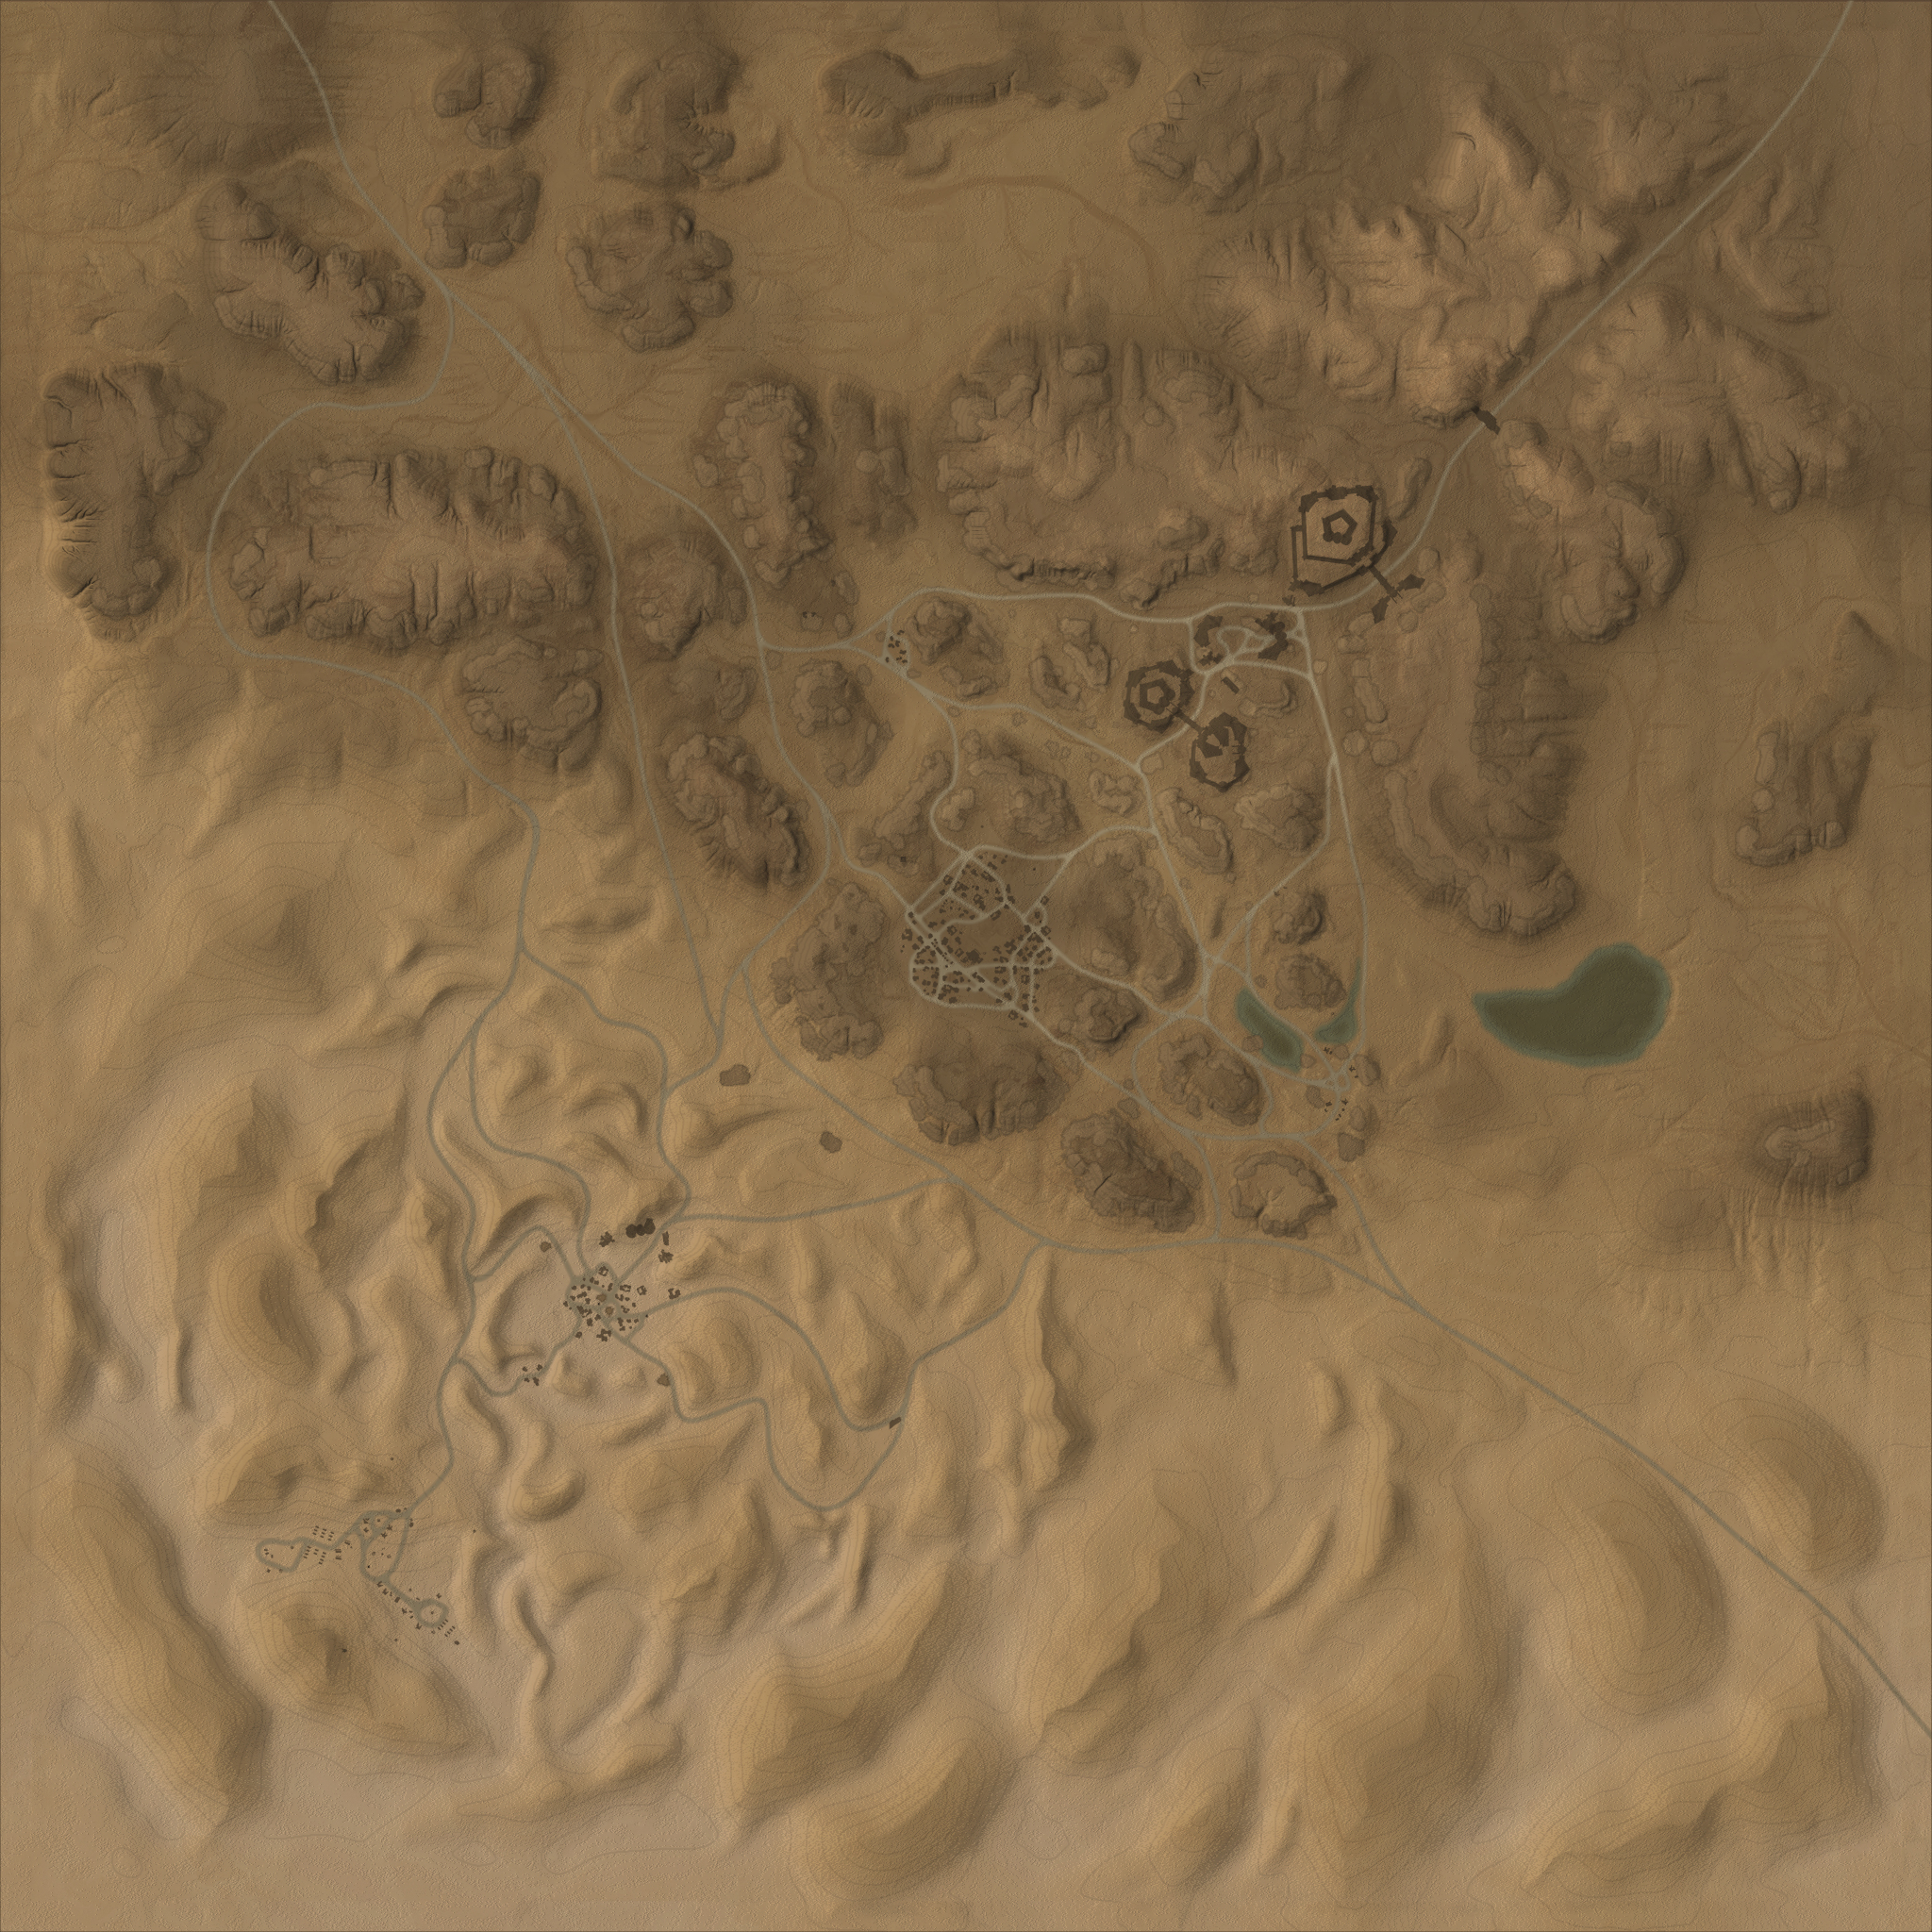
The Second Battle of El Alamein, or simply El Alamein is a ground forces map available in all modes. It was added alongside another North African map Tunisia in Update 1.55 "Royal Armour". The map has three distinct areas; the northeast, the middle and the southwest. The north east and middle areas of the map the terrain is more rocky, with rock formations and plateaus breaking up the map. In the southwest the map consists of open desert with large sand dunes.
In the northeast of the map fighting if focused around the ruins of an old castle. Players fight along a road to the southwest of the castle, using the rocks for cover; while other players advance into the castle grounds from the east and west to battle inside. The castle can be accessed from the road the southwest, but doing so leaves the player very exposed. Players can follow a road round the north of the castle in an attempt to outflank those in and around the castle, or to gain access to the enemy's spawn point, this tends to lead to small skirmishes around the northern area of the castle.
The middle of the map consists of a large town, surrounded by rocks. The rocks limit access to the town, down to six roads (one in the north east, two in the northwest, two in the southeast, and one in the southwest). Players can hide in the rocky terrain around the edge of the town to ambush the enemy; or advance into the town in order to capture the capture point, and advance on toward the enemy's spawn. A lot of the buildings in the town are destructible.
In the southwest of the map the terrain is at a lower elevation and consists of open desert, with tall sand dunes. There is a smaller town in the middle of this area there is a small town, and the crumbling remains of a castle. Players can engage in long range combat, sniping enemy tanks while using the dunes for cover, or advance through the sand dunes to the town in order to capture the capture point which is sometimes located there. The dunes to the south of the town can be used by the player to provide cover while they flank found the town, to attack enemy tanks on the dunes.
In the very southwest of the map there is a large military camp, and in the very northeast there is another (smaller) castle. These areas are not always included in the battle area.
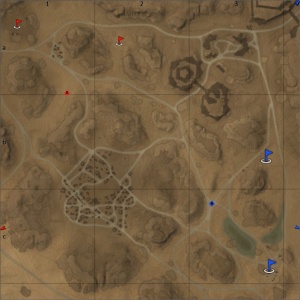
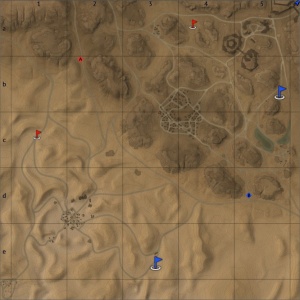
The full tank battles map is 4km x 4km however the full area is not usually playable; the air battle area is 65km x 65km in all modes. The exact size of the tank battles area in each game mode can be seen below.
| Game Mode | AB | RB | SB |
|---|---|---|---|
| Domination | 2.15 km x 2.15 km | 2.15 km x 2.15 km | 3.5 km x 3.5 km |
| Conquest #1 | 1.6 km x 1.6 km | 1.6 km x 1.6 km | 2.55 km x 2.55 km |
| Conquest #2 | 2.15 km x 2.15 km | 2.15 km x 2.15 km | 3.5 km x 3.5 km |
| Conquest #3 | 1.8 km x 1.8 km | 1.8 km x 1.8 km | 3.2 km x 3.2 km |
| Battle | 1.3 km x 1.3 km | 1.3 km x 1.3 km | 2.2 km x 2.2 km |
Game Description
After stalling successfully the Axis advance into Egypt, the British forces initiated the offensive to gain control over the region.
Historical Background
This map is set in the desert, inland from the town of El Alamein (located on the coast). The tank map is a fictional location, inspired by the terrain in the area. The air battles map puts the tank battles map approximately 75km (47 miles) southwest of the town of El Alamein (at approximately 30°20'07.2"N 28°26'17.6"E).
The Second Battle of El Alamein (23 October–11 November 1942) was a battle of the Second World War that took place near the Egyptian railway halt of El Alamein. With the Allies victorious, it marked the watershed of the Western Desert Campaign. The First Battle of El Alamein had prevented the Axis from advancing further into Egypt. In August 1942, Lieutenant-General Sir Bernard Law Montgomery took command of the Eighth Army following the sacking of General Claude Auchinleck and the death of his replacement Lieutenant-General William Gott in a plane crash.
The British victory turned the tide in the North African Campaign and ended the Axis threat to Egypt, the Suez Canal and the Middle Eastern and Persian oil fields via North Africa. Second El Alamein revived the morale of the Allies, being the first big success against the Axis since Operation Crusader in late 1941. The battle coincided with the Allied invasion of French North Africa in Operation Torch, which started on 8 November.
Map configuration
| Change Maps by Game Modes | ||
|---|---|---|
| | ||
Domination
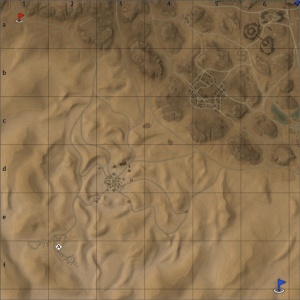
| Domination Mode - Map Layouts |
|---|
|
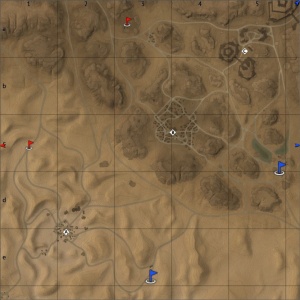
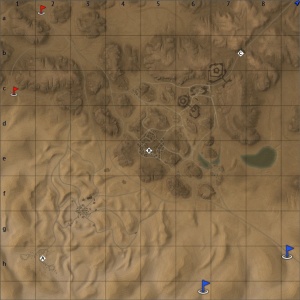
2.15 km x 2.15 km 2.15 km x 2.15 km 3.5 km x 3.5 km |
|
In AB point A is in the southwestern town, B is in the middle town (in the centre of the map), and C is in the castle in the northeast. In RB point A is in the southwestern town, B is in the middle town (in the centre of the map), and C is in the castle in the northeast. In SB point A is in the military camp, B is in the middle town (in the centre of the map), and C is at a castle gate in the far northeast. |
Conquest
| Conquest Mode - Map Layouts | ||
|---|---|---|
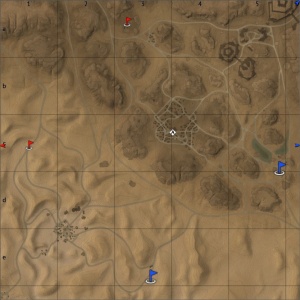
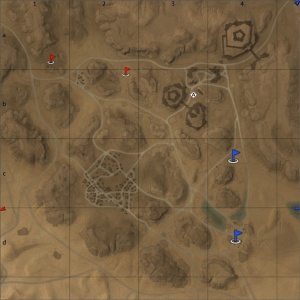
| Conquest #1 | Conquest #2 | Conquest #3 |
|
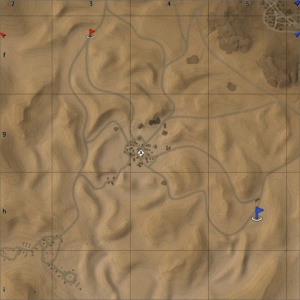
1.6 km x 1.6 km 1.6 km x 1.6 km 2.55 km x 2.55 km |
2.15 km x 2.15 km 2.15 km x 2.15 km 3.5 km x 3.5 km |
1.8 km x 1.8 km 1.8 km x 1.8 km 3.2 km x 3.2 km |
|
In AB the capture point is in the southwestern town. In RB the capture point is in the southwestern town. In SB the capture point is in the southwestern military camp. |
In AB the capture point is in the middle town. In RB the capture point is in the middle town. In SB the capture point is in the middle town. |
In AB the capture point is in the northeast castle. In RB the capture point is in the northeast castle. In RB the capture point is in the far northeast castle gate. |
Battle
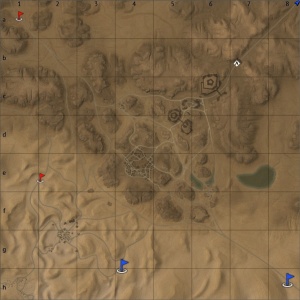
| Battle Mode - Map Layouts |
|---|
|
1.3 km x 1.3 km 1.3 km x 1.3 km 2.2 km x 2.2 km |
|
In AB the capture points are located to the northeast and southwest of the middle town. In RB the capture points are located to the northeast and southwest of the middle town. In SB the capture points are located to the northeast and southwest of the centre of the map. |
Strategy
Describe what focus a team should have when spawning into the map
Media
An excellent addition to the article will be video guides, as well as screenshots from the game and photos.
References


