Boom and Zoom, also commonly referred to as Boom and Run, is a term used to describe an aviation tactic that can be used in War Thunder. Its primary focus is coming from a point of advantage, attacking the enemy, and then extending away. In today’s post, I’m going to teach you how to BnZ, when to use it, and what planes are best suited for it.
So, what exactly is Boom and Zoom?
Well, boom and zoom (I will refer to it frequently as BnZ) is exactly what it sounds like. It’s a tactic that involves engaging your opponent from a superior energy state, attacking when close enough, and then extending away from the enemy. Once extended, you can reassess your situation and form a new attack method.
“See, decide, attack, coffee break.”
What aircraft are considered “BnZ aircraft?”
Any plane can do it, but others are better suited than some. Some countries, namely the USA, Germany, and China (with the exception of the Japanese and British aircraft in the tree) have most of their tech trees centered around BnZ.
Usually, these aircraft are characterized by heavy armament, good straight-line speed, and sluggish climb rates/maneuverability. Other characteristics are little compression at high speed, a high wing-rip speed, and a generally robust airframe.
Some big/notable names in the boom and zoom role are:
- P-47/P-43 Thunderbolt/Lancer — Lots of guns and fun, can take punishment
- P-38 Lightning — Good climb rates and airspawn, 20 mm cannons
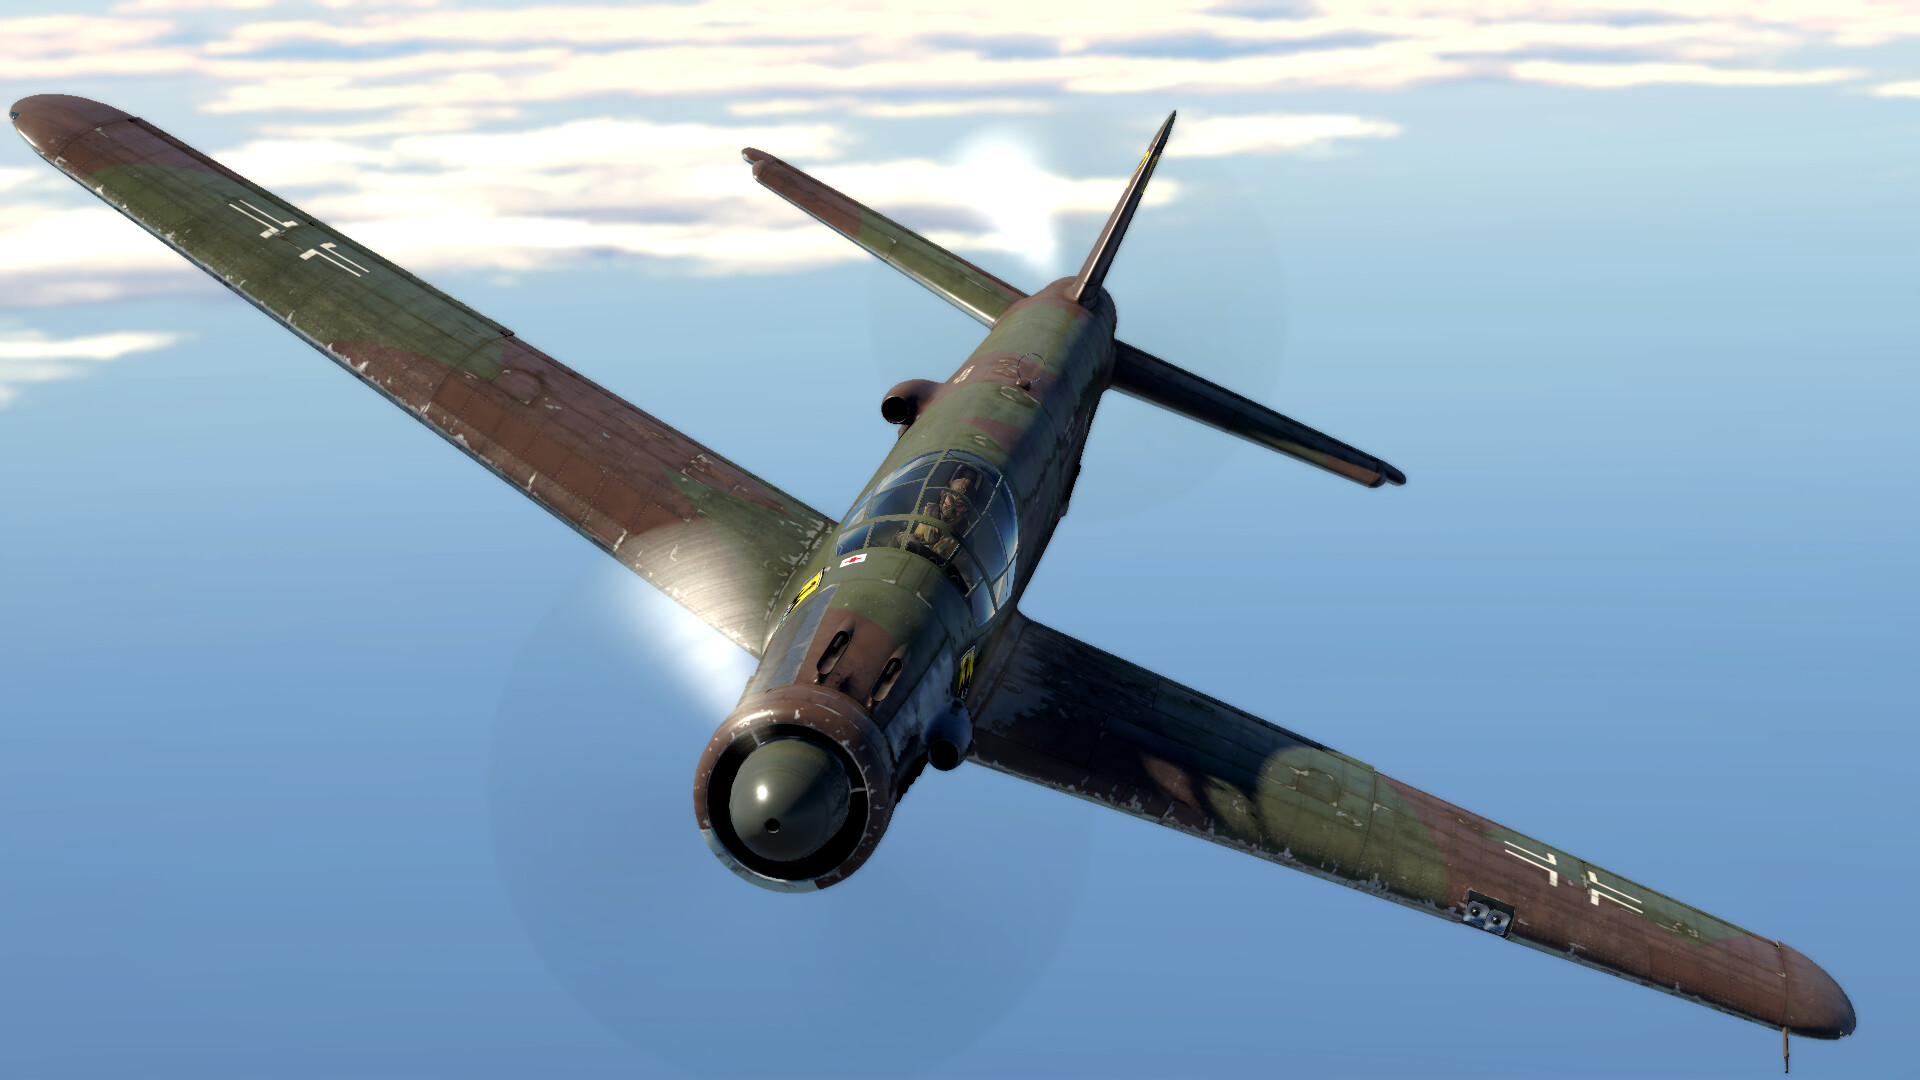
- Fw 190 series — Many mixed gun armaments, great for quick kills
- Typhoons/Tempests — Almost like a British P-47, later ones have great guns
- P-51 Mustang — Fast in a dive, but horrible compression at high speeds
- F4U Corsair — Excellent dive speed, deadly armament
- F6F Hellcat — Not very versatile in the air-to-air department, but good enough guns for BnZ
- I-185 — Good climb, nose-mounted cannons
- Sea Fury — Monster speed, lethal cannons
- Bf 109 series — While primarily energy fighters, some can BnZ with their cannon gunpods
- Ta 152 — Responsive at high speed, Fw 190's big brother
- Do 335 A/B — Great armament, sluggish maneuverability
- J7W Shinden — Fast-firing 30 mm cannnons, not as agile as other Japanese aircraft
- Any jet aircraft can pull off BnZ, to a certain extent
How exactly do I BnZ?
I will break down every aspect of BnZ below, starting off with:
Climbing
Climbing is usually smart to do with a BnZ plane, because it allows you to be at a superior altitude and energy state than any lower enemy. This higher energy also gives you more potential energy to turn into kinetic energy in your attack dive. However, a lot of dedicated BnZ planes have subpar climb rates that can make it difficult to reach high altitudes. In comparison to Bf 109s, La-5/7s, or Spitfires, these planes look like flying semi trucks. A little bit of side climbing can help this.
Typically, 4000-4500 meters (13123-14763 ft) is a decent altitude for BnZers. This altitude may be a little hard to achieve in a heavier plane, but the cool thing about these planes is that you don’t have to be a space-climber in order to do well. As long as you have at least 1 km (3300 ft) of workable altitude from your enemy, you will do fine in the fight.

Target Scouting and Awareness
Awareness is a massive part of boom and zoom. Usually, peeking around at enemy distances every few seconds or so should suffice. But, when focusing on one enemy, it can be very easy to get ambushed.
Target scouting is important for BnZers, as going for the wrong enemy can result in a fast death from the enemy’s teammate. The general consensus of the playerbase is that you should go for the highest enemy. While this tactic is usable, you may want to attack enemies based on your team’s status. For example, imagine you and a single teammate are the only ones left. You are at a medium altitude. There are a couple enemies going after your teammate, on the deck. But, a third enemy is climbing up to you, and only lower than you by about 1000 meters (1 km, 3280 ft). In this situation, you should prioritize the enemies going after your teammate (to keep your ally alive), even if it means engaging the higher enemy on the way down.
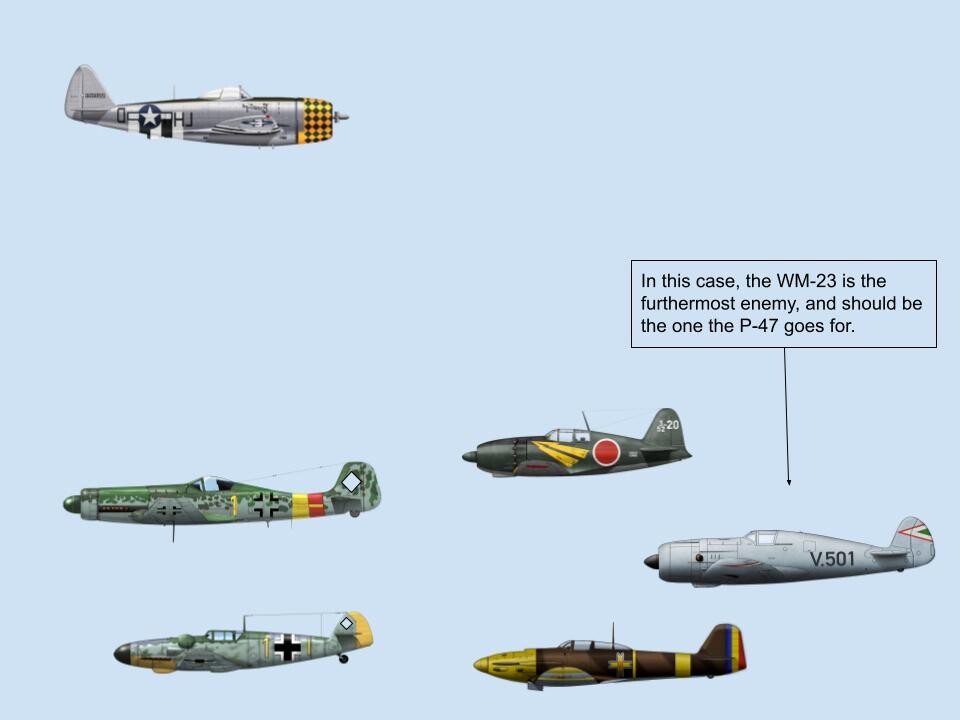
If there is a clump of enemies below you, choose the one farthest from you (the one at the back of the clump). This ensures that you won’t get jumped by a sneaky enemy while diving for the farthermost enemy.
When looking for a certain enemy to fight, aircraft type doesn’t really matter. Whether it’s a super-maneuverable fighter, or a heavy, slow bomber, BnZ is the tactic to use. However, if your enemy is in a maneuverable aircraft (Zero, Spitfire, the like), and the pilot is at least somewhat competent, they may try to dodge. This can make it tough to get your guns on target. If you miss, continue to dive down, because these aircraft typically have bad dive speeds and probably won’t catch you.
Attack Phase
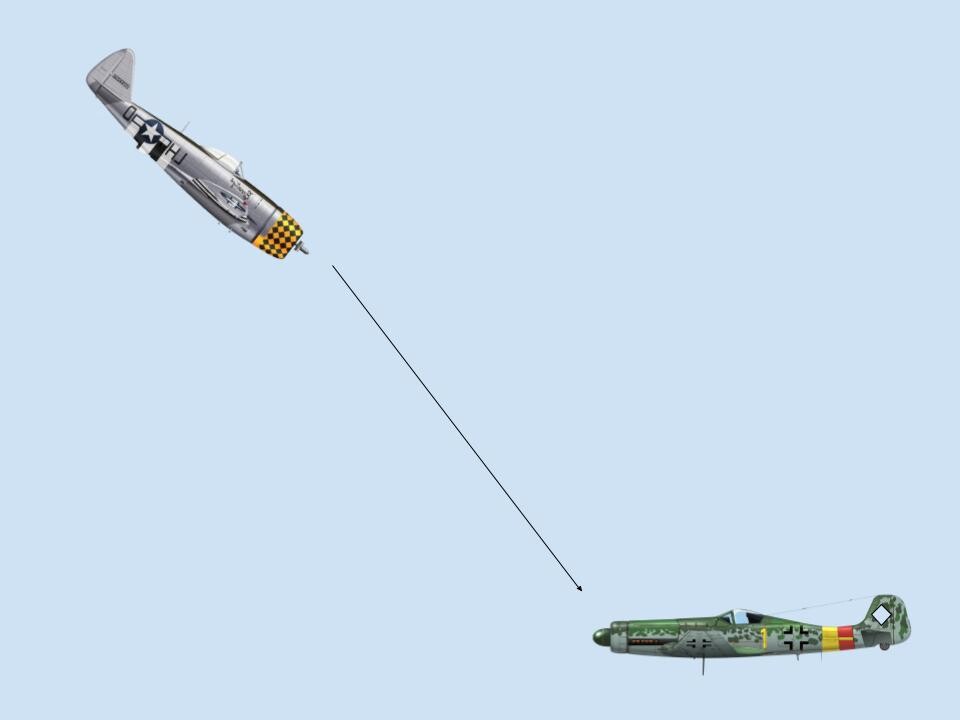
Okay! Now, if you are above your enemy that you chose (which you should be because you climbed), you can begin your attack. Before you attack, hold your altitude, and make sure the element of surprise is with you.
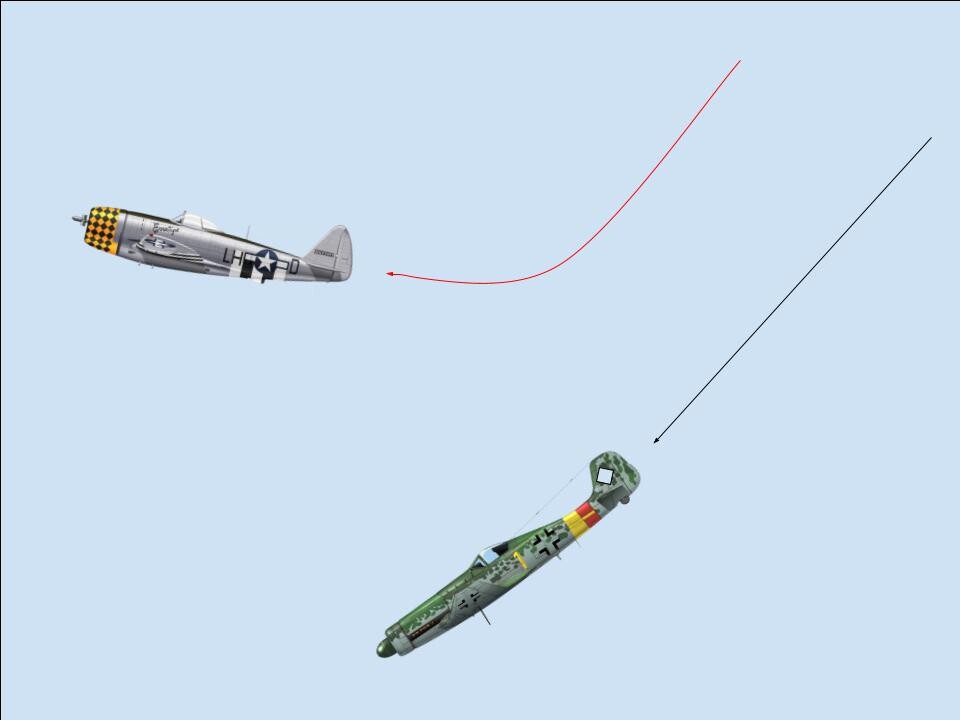
Dive
Begin your attack with a dive. You can dive as shallowly or as steeply as you want, however a steep dive means more speed, and therefore more energy to use during your escape.

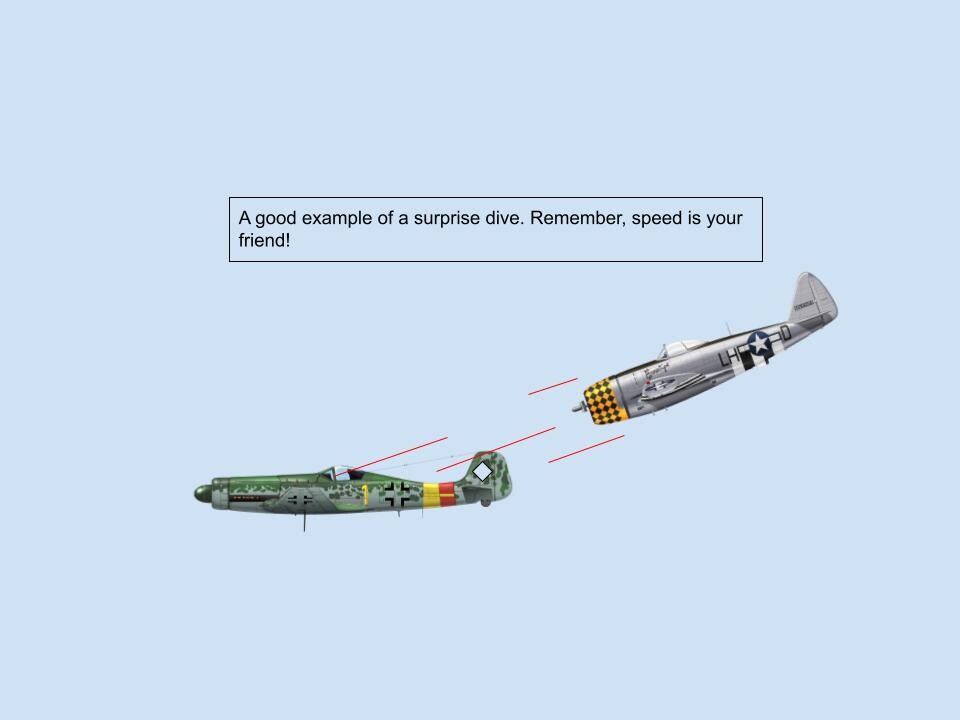
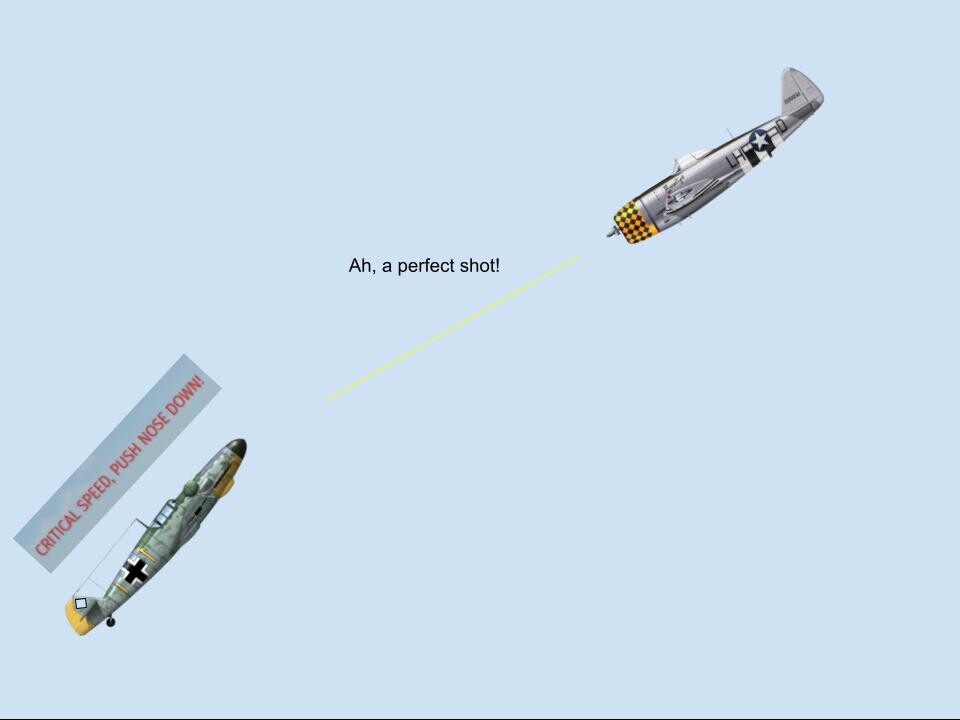
Engagement (Boom)
While diving for the enemy, think about what distance you are comfortable shooting from. It’s different for everyone, so do what suits you! Spraying from too far away will give away your position, though, and give the enemy more time to react. When you are close enough, use your weaponry to attack the enemy. Getting a good few hits is usually good enough for one attack run. Most enemies won’t see it coming.
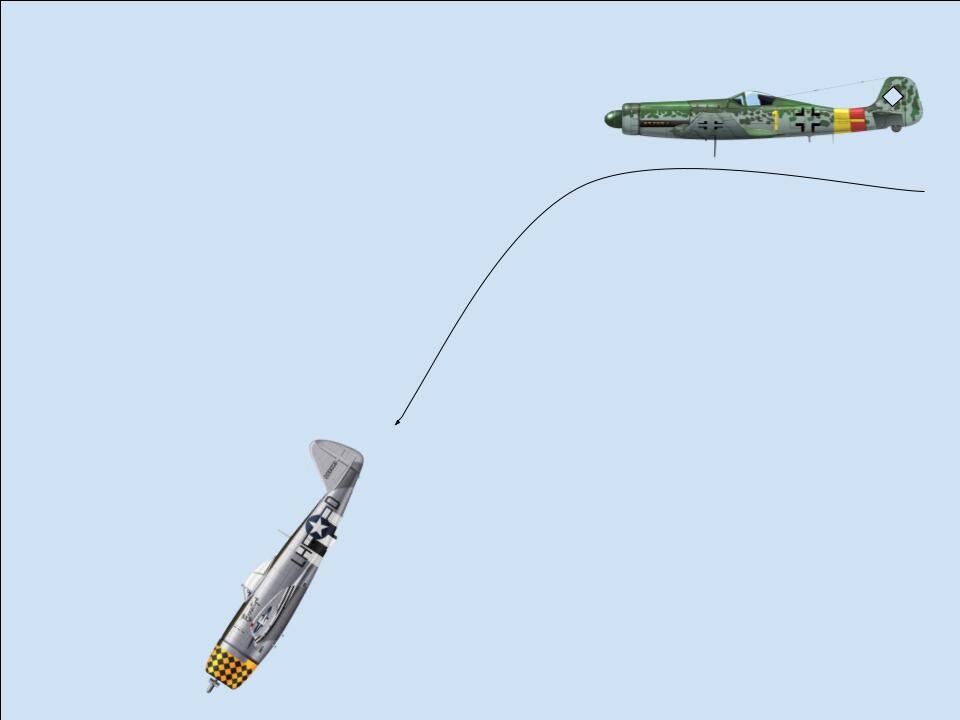
Escape (Zoom)
Now that you’ve attacked your enemy, it’s time to get the heck out of there!
A common misconception about BnZ is that immediately after attacking, you go into a steep climb to regain the altitude you lost. However, this is not advised, because you will be burning all of the energy and speed you just gained, and also giving the enemy a chance to pull up and shoot you while you’re climbing away. I call this Boom and Climb (BnC). It’s best to do this with an aircraft with better climb performance, like a J2M or a Bf 109. Some also think that BnZ and BnR (Boom and Run) are two different things, with BnZ being “zoom climbing” away, and BnR being “dive away.” While this is somewhat true, zoom climbing in a heavy BnZ aircraft is not a good idea due to the previously mentioned factors.

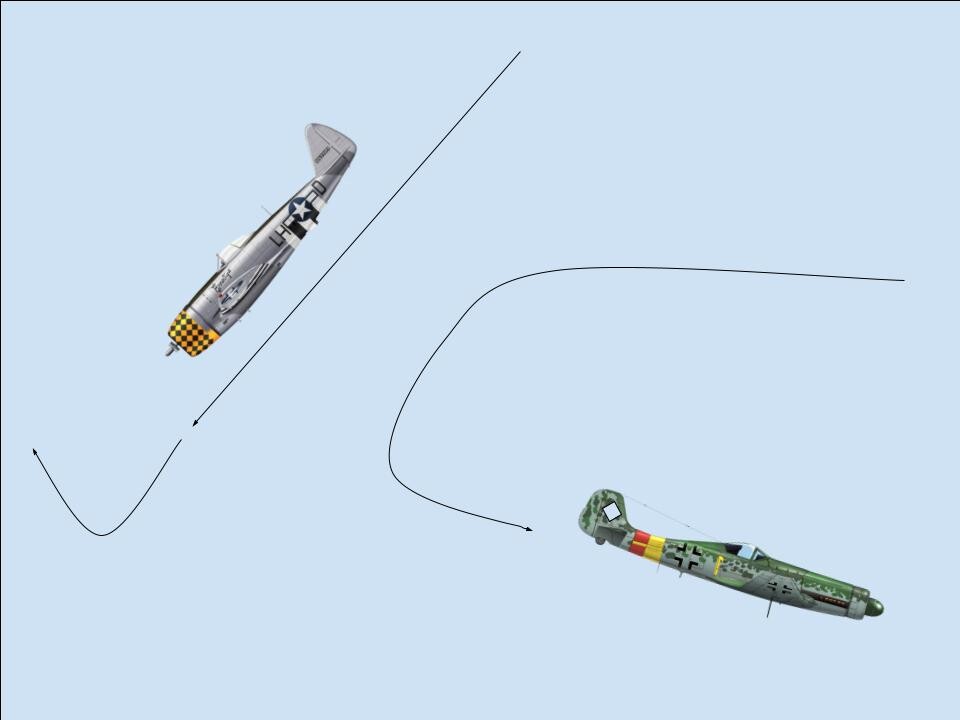
After attacking, continue to dive for a little longer, then level out and fly in a straight line, using the energy you gained in the dive to extend away from the enemy. If they don’t pursue, you can turn around (slowly, as not to burn your speed) to reengage, or climb away (shallowly, as to not lose energy).
If they do pursue you, continue to dive away and try to get help, or if you want to be risky, put your nose up and use your speed to climb out of their gun range.
After you’ve run away, you can get a little more altitude, and try to attack again!
Situations and how to deal with them
Here, I will discuss certain situations that may be tough to get out of, and how to handle them.
If the enemy saw you coming and dodged
If they saw you and dodged out of your guns, continue to dive until you are a little bit lower. Once lower, use your speed to shallowly climb away and initiate another attack.
If the enemy sees you coming down and dives
If the enemy dives while you’re diving, you have a decision to make. You can either try to catch them in their dive (this is better to do with aircraft that have higher rip speeds and good dive acceleration), or pull back up, maintain your altitude, and look for a different target (this is better to do with poor climbers, because you won’t have to climb back up to your point of advantage).
If the enemy sees you coming down and climbs up to meet you
If the enemy is incompetent enough to stall climb up to you while you are diving down, start firing very early. This will discourage them to take the head-on. However, since their airspeed is decreasing rapidly, as they chose to climb to you, they will struggle to maneuver back around (unless they have insane low-speed performance, like a Zero), giving you a clear shot. If they have better guns than you, I’d still suggest firing early to try and discourage them, but if they don’t break off, pull out of the dive and get back to your altitude if you want to live.
If the enemy sees you coming and tries to bait you into an energy or turn fight
If the enemy tries to bait you into an energy fight via going vertical or diving, fire some shots, then leave. BnZ aircraft are not made to compete with superior climbers and aircraft with great vertical performances.
If the enemy tries to use their turn rate to finesse you, follow their turn for a little bit while you can, and try to get as many good shots off as possible. At the same altitude, turnfighters are the bane of a boom and zoomer’s existence, so try to get these guys out of the match as fast as possible. If you whiff your shots, dive outta there, then climb shallowly once you’ve extended away.
In short: simply don’t fall for it.
If you are the last one and have multiple enemies still alive
Since you should be at altitude, choose the highest enemy to engage. If you have the option to attack a turnfighter easily, engage them so they don’t come back to bite you in the future. If you do find yourself at lower altitudes, try to take head-ons and neutralize the enemy as fast as possible. Any more than a 1v1 is gonna be tough for a heavier aircraft made for run-and-gun techniques.

Conclusion
I hope I could help you better understand the art of boom and zoom in today’s article. BnZ is a fun dive, attack, and run strategy to do in War Thunder, but it requires patience and isn’t for everyone. If you do have the patience, running and gunning is a rewarding process.
Have a great rest of your day, comrades, and don’t forget to attack the D point!
Credits
All of the in-game photos were screenshots taken by Caff_. Keep up the good work, Caff_!
All of the beautifully accurate diagrams were made by me, DuplexTooth, via Google Drawings.
The Erich Hartmann photo was gotten from the Aces of WW2 website.