


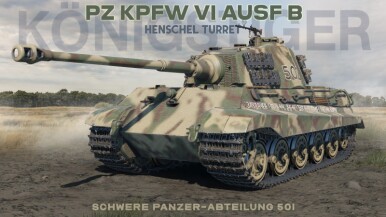
The Panzerkampfwagen Tiger Ausf. B (Sd.Kfz. Index: Sd.Kfz. 182), also known as the Tiger II or informally the Königstiger (lit. "King Tiger"), was a German heavy tank developed in 1943 by Henschel to serve as a replacement for the Tiger I. As with the previous Tiger I (VK 45.01) project, the Wehrmacht commissioned Henschel and Porsche to design the hull of the new tank based on specific requirements, such as featuring a long-barrelled 88 mm KwK43 cannon and sloped hull armour, while Krupp was ordered to design a turret compatible with either design. Ultimately, the Henschel design was chosen and accepted for production.
After the first 50 vehicles were outfitted with the early cast turret, Krupp redesigned the turret for the Tiger II both to simplify production and to improve its protection. The original curved cast turret was replaced with a welded turret made of flat and thick armour plates. This turret is often referred to as the "Henschel" turret due to the misconception that it was designed by Henschel. While the Tiger II proved to be a formidable tank against Allied and Soviet adversaries, it suffered from overloaded suspension and reliability issues that limited its utility. In total, 492 Tiger IIs were built, and it would later spawn a heavy tank destroyer derivative, the Jagdtiger.
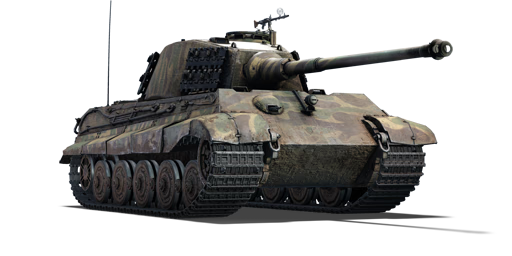
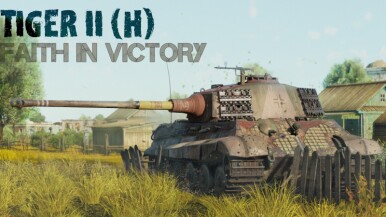
The Tiger II, referred to as the "Tiger II (H)" before Update 2.49 "Tusk Force", was introduced during the Closed Beta Test for Ground Forces before Update 1.41. The Tiger II served as a natural evolution of the Tiger I tank. The long-barrelled 88 mm KwK43 features excellent accuracy and penetration over long distances, allowing the Tiger II to comfortably pick off enemies at range, while the sloped frontal hull armour provides excellent protection at distance. However, the Tiger II suffers from sluggish mobility, which may leave it vulnerable to flanking manoeuvres.

| Ammunition | Type | Armor penetration (mm) at a distance: | |||||
|---|---|---|---|---|---|---|---|
| 10 m | 100 m | 500 m | 1000 m | 1500 m | 2000 m | ||
| APCBC | 237 | 234 | 222 | 207 | 193 | 180 | |
| HE | 19 | 19 | 17 | 16 | 14 | 14 | |
| HEAT | 110 | 110 | 110 | 110 | 110 | 110 | |
| APCR | 279 | 273 | 252 | 227 | 205 | 185 | |
| Belt | Belt filling | Armor penetration (mm) at a distance: | |||||
|---|---|---|---|---|---|---|---|
| 10 m | 100 m | 500 m | 1000 m | 1500 m | 2000 m | ||
| AP/AP/AP-T | 13 | 12 | 7 | 3 | 2 | 0 | |
| Belt | Belt filling | Armor penetration (mm) at a distance: | |||||
|---|---|---|---|---|---|---|---|
| 10 m | 100 m | 500 m | 1000 m | 1500 m | 2000 m | ||
| AP/AP/AP-T | 13 | 12 | 7 | 3 | 2 | 0 | |

Mobility | |
|---|---|
Protection |
|---|
Firepower | |
|---|---|
