File list
This special page shows all uploaded files.
| Date | Name | Thumbnail | Size | Description | Versions |
|---|---|---|---|---|---|
| 02:56, 14 January 2022 | Hulldown in Pvkv m-43 (1946).jpg (file) | .jpg) |
551 KB | SPG angles to left and up to avoid getting deleted by enemy team. Range is also very important, as at close range that won't help much. Category:In-game screenshots | 1 |
| 17:50, 3 January 2022 | Pbv 301 holds a capture point.jpg (file) |  |
514 KB | The "spaa" manages to stop entire enemy team and dooms at least 3 tanks in process (visible on screenshot) Category:In-game screenshots | 1 |
| 17:24, 3 January 2022 | Pbv 301 ambushes other tanks over a wall.jpg (file) |  |
499 KB | Pbv 301 can fire over medium sized walls, which means it can attack through impassable roadblocks and such. The risk of dying when doing this is minimal. Category:In-game screenshots | 1 |
| 17:09, 3 January 2022 | Pbv 301 supports from behind an ally.jpg (file) |  |
472 KB | Pbv 301 fires from behind another sweden tank (completely safely) Category:In-game screenshots | 1 |
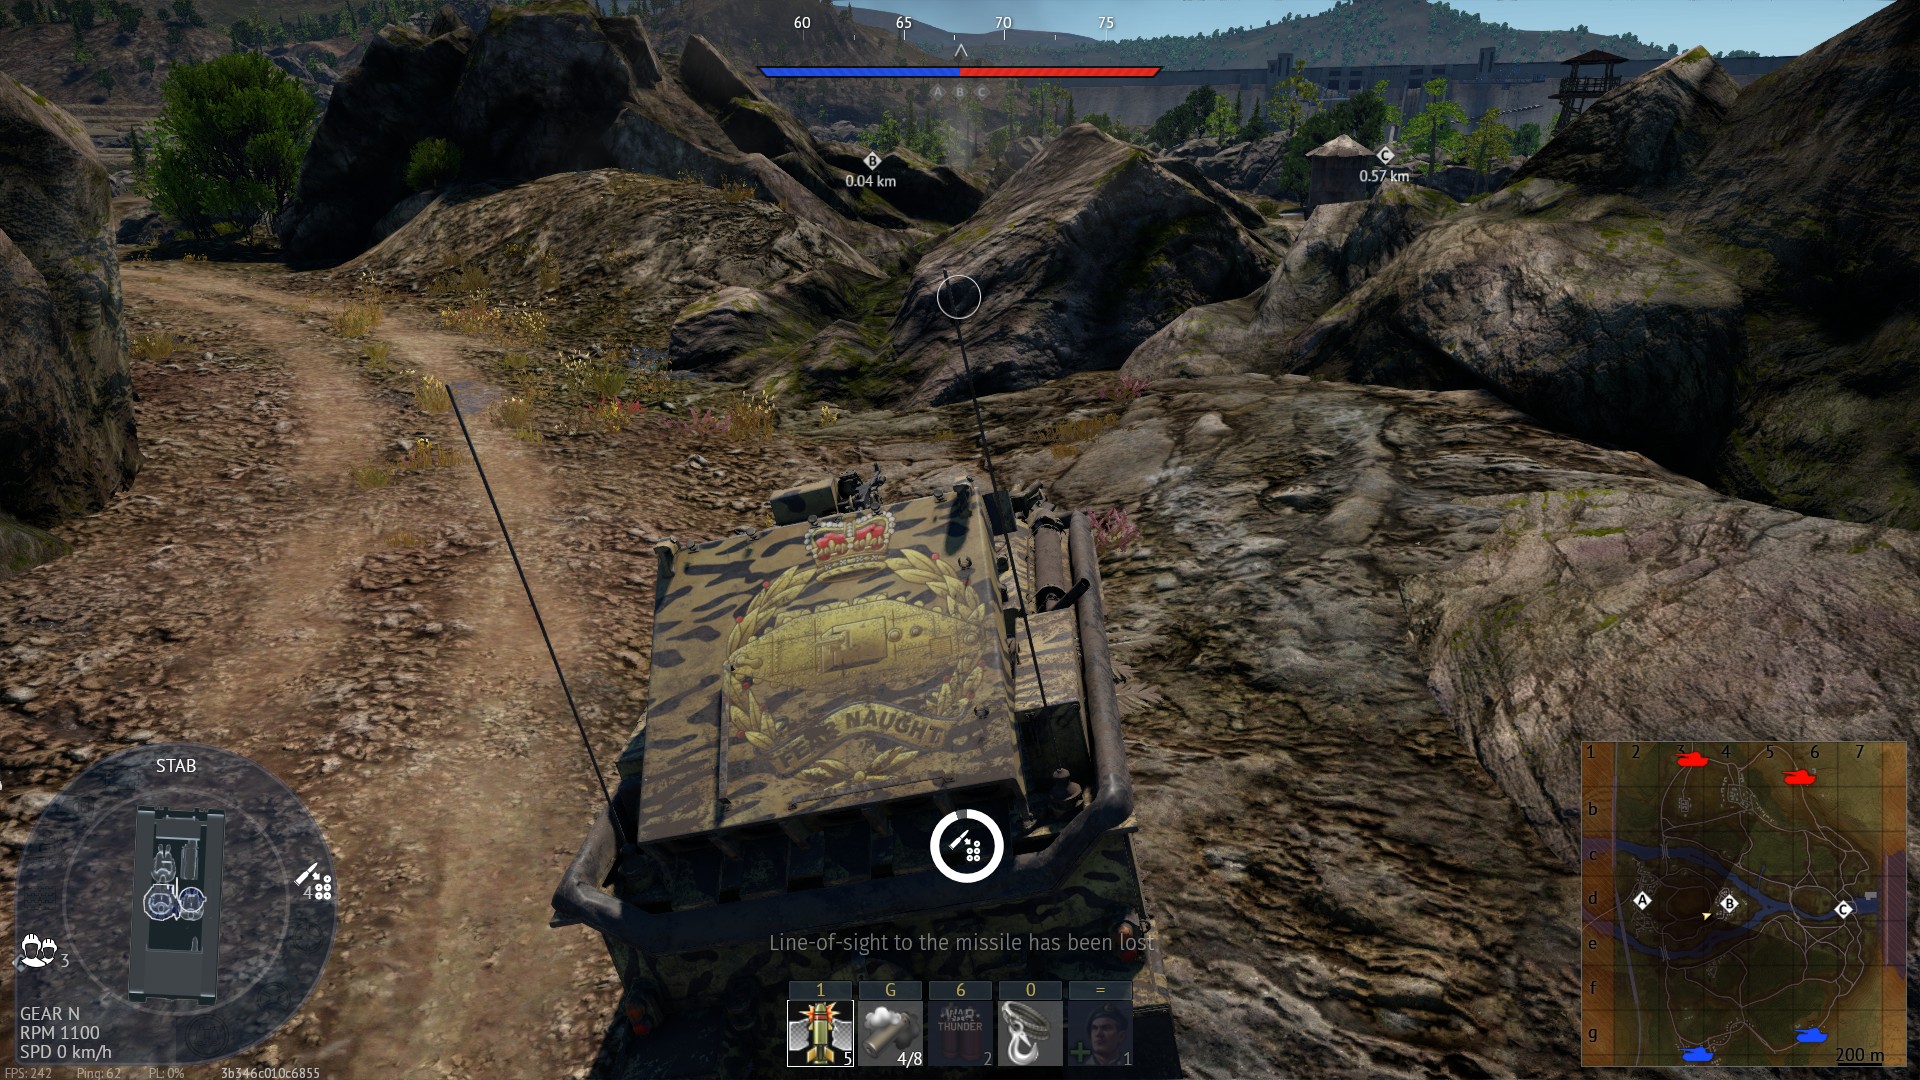
| 20:48, 17 December 2021 | Striker firing over a ridge setup good.jpg (file) |  |
667 KB | A screenshot of striker trying to bombard a capture point on 38th parallel. This one wins because it fires from a rock which allows it to regulate its launch angle and to see above the wall. It also allows for a natural no-brainer firing arc onto a riv... | 1 |
| 20:46, 17 December 2021 | Striker firing over a rigde setup bad.jpg (file) |  |
675 KB | A screenshot of striker trying to bombard a capture point on 38th parallel. This one fails because it fires from flat high ground ~90 m away without any vision whatsoever. Category:In-game screenshots | 1 |
| 20:44, 17 December 2021 | Striker deadzone - medium range emergency shot.jpg (file) |  |
513 KB | A screenshot of striker using insane parking strats in order to overcome its deadzone. Category:In-game screenshots | 1 |
| 20:43, 17 December 2021 | Striker deadzone - close range emergency shot.jpg (file) |  |
694 KB | Striker fighting within deadzone range on an open spot. Watchtower remains are used as a stepping stool to allow striker to decrease dead zone from 100m to 50m, achieving a countershot. Category:In-game screenshots | 1 |
| 20:42, 17 December 2021 | Striker deadzone control okay.jpg (file) |  |
609 KB | Example of striker fighting within its deadzone range (<100m). On this screenshot striker uses backward incline to fire forward, instead of upwards, thus becoming useful. Category:In-game screenshots | 1 |
| 20:41, 17 December 2021 | Striker deadzone control bad.jpg (file) |  |
624 KB | An example of striker fighting in deadzone range (<100m). On this screenshot it utterly fails. Category:In-game screenshots | 1 |
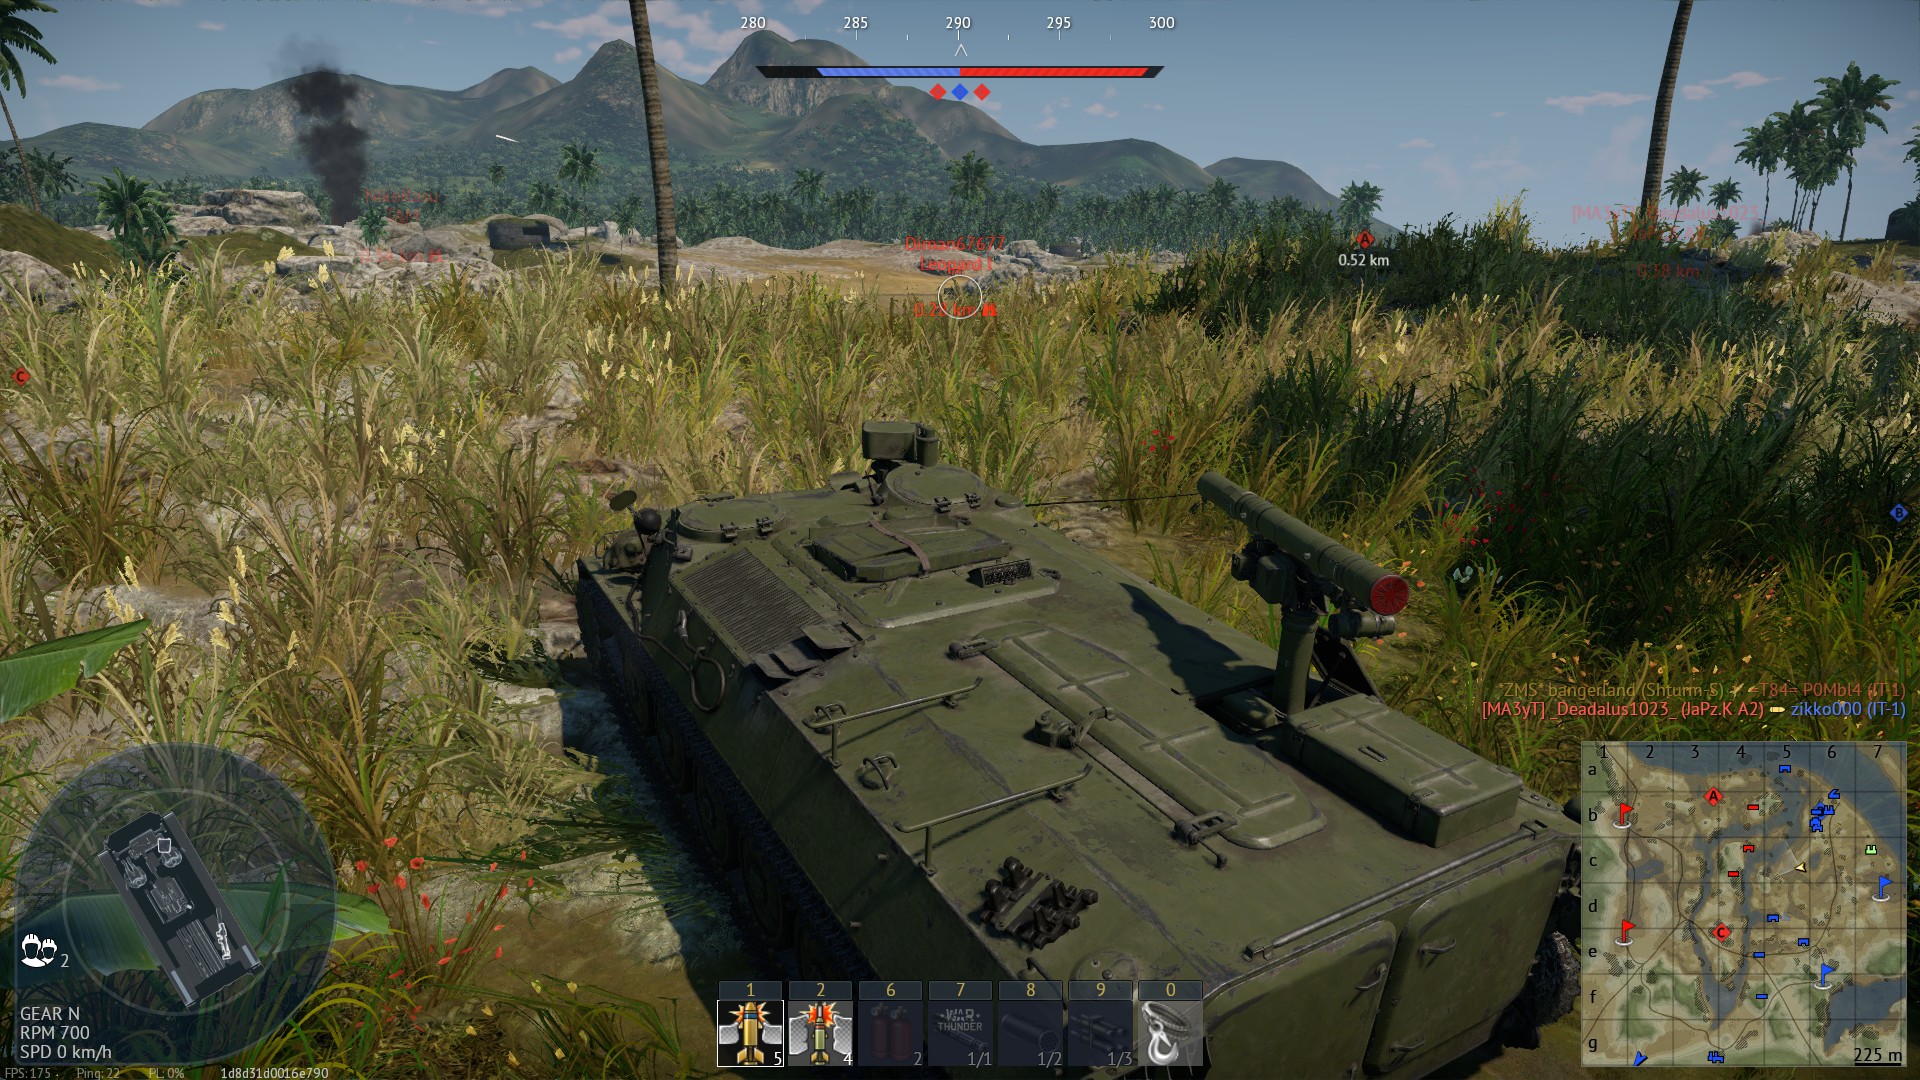
| 17:49, 2 September 2021 | Khrizantema-S desert hulldown AB.jpg (file) |  |
480 KB | By using launcher trick, solid cover and deep hulldown, Khrizantema can hide from other ATGM tanks and snipers and focus on advancing MBT's.Category:In-game screenshots | 1 |
| 17:48, 2 September 2021 | Khrizantema-S urban hulldown AB.jpg (file) |  |
540 KB | Khrizantema is short enough to hide behind building debris, but it's launcher is tall enough to aim above it, so in AB it's possible to fight other tanks over that. Category:In-game screenshots | 1 |
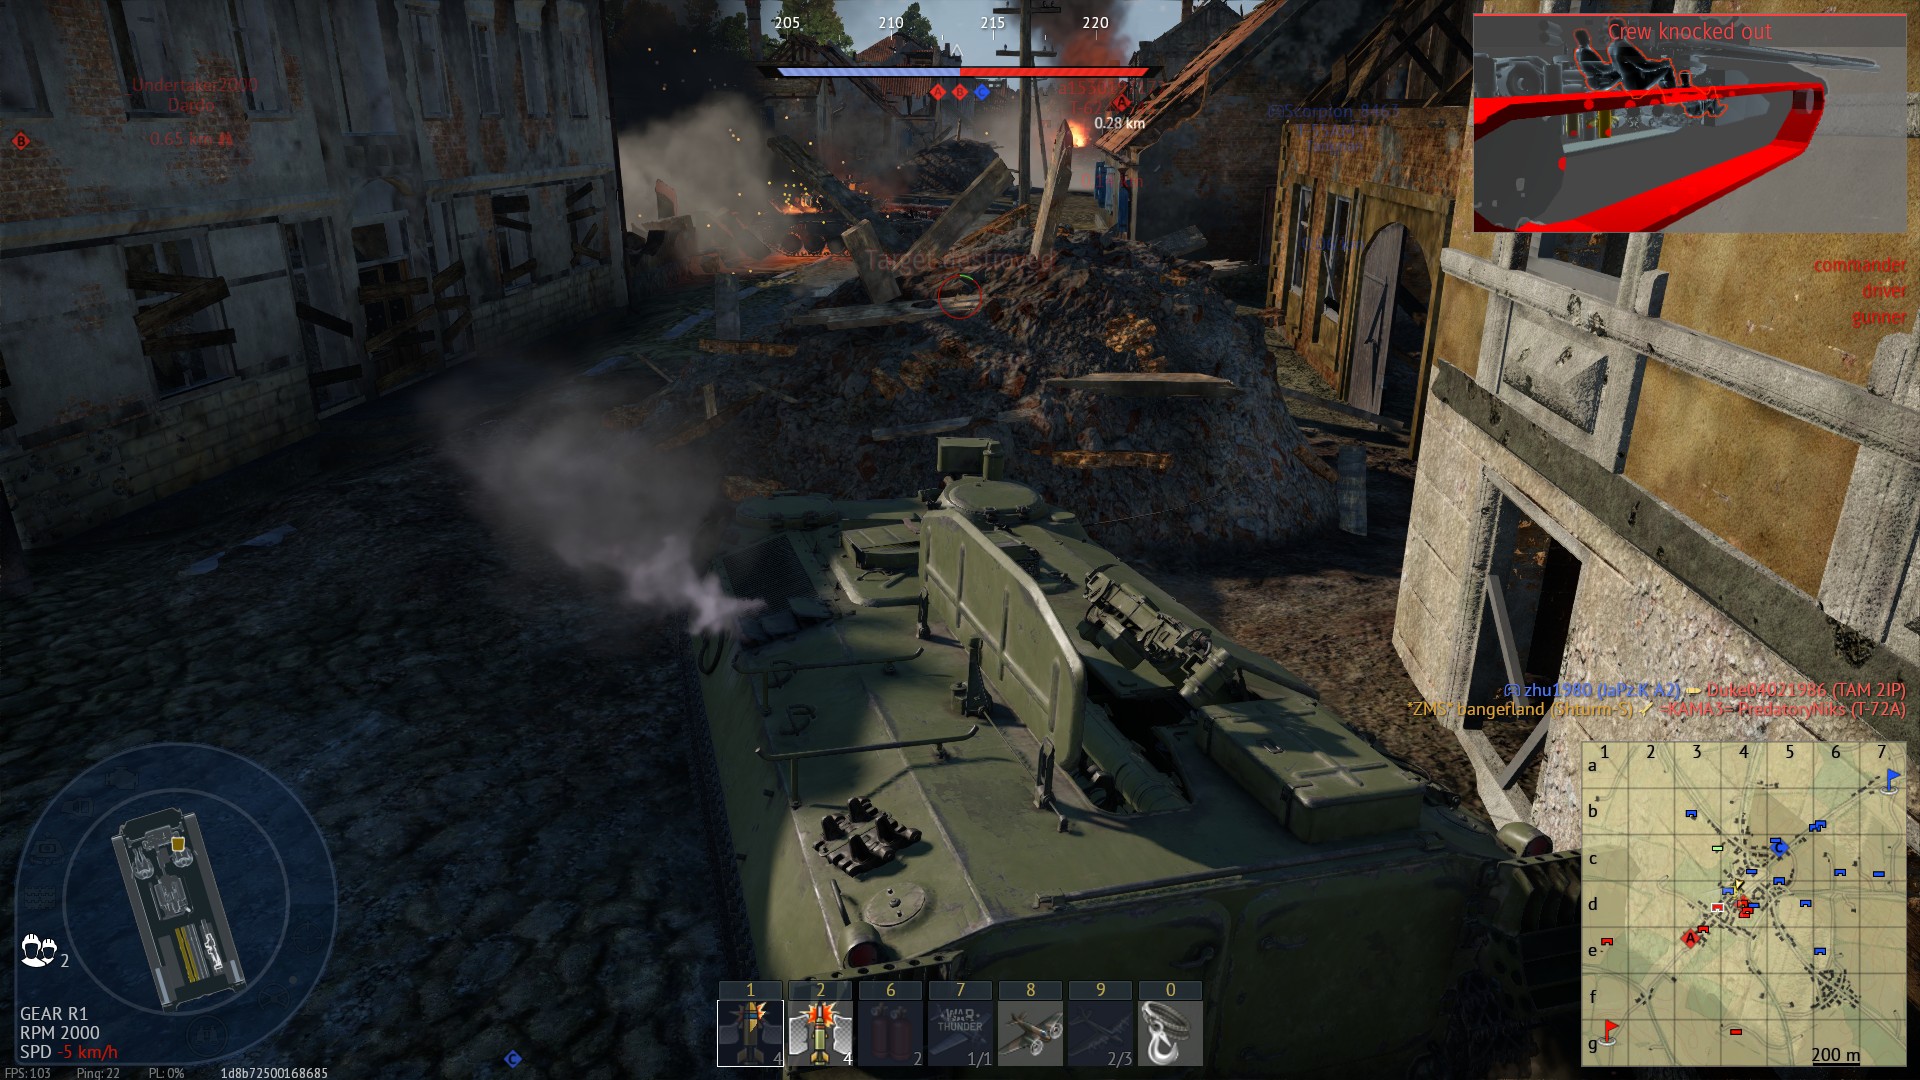
| 18:42, 24 August 2021 | Shturm-S ESS combat 3.jpg (file) |  |
311 KB | Screenshot is to be used with other "ESS combat" ones. Sometimes enemies will charge into smoke to find you. Thermal scope can also be used to sidestep them until the reload is finished, and even SPAAs like Falcon might not think about just randomly fi... | 1 |
| 18:42, 24 August 2021 | Shturm-S ESS combat 2.jpg (file) |  |
300 KB | Screenshot is to be used with other "ESS combat" ones. Step 2 is to enter sniper mode and to turn on Thermal scope and fire at incoming enemy tanks. When comparing vision to screenshot 1, you will notice that Shturm-S can see through it's own ESS, so i... | 1 |
| 18:42, 24 August 2021 | Shturm-S ESS combat 1.jpg (file) |  |
254 KB | Screenshot is to be used with other "ESS combat" ones. Step one is to use ESS and back off into a smoke wall. It is also recommended to move out of the firing line if possible, but even without doing that, the opponent may only hit the engine because o... | 1 |
| 18:42, 24 August 2021 | Shturm-S snipe stage 3.jpg (file) |  |
633 KB | Screenshot is to be used with other "snipe stage" ones. Step 3 is to leave binocular view and press "fire" again without touching any controls and observe enemy tank exploding. Do note that this screenshot also demonstrates adamant following of AB rule... | 1 |
| 18:42, 24 August 2021 | Shturm-S snipe stage 2.jpg (file) |  |
485 KB | Screenshot is to be used with other "snipe stage" ones. Second stage is to enter binocular view, as it has clear vision above Shturm-S and hold "fire" button on enemy tank to aim AB aim reticule at the enemy. Category:In-game screenshots | 1 |
| 18:42, 24 August 2021 | Shturm-S snipe stage 1.jpg (file) |  |
690 KB | Screenshot is to be used with other "snipe stage" ones. First stage is to pull the camera (and only camera) out of cover while being unsnipeable from the sides. Once the mark of the tank becomes bright red, tank should stop moving. [[Category:In-game s... | 1 |
| 18:42, 24 August 2021 | Shturm-S stepping on a ledge.jpg (file) |  |
659 KB | Shturm-S can snipe from low ground by using small objects to pull tself up. Feasible in both AB and RB. Category:In-game screenshots | 1 |
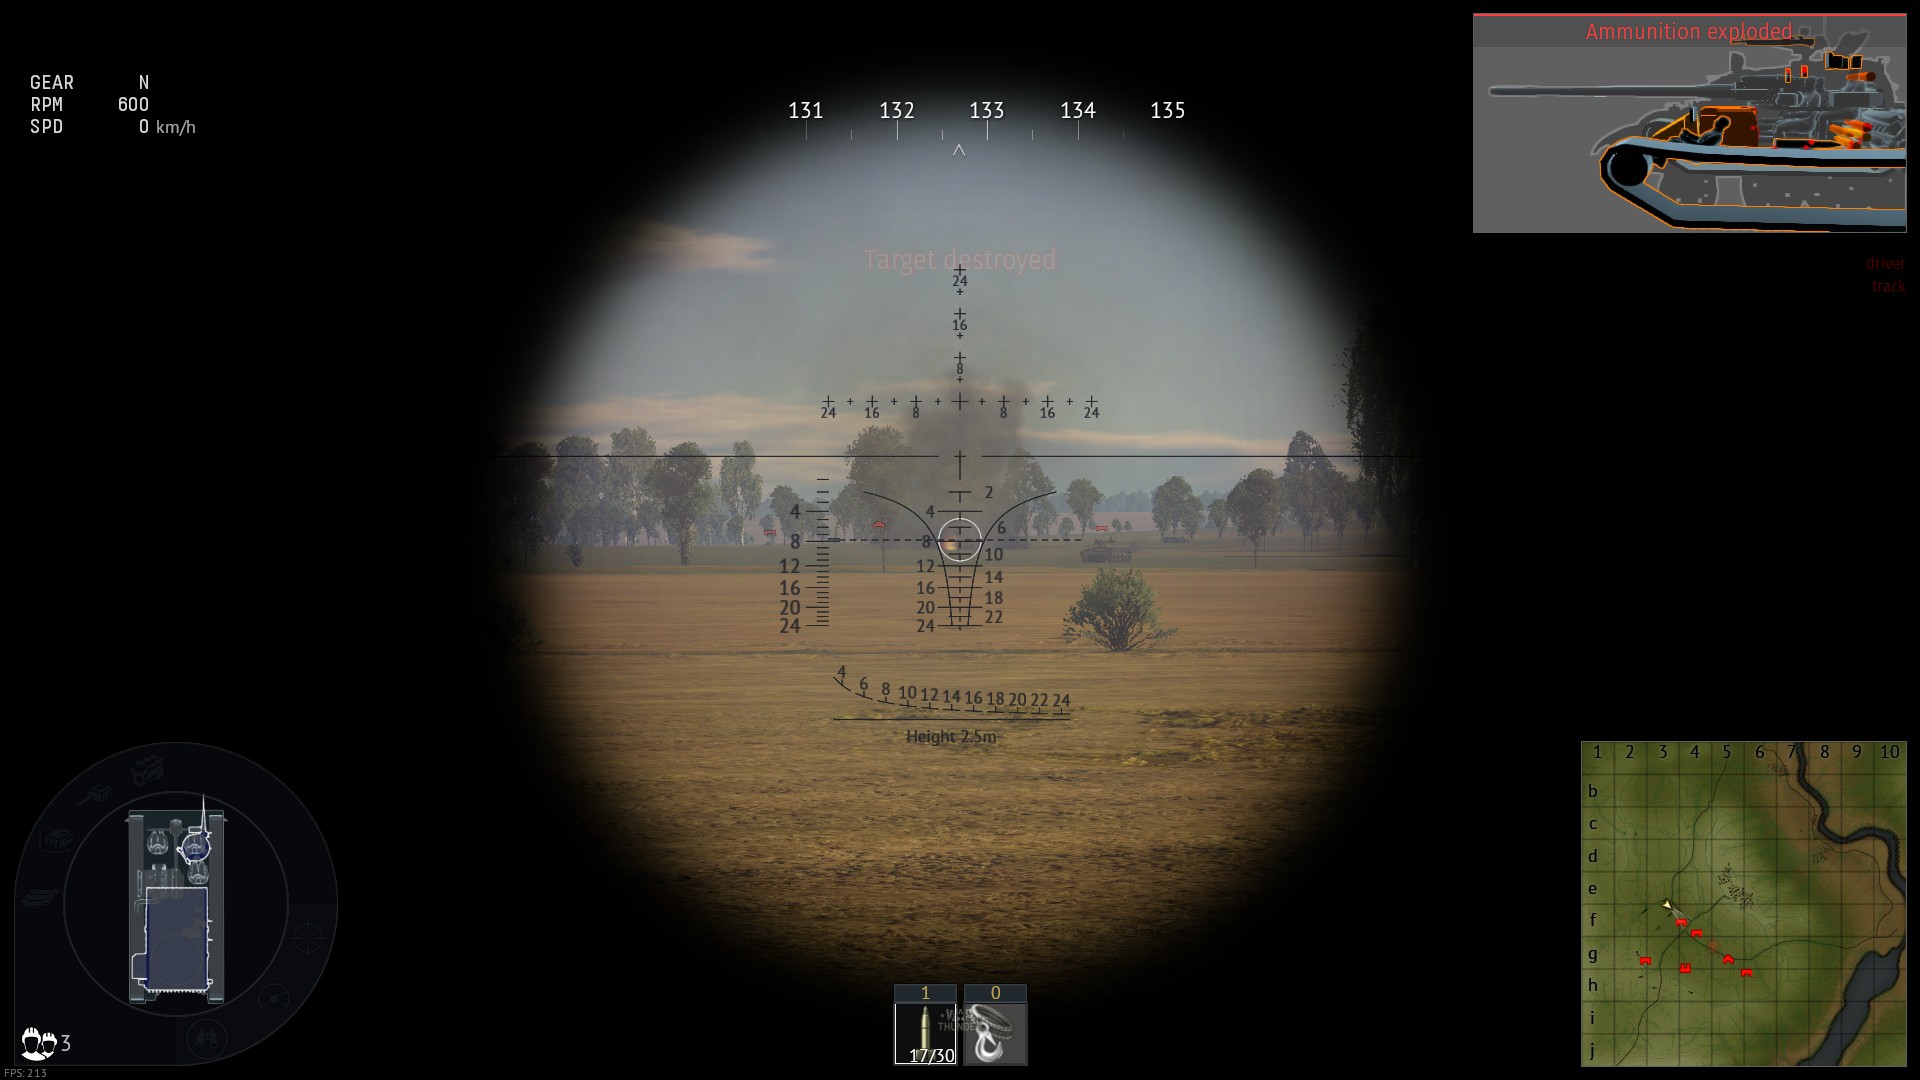
| 18:42, 24 August 2021 | Shturm-S obliterated by CM25.jpg (file) |  |
669 KB | Demonstration of what happens if you do not follow the rules from questionnaire in AB section of Shturm-S tactics. Category:In-game screenshots | 1 |
| 18:42, 24 August 2021 | Shturm-S HE missiles efficiency AB.jpg (file) |  |
516 KB | Since Shturm-S's HE is very agile, it can be used in melee range in AB, for example, for guarding corridors like this one. Category:In-game screenshots | 1 |
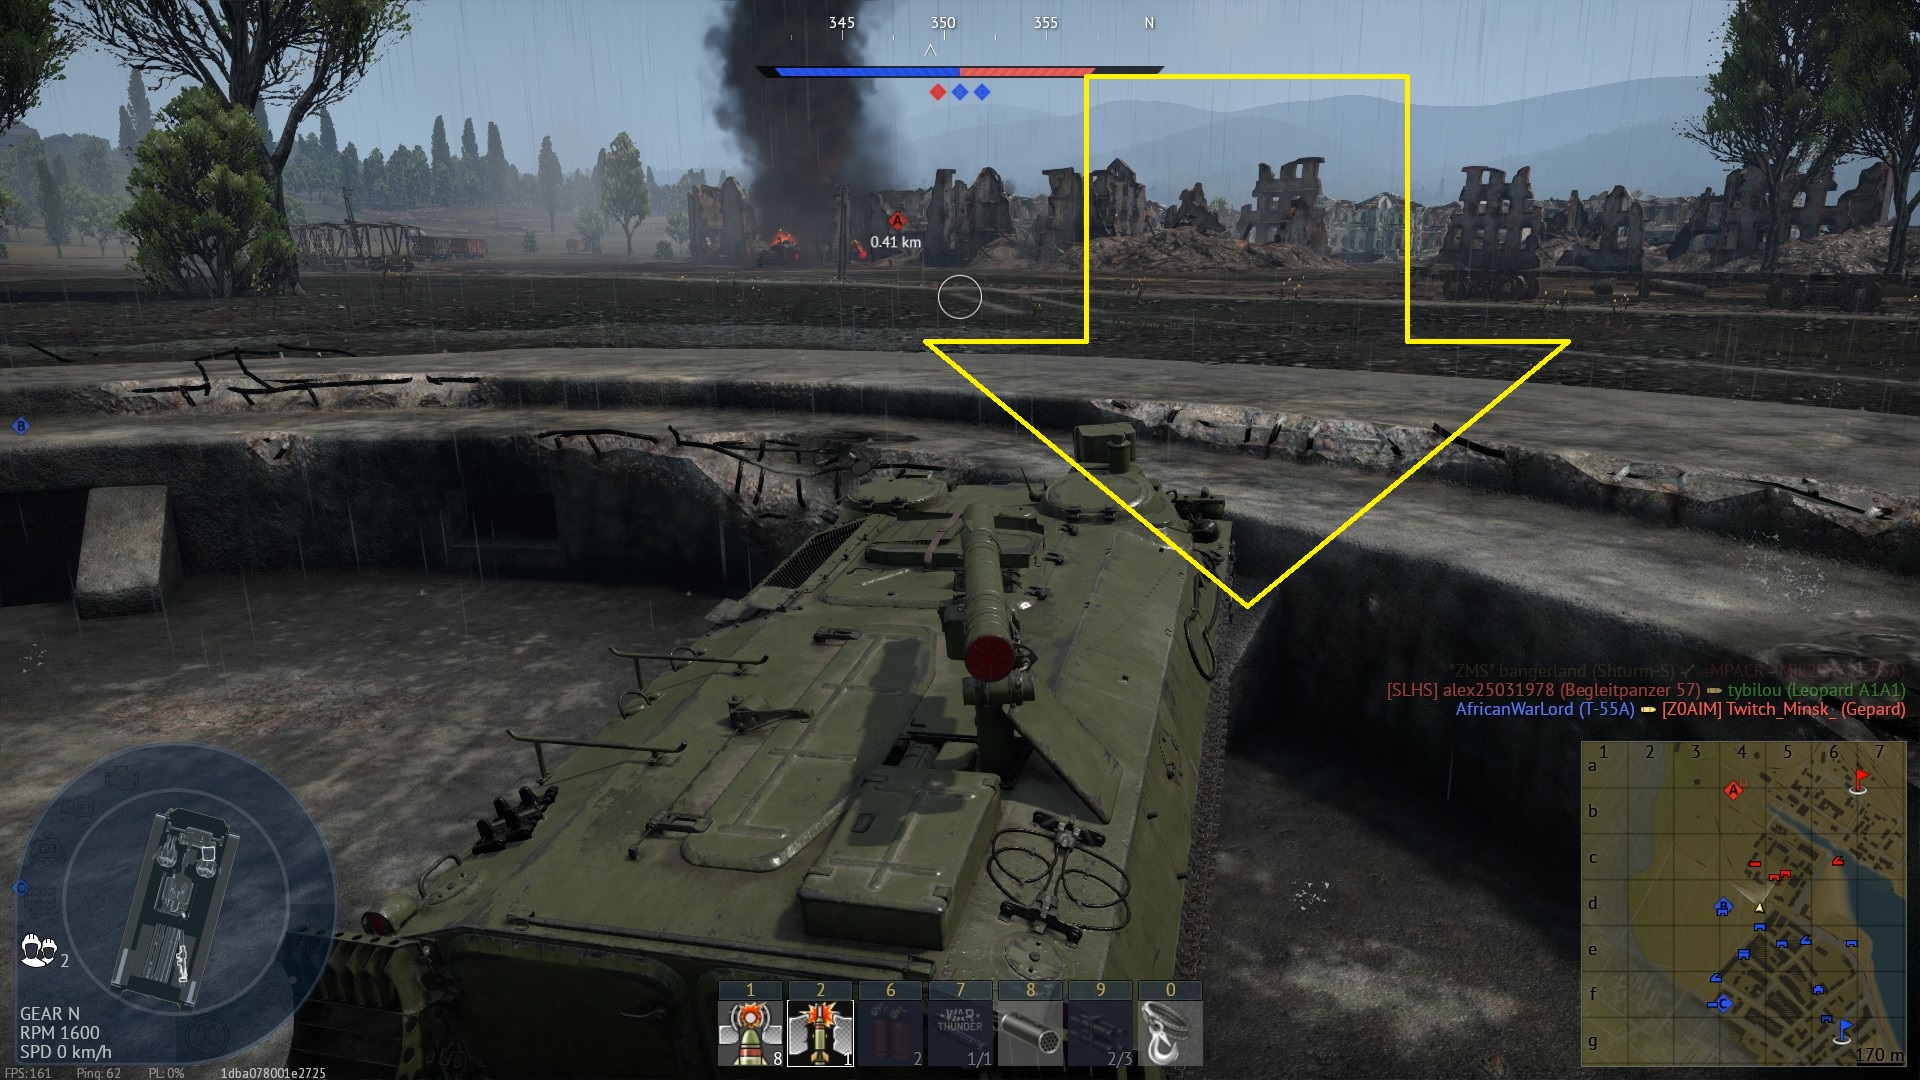
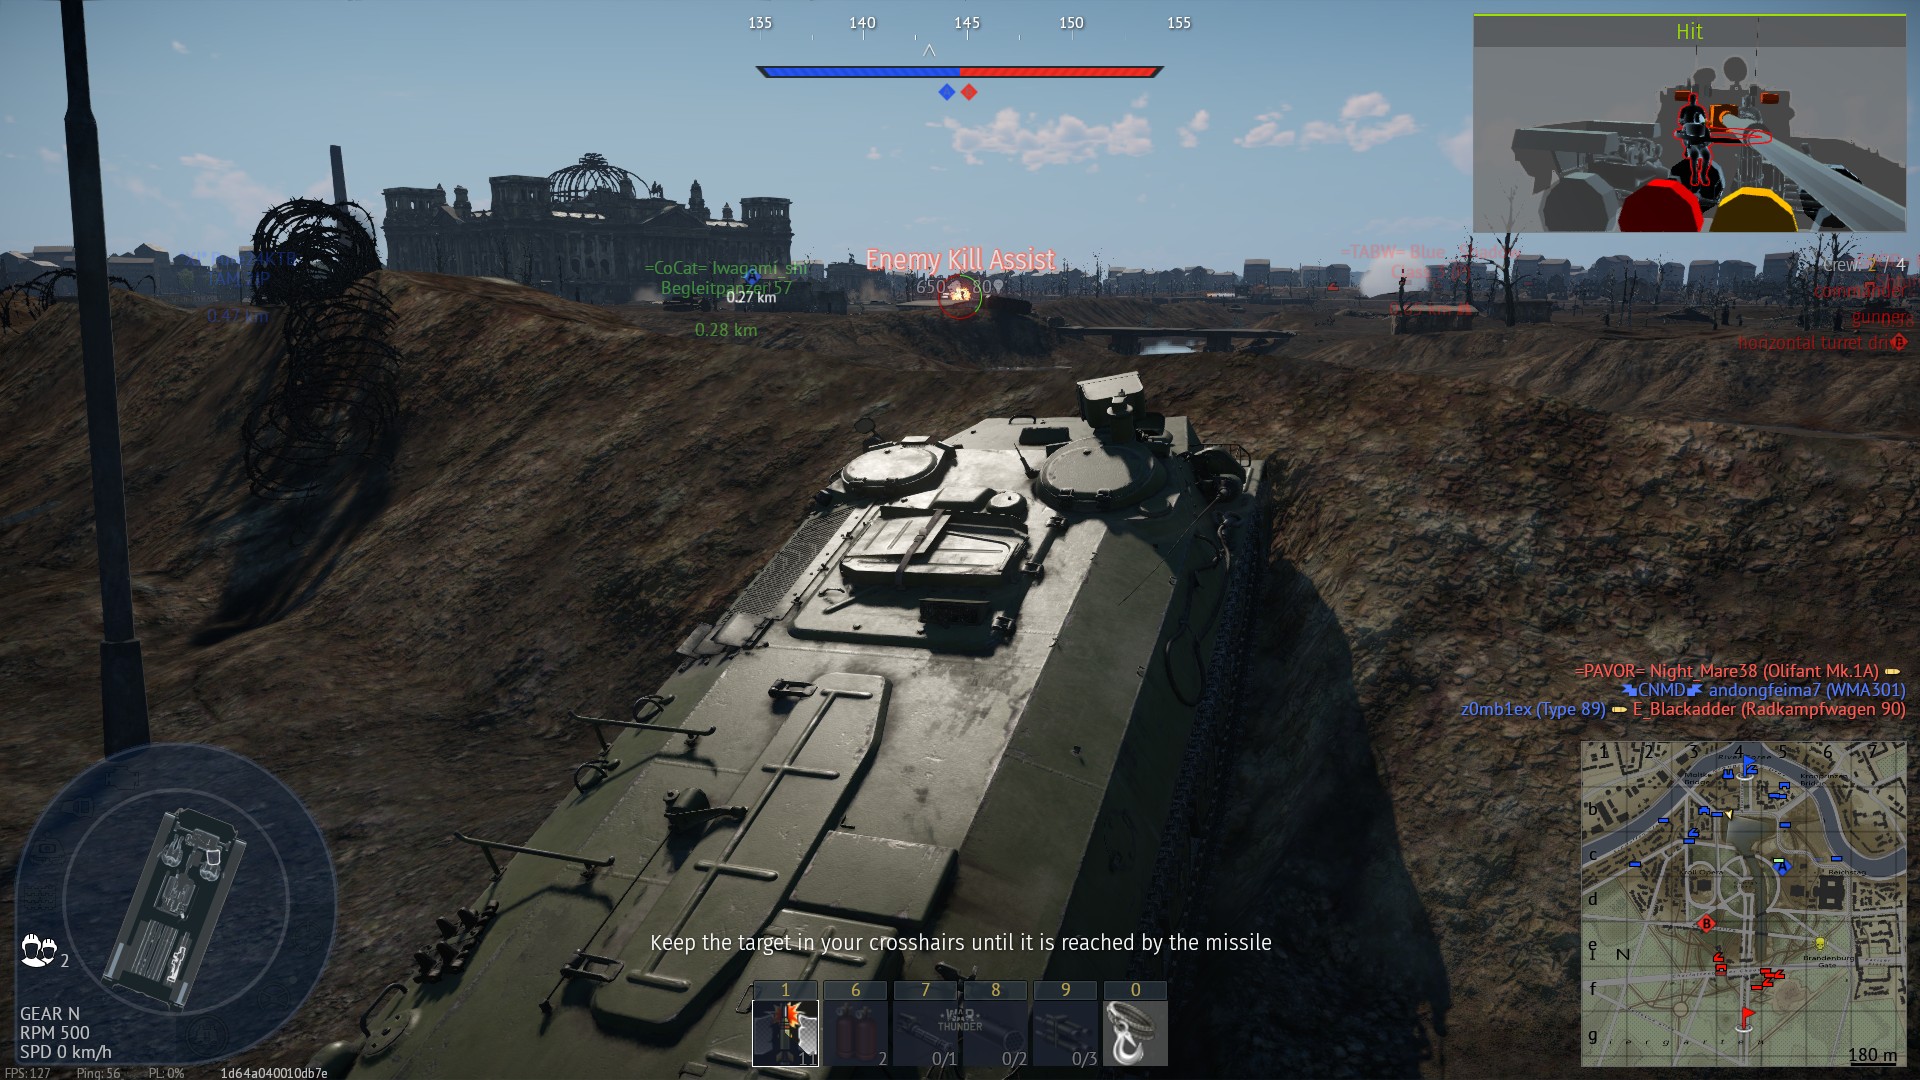
| 18:42, 24 August 2021 | Demonstration of Shturm-S launcher aim usefulness for AB.jpg (file) |  |
576 KB | Shturm-S is hidden behind a rock (left portion of a screen is the rock) with no way to reply to a heavy tank camping just outside of it's camera reach. Launcher aim abuse allows it to destroy the camping tank. Category:In-game screenshots | 1 |
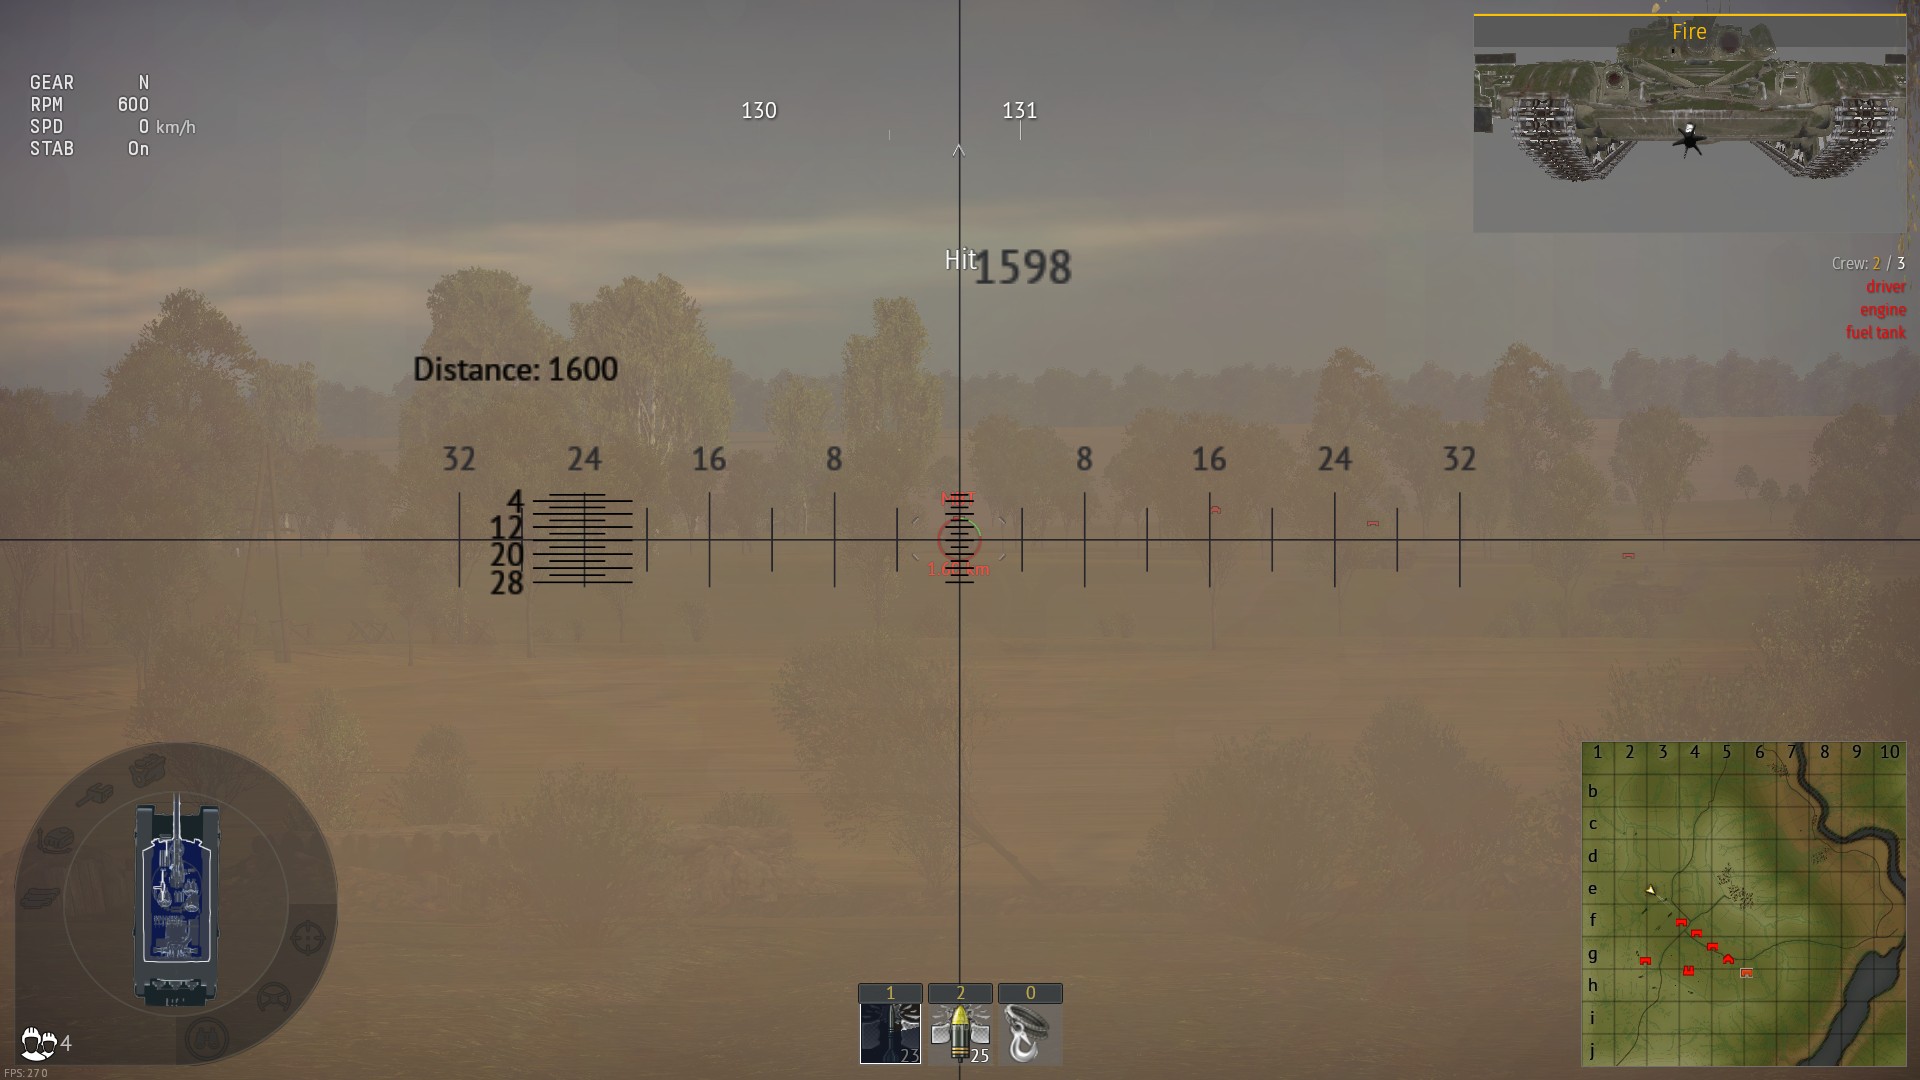
| 18:41, 24 August 2021 | Shturm-S maximum range for launcher aim RB.jpg (file) |  |
613 KB | Demonstration of use of "launcher aim" for shturm-S. No horizontal turret drive. Crew is untrained, but maximum targeting. Category:In-game screenshots | 1 |
| 21:03, 13 August 2021 | Shturm-S using generic sniping spot in AB.jpg (file) |  |
744 KB | Shturm-S is using high ground while being angled while only firing via binoculars while using HE. All together it allows it to survive AB snipers in this spot and even countersnipe ATGM tank.Category:In-game screenshots | 1 |
| 18:22, 13 August 2021 | Shturm-S hanging on a hill AB sniping spot.jpg (file) |  |
500 KB | Carrier is using generally overlooked/unusable vantage point in AB. Category:In-game screenshots | 1 |
| 17:44, 13 August 2021 | Shturm-S sniping off plateau.jpg (file) |  |
449 KB | It is physically impossible to get sniped here for Shturm-S as the plateau is protecting it, so it can be used in AB by it. Category:In-game screenshots | 1 |
| 17:37, 13 August 2021 | Shturm-S checks sides.jpg (file) |  |
548 KB | Demonstration of Shturm-S checking sides to avoid countersnipe. AB mode. Category:In-game screenshots | 1 |
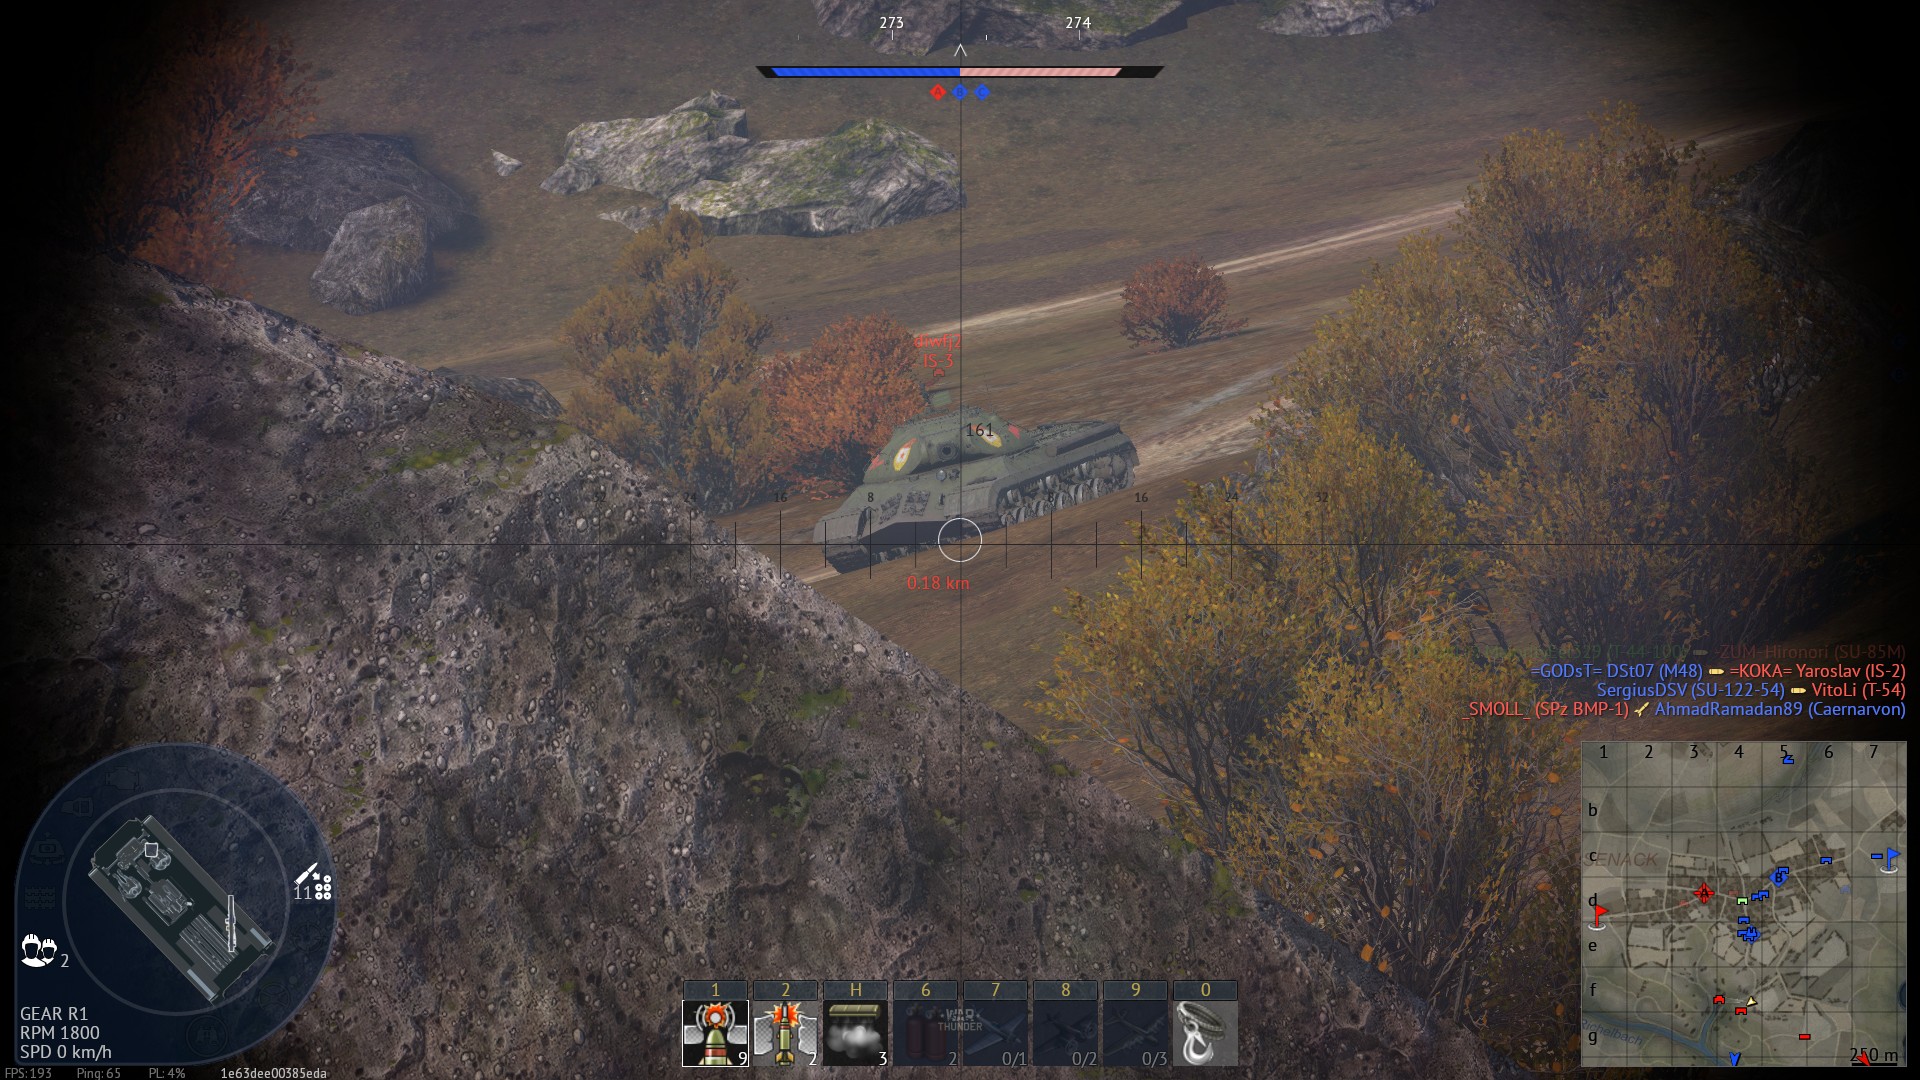
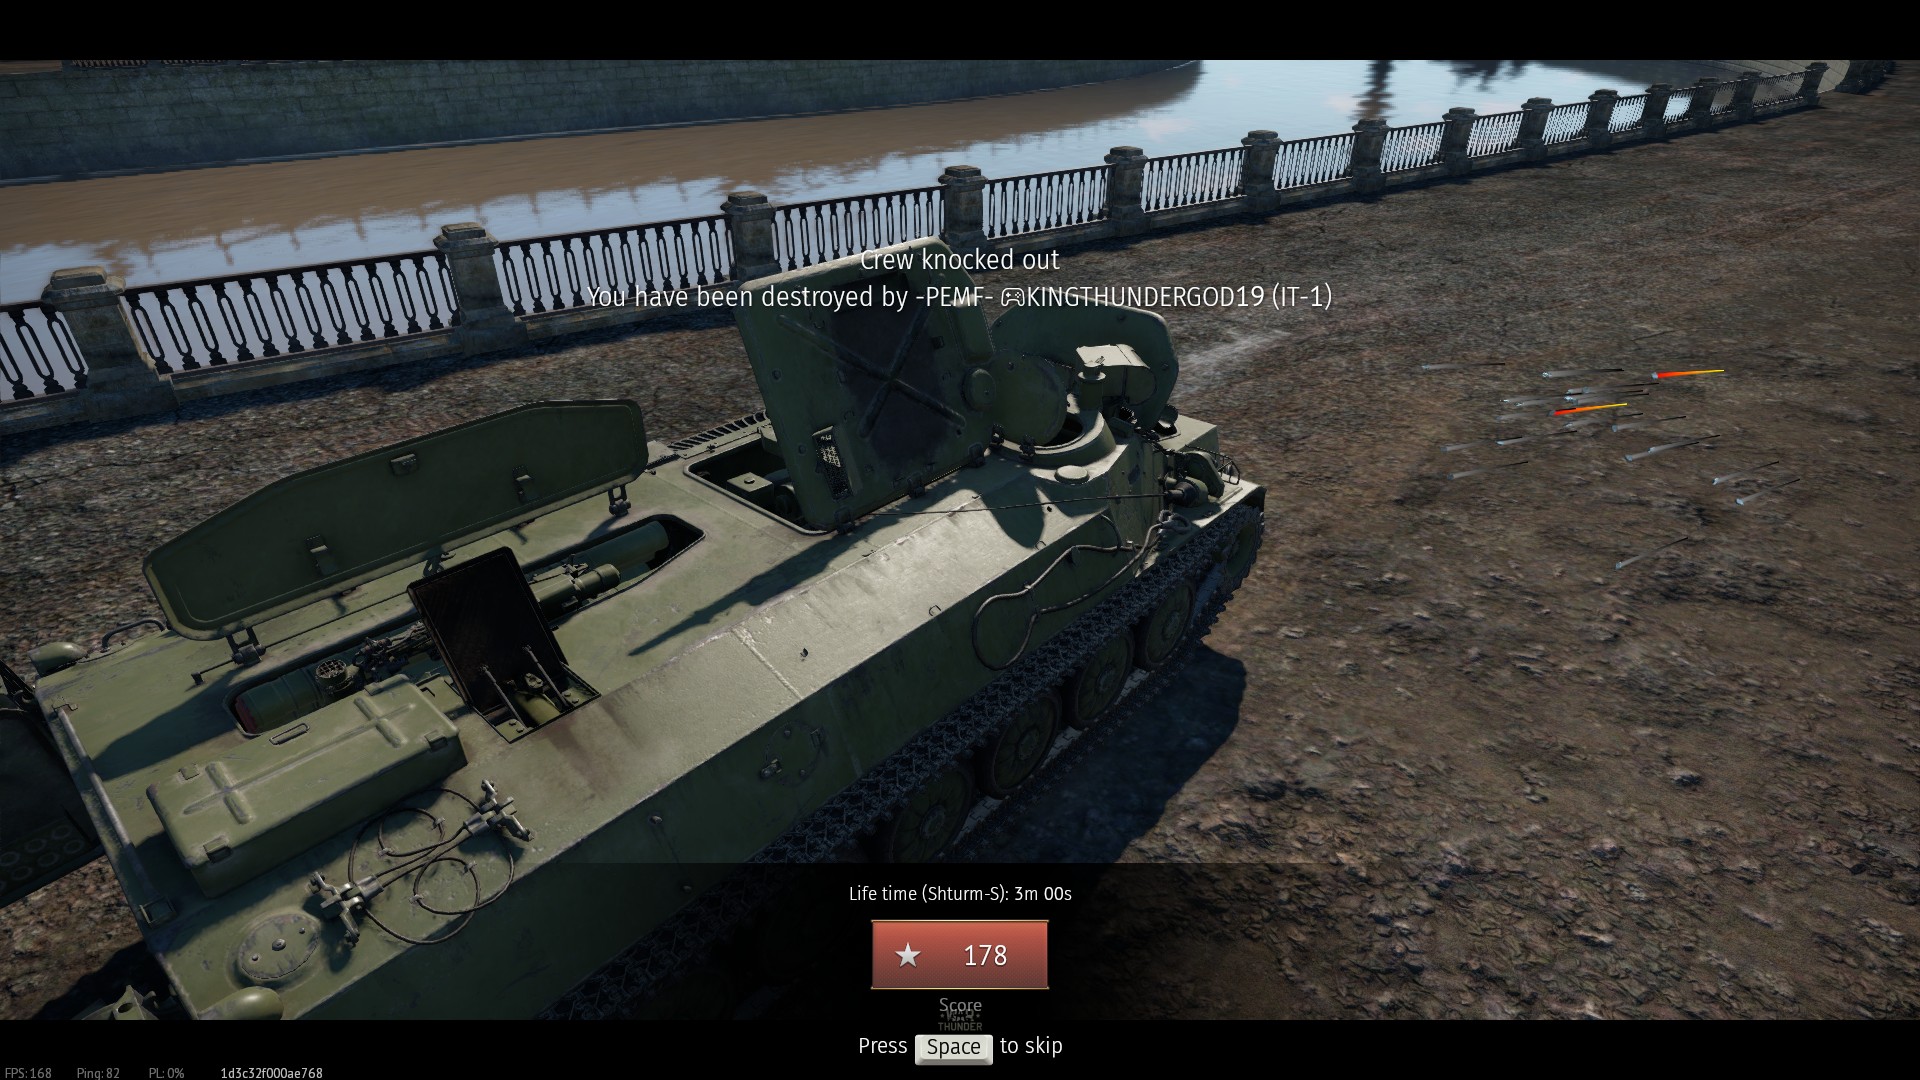
| 17:21, 13 August 2021 | Shturm-S obliterated by IT-1 missing shot from 20 m.jpg (file) |  |
499 KB | As name suggests, IT-1 overpressure wave has ridicilous range and Shturm-S has poor 8 mm of armour, meaning it's HEAT pressure attack is super effective.Category:In-game screenshots | 1 |
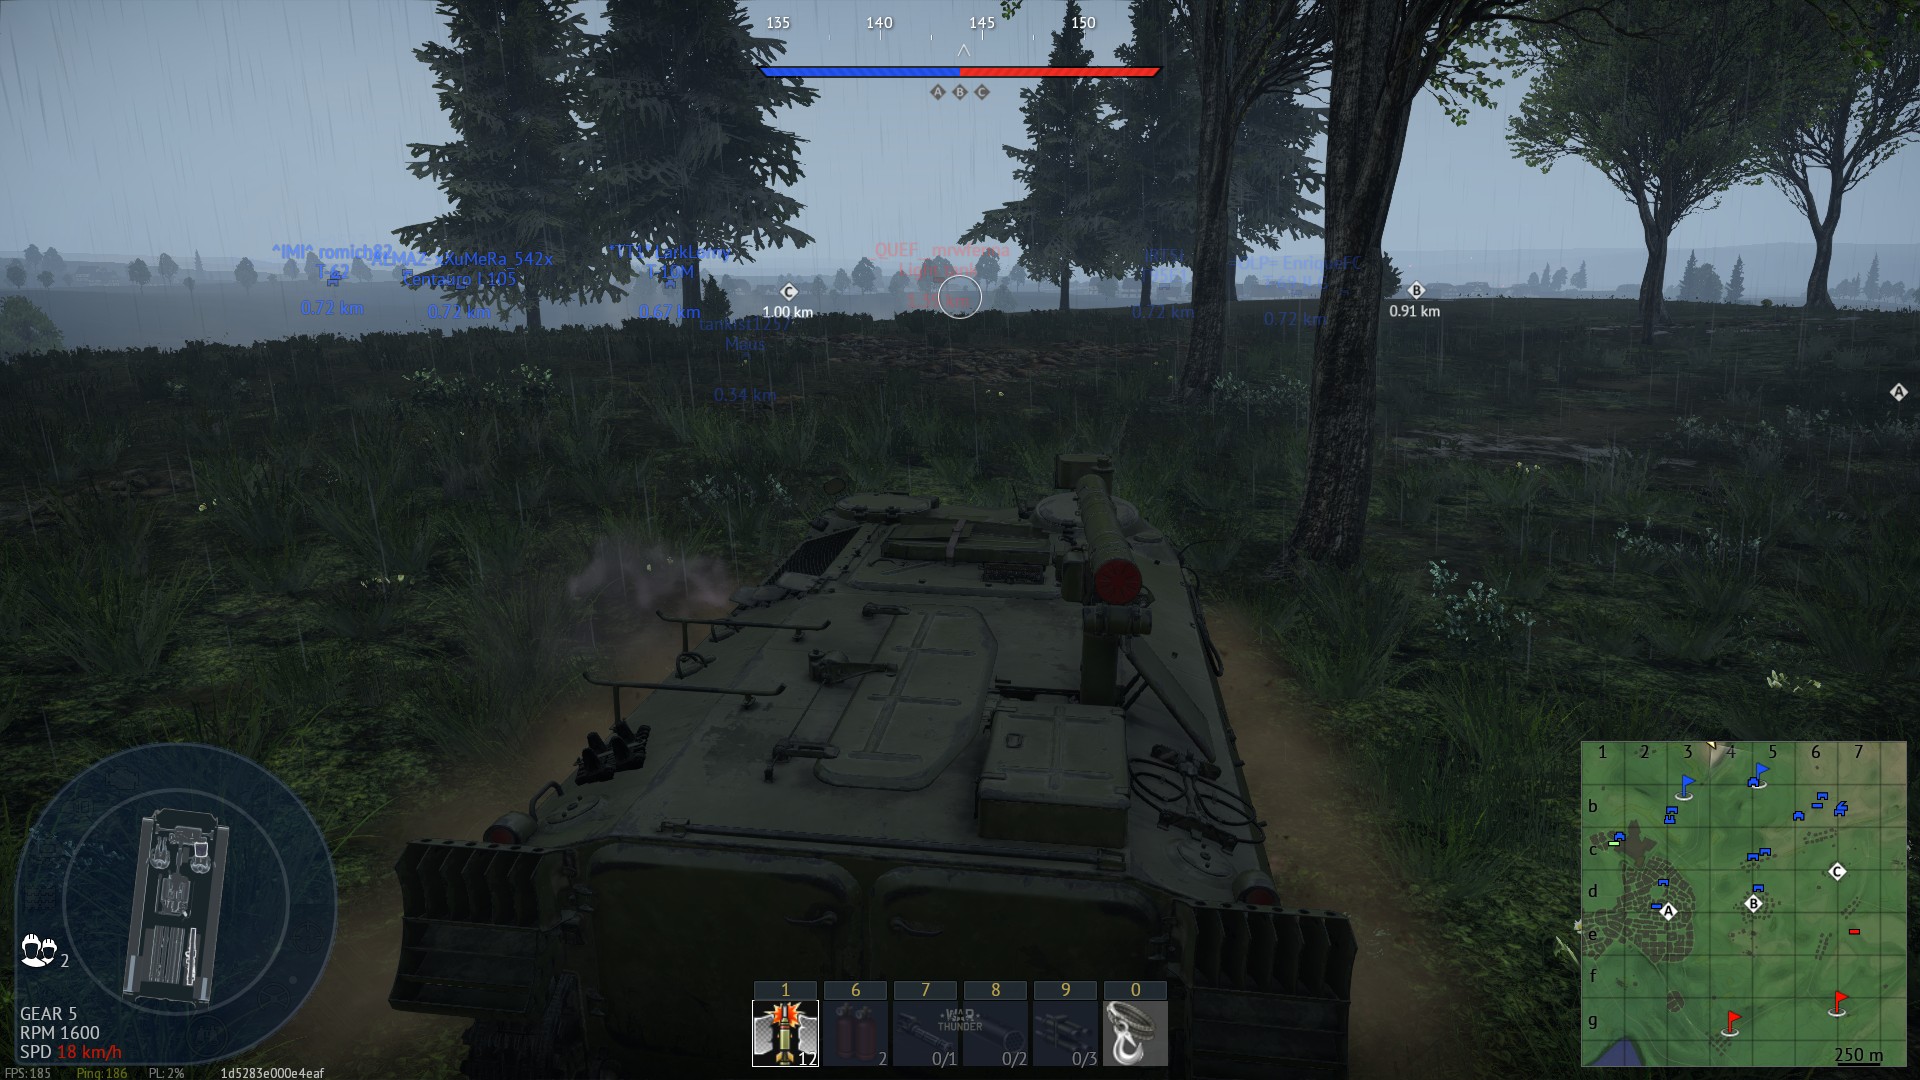
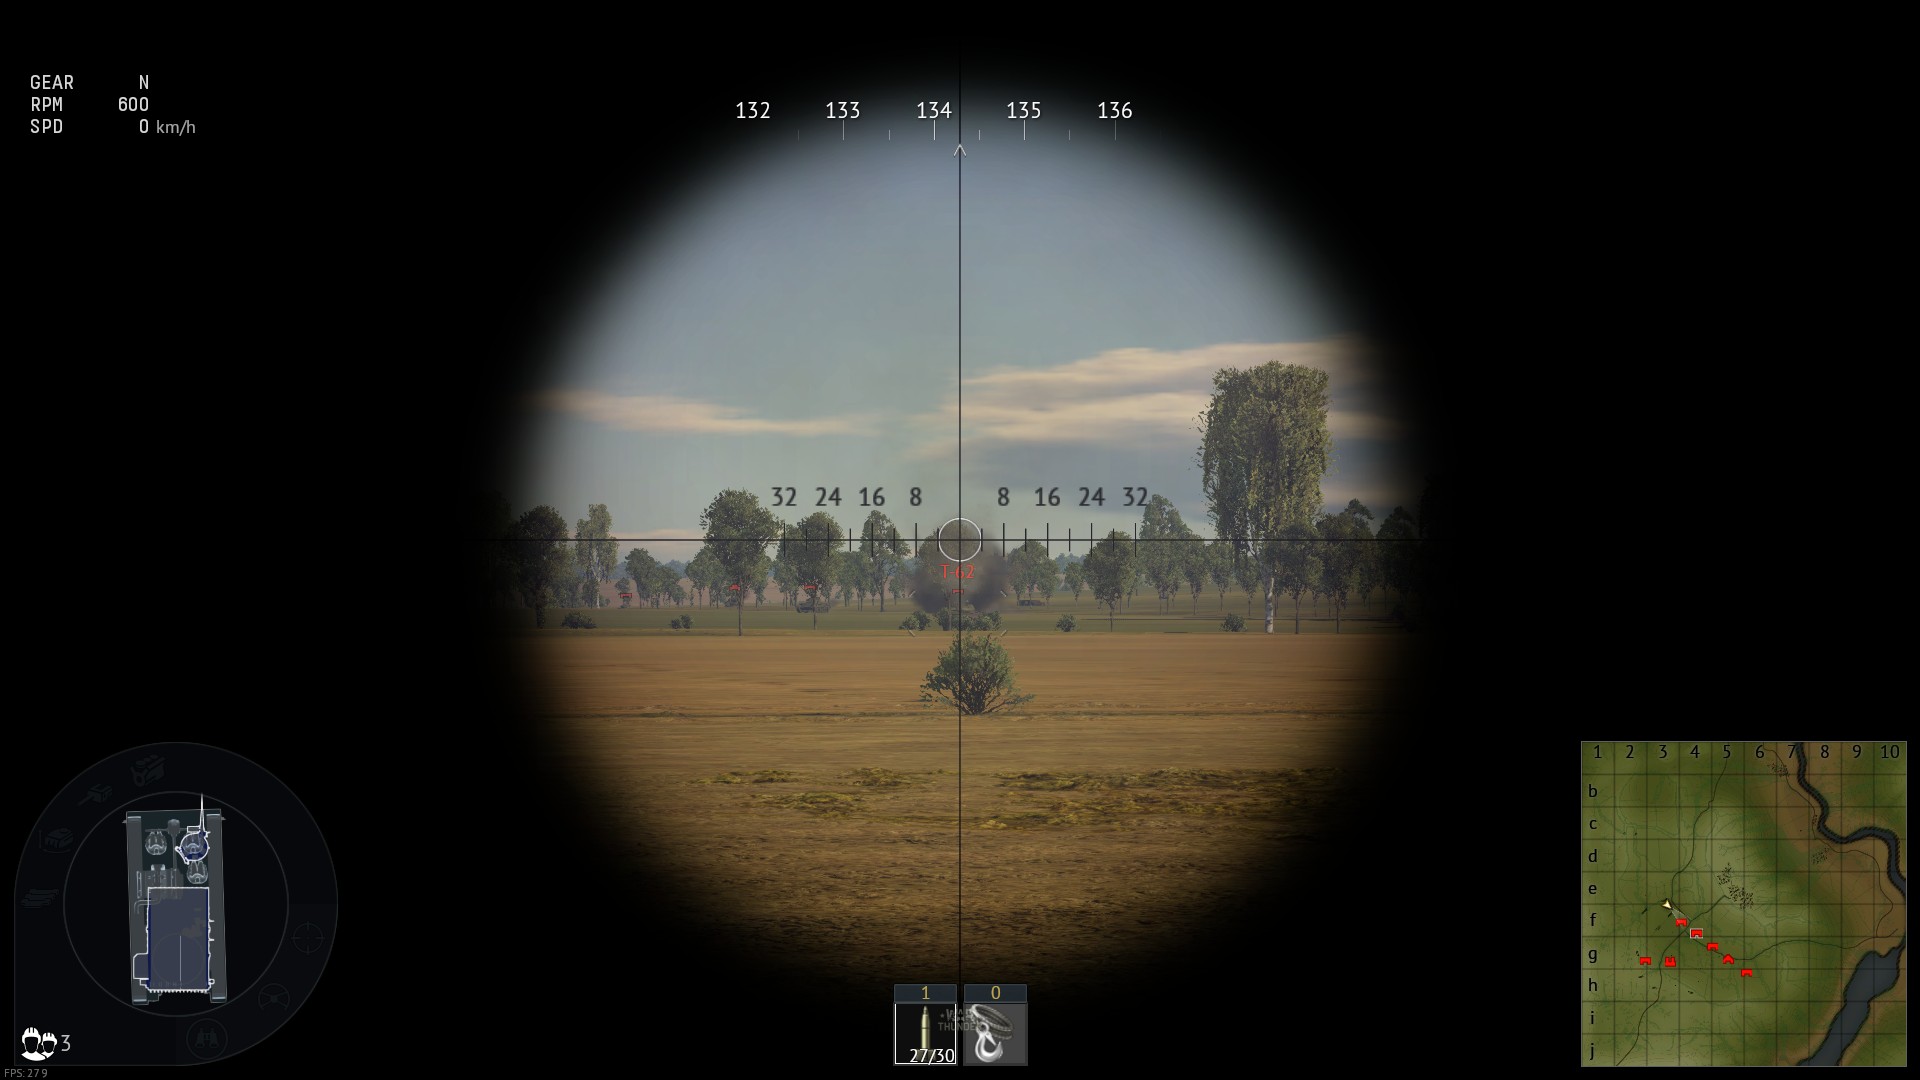
| 17:16, 13 August 2021 | Shturm-S swimming.jpg (file) |  |
416 KB | Self-explanatory. Category:In-game screenshots | 1 |
| 17:11, 13 August 2021 | Shturm-S low profile demonstration.jpg (file) |  |
470 KB | Self-explanatory. Only the launcher is exposed in such a spot. Category:In-game screenshots | 1 |
| 22:31, 12 August 2021 | It-1 uses light tank remains as a shield.jpg (file) |  |
554 KB | A random wheeled tank is used as a shield for IT-1 against HEAT-FS. Category:In-game screenshots | 1 |
| 15:53, 10 August 2021 | Unupgraded bmp1 kills it1 camp squad.jpg (file) |  |
762 KB | Original BMP-1 missile can be launched vertically and softly guided, thus BMP-1 launches it over the wall to annihilate IT-1 squad from complete safety. Screenshot is made in AB mode. Category:In-game screenshots | 1 |
| 15:50, 10 August 2021 | IT-1 full hulldown shot win.jpg (file) |  |
330 KB | IT-1 fired high and used sniper scope to ensure that missile doesn't curve down or anything like that, thus not hitting it's own cover. Category:In-game screenshots | 1 |
| 15:48, 10 August 2021 | IT-1 full hulldown shot fail.jpg (file) |  |
467 KB | IT-1 shot its own cover for aiming too low. Category:In-game screenshots | 1 |
| 15:46, 10 August 2021 | IT-1 deep hulldown.jpg (file) |  |
653 KB | IT-1 deep hulldown at a random spot. Category:In-game screenshots | 1 |
| 15:45, 10 August 2021 | It-1 short hulldown.jpg (file) |  |
638 KB | IT-1 hulldown with exposed turret. Category:In-game screenshots | 1 |
| 15:41, 10 August 2021 | It-1 atgm area of effect.jpg (file) |  |
641 KB | Demonstration of area of effect of IT-1 ATGM. Seems a little bit random, but general area is outlined with red lines. Category:In-game screenshots | 1 |
| 15:39, 10 August 2021 | IT-1 fights in town against U-SH.jpg (file) |  |
642 KB | IT-1 destroys town to find and destroy U-SH Category:In-game screenshots | 1 |
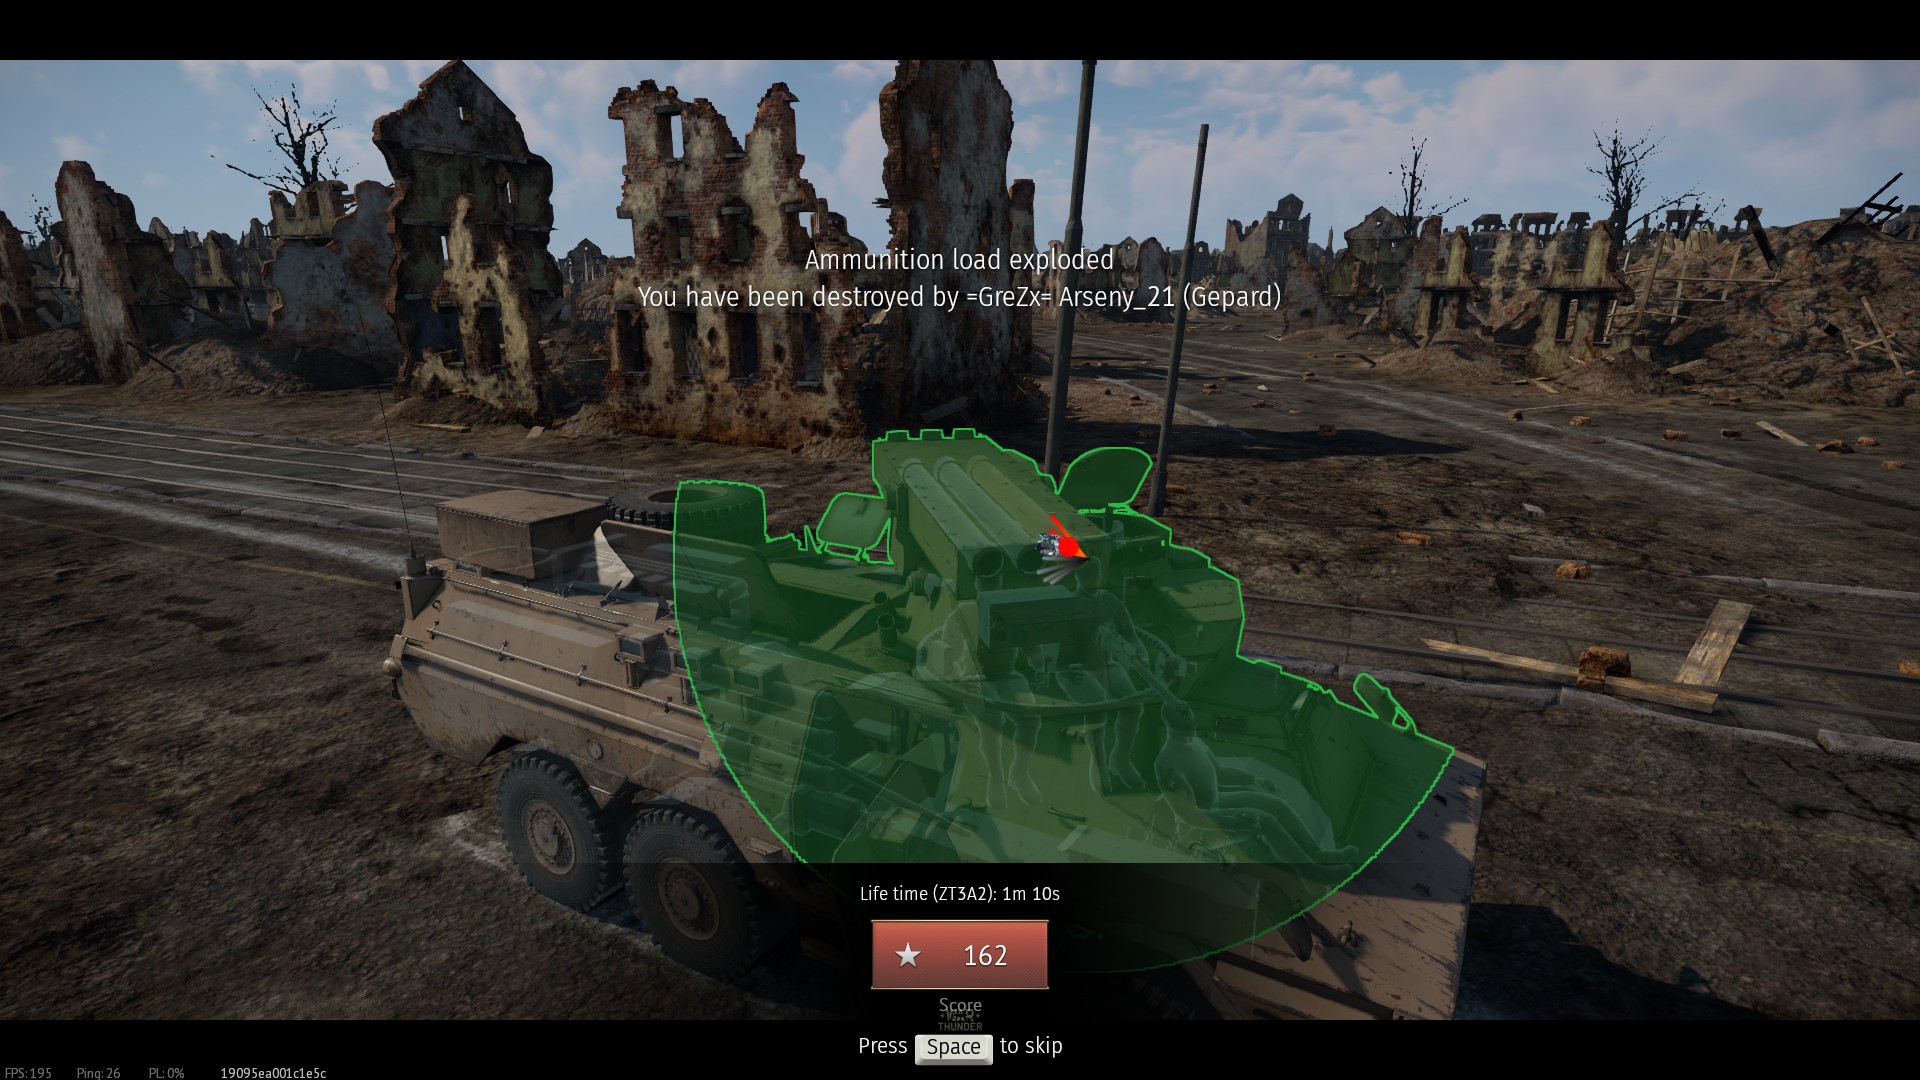
| 00:46, 29 June 2021 | ZT3A2 fragility example.jpg (file) |  |
471 KB | Gepard 35 mm HE-I detonates ammo rack of ZT3A2. | 1 |
| 00:37, 29 June 2021 | ZT3A2 Climbed impossible spot and sniped.jpg (file) |  |
555 KB | Maximum movement upgrades on ZT3A2 used to climb near unreachable spot for west team to snipe unfortunate people attacking C cap. Arcade mode. | 1 |
| 17:57, 15 September 2020 | Rooikat hullbreaks striker with 76mm APFSDS.jpg (file) |  |
104 KB | Death replay camera doesn't cooperate, so i'll at least try to cut down the original screenshot in order to make important pieces bigger (at the cost of authentity). --~~~~ | 2 |
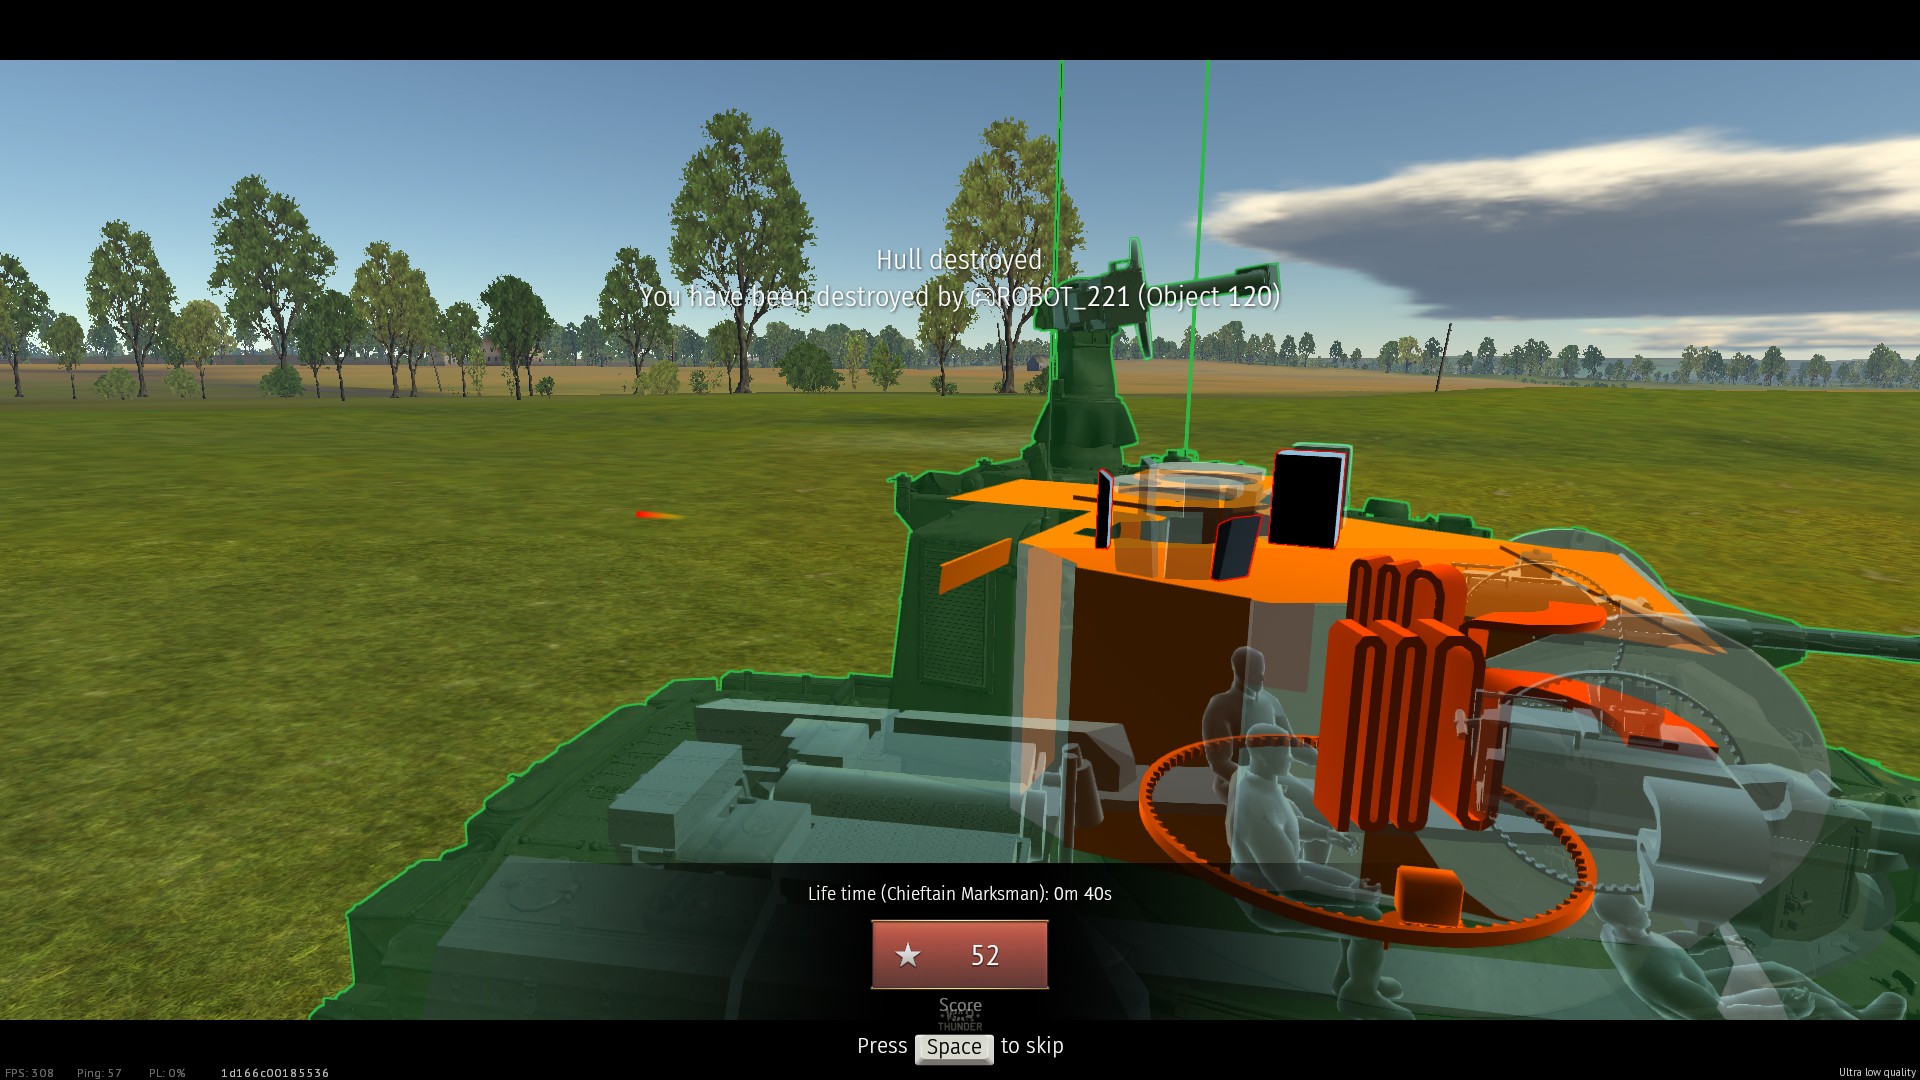
| 00:53, 12 September 2020 | Chieftain marksman hullbreak.jpg (file) |  |
400 KB | Object 120 hullbreaks Chieftain Marksman. No fatal damage was done to any components, which means, that hullbreak was triggered by just doing damage to turret. Seems to be a "feature" of update "raining fire". Category:In-game screenshots | 1 |
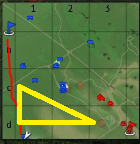
| 13:16, 6 July 2020 | Type 89 rush.PNG (file) |  |
40 KB | Short map example for type 89. Red is path of type 89 trying to get to sniper spot with his buddies. Yellow is representing sector in which type 89 is trying to keep enemy sniper down in his hulldown spot. | 1 |
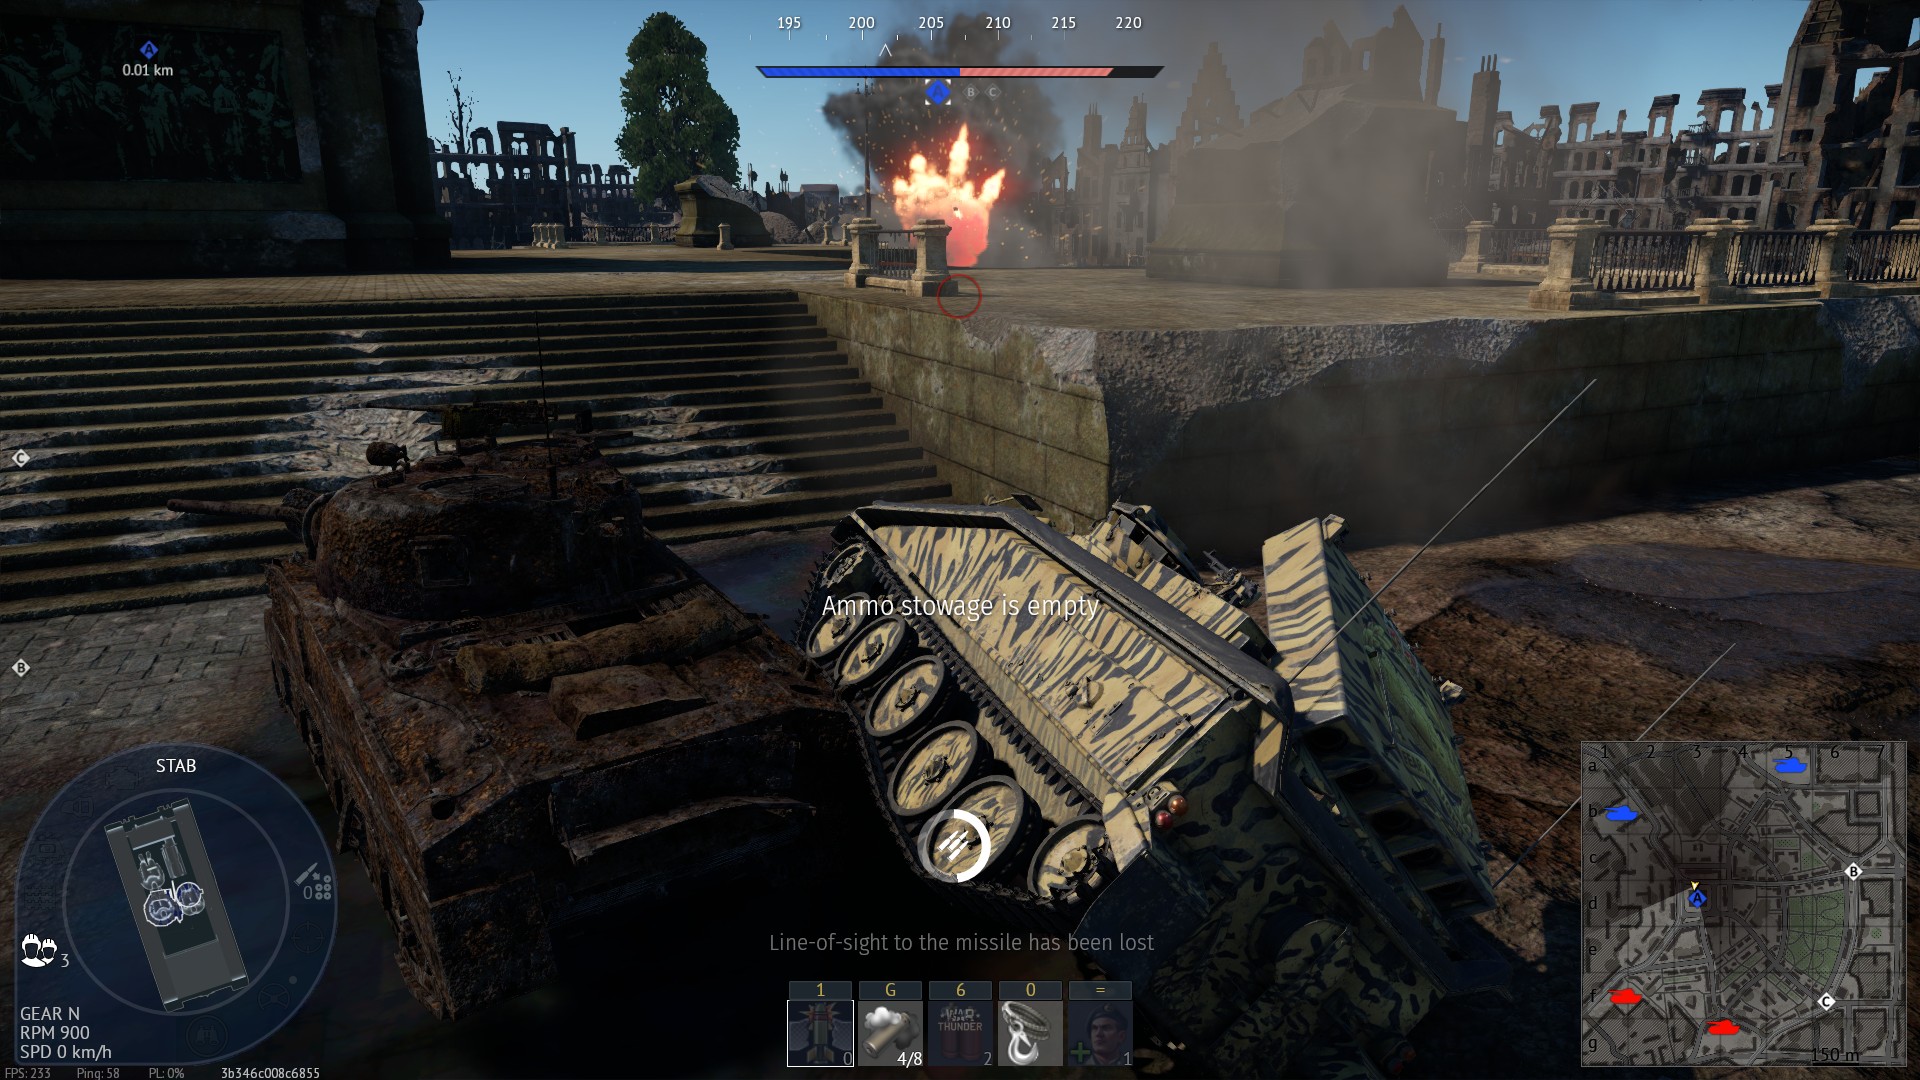
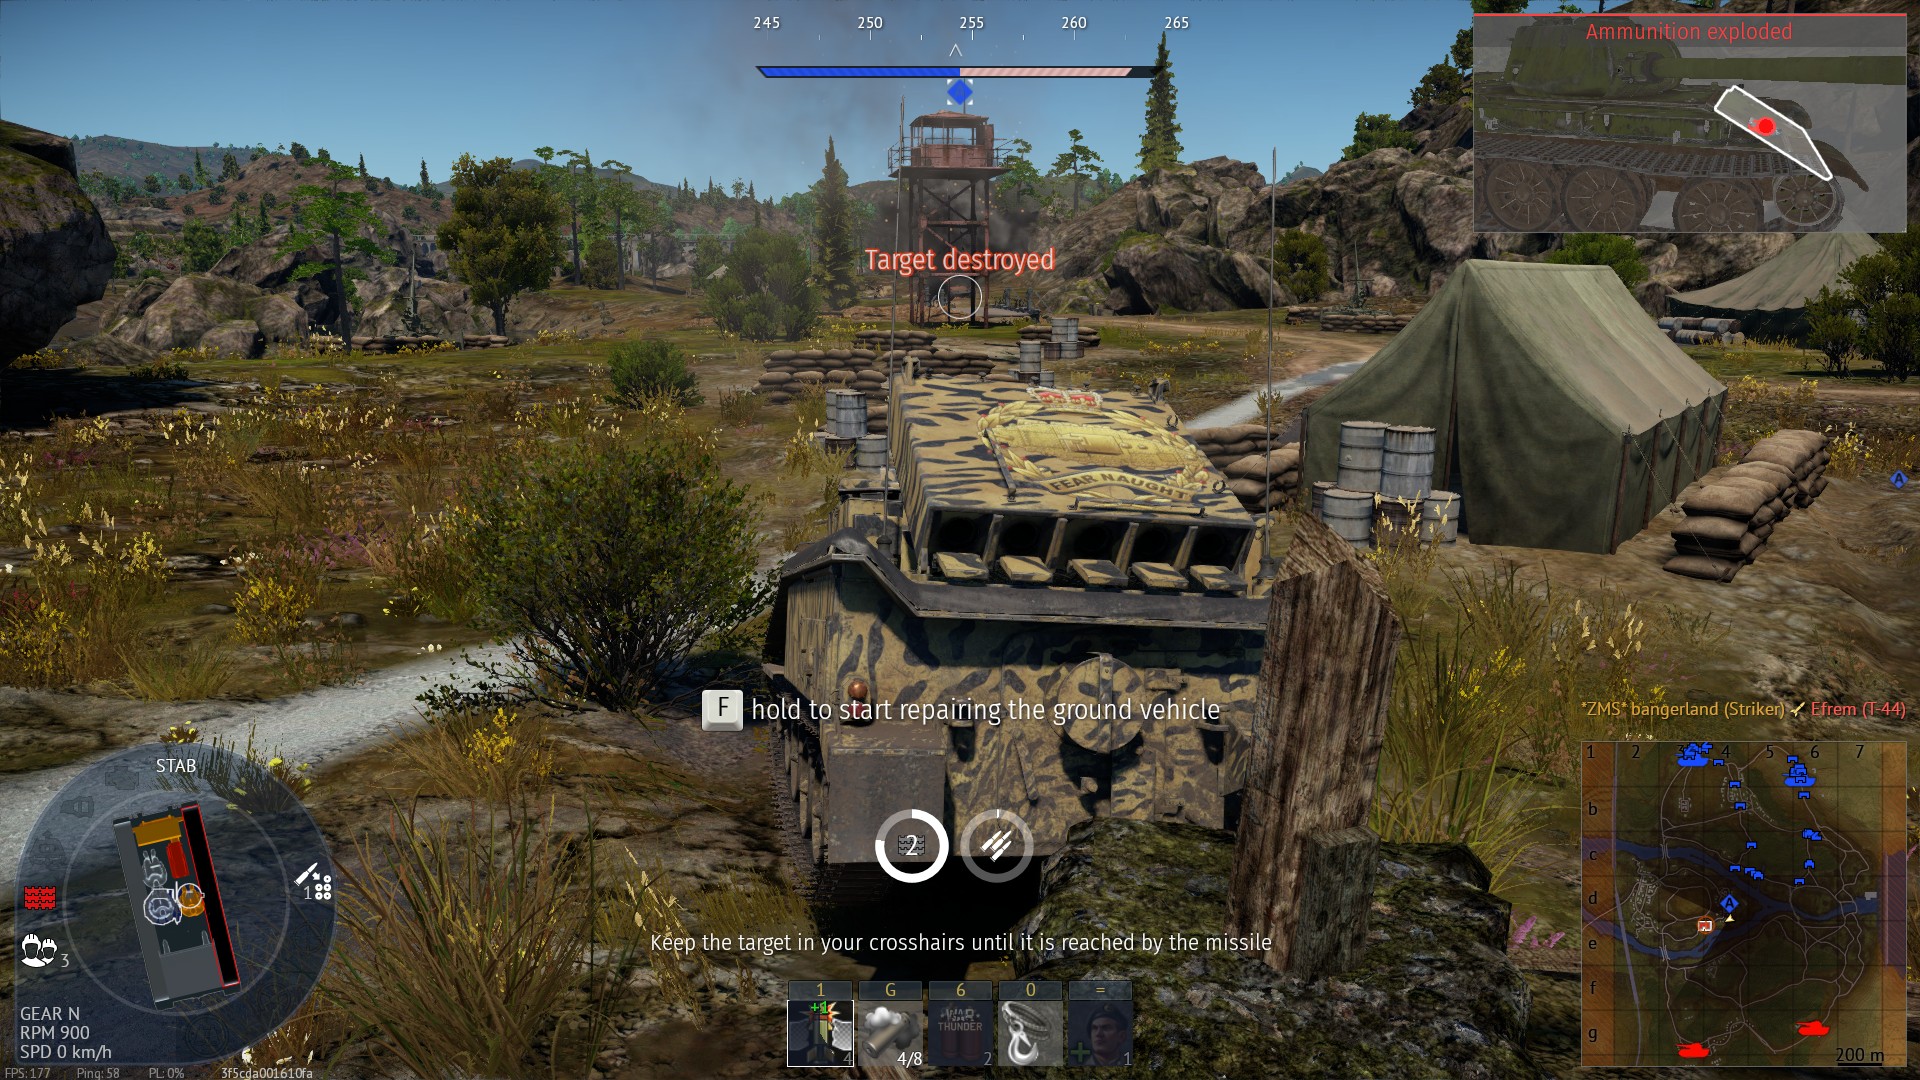
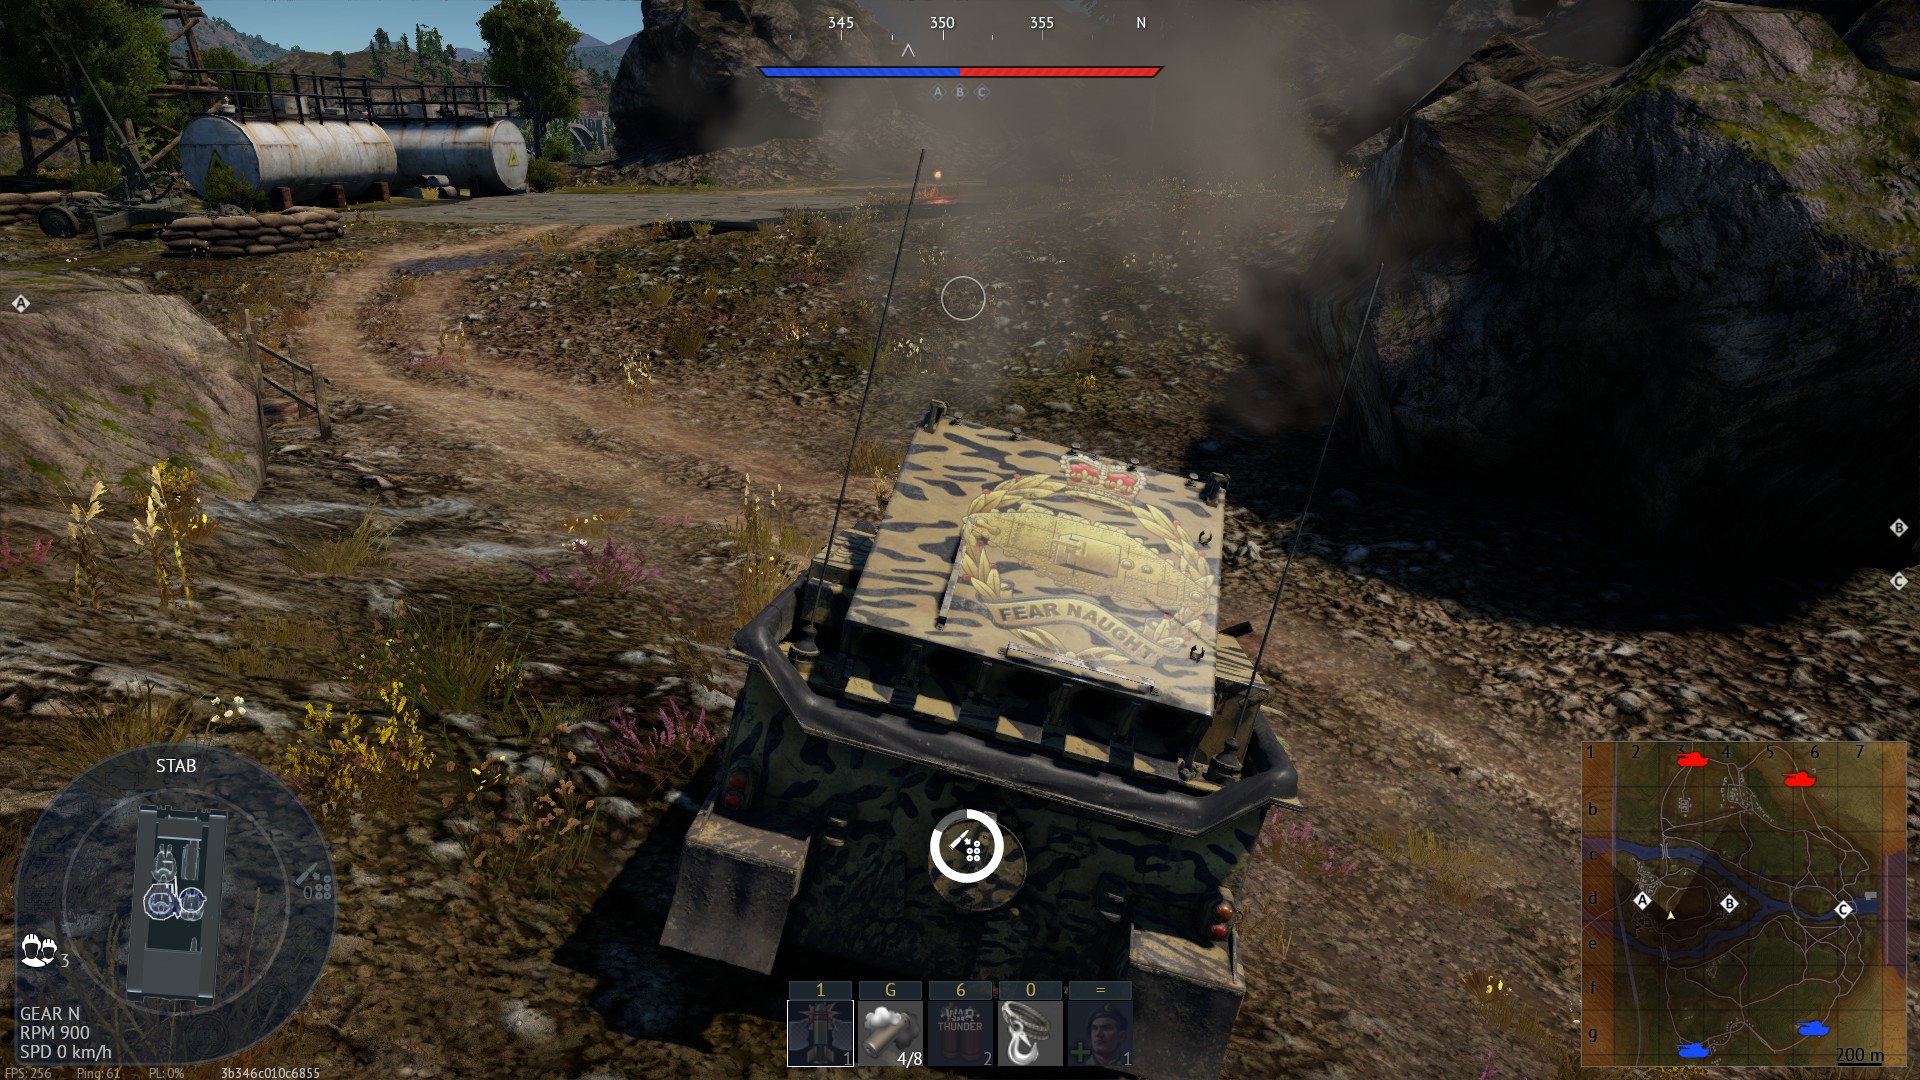
| 20:15, 12 November 2019 | Striker perfect cover.jpg (file) |  |
572 KB | Screenshot displays perfect type of combat cover for Striker Category:In-game screenshots | 1 |
| 15:55, 26 October 2019 | Ho-Ri frontal weak spot demonstration.jpg (file) |  |
412 KB | The squares which are supposed to protect radiators of Ho-Ri are showing enemy tanks where to fire to penetrate Ho-Ri. Slightly above them there are windows which are even easier to penetrate. Category:In-game screenshots | 1 |
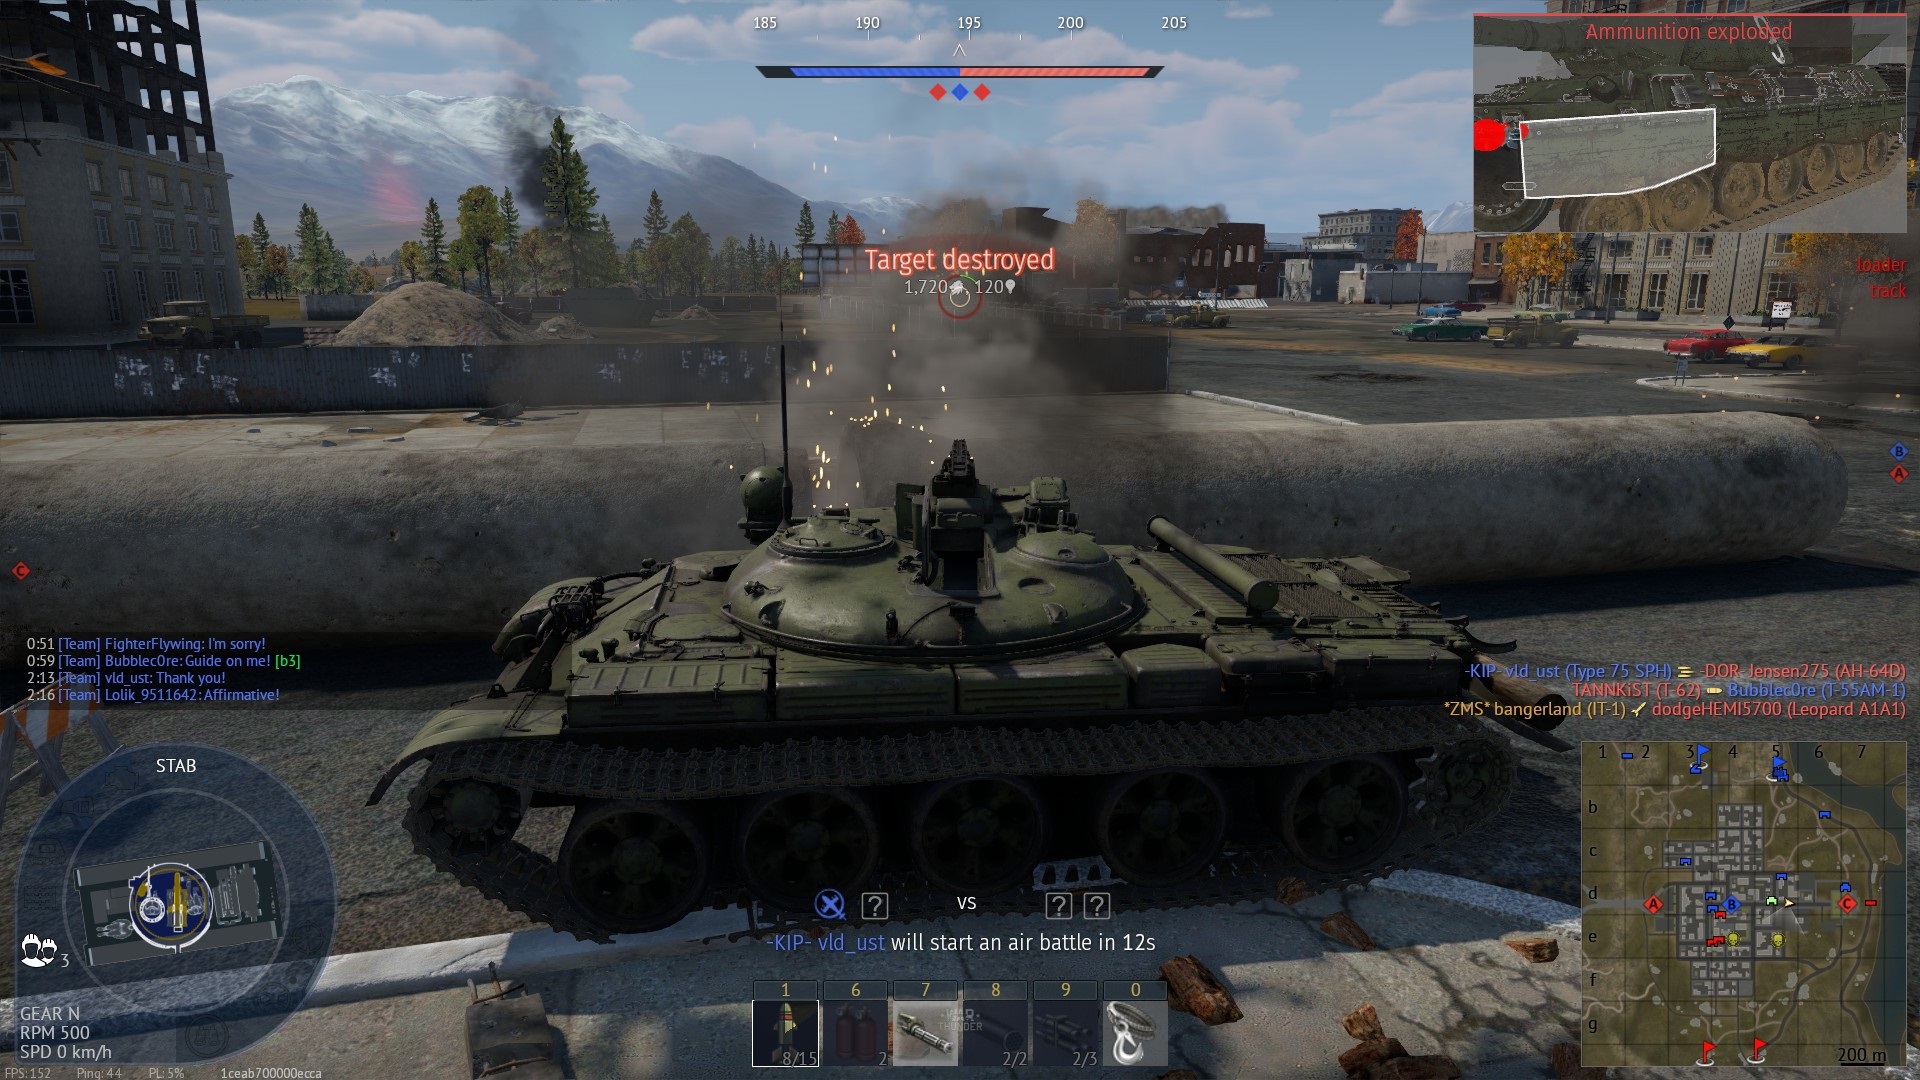
| 23:01, 25 October 2019 | Type 75 SPH firing over cover long range AB.jpg (file) |  |
231 KB | Type 75 SPH uses gun adjustment to fire over cover like artillery. Can only be done from long range of about 1.1+ km, probably can only be done in arcade mode. Category:In-game screenshots | 1 |
| 17:28, 25 October 2019 | Screenshot of an MBT mockup custom scope.JPG (file) |  |
68 KB | Screenshot displays the use of a "modern" custom scope for a tank. Category:In-game screenshots | 1 |
| 17:28, 25 October 2019 | Type 75 MLRS custom scope in work.jpg (file) |  |
222 KB | Screenshot displays use of a custom tank scope for type 75 MLRS. It allows to attack hostile tank directly without an issue.Category:In-game screenshots | 1 |
| 17:28, 25 October 2019 | Type 75 MLRS default scope is bad.jpg (file) |  |
197 KB | Screenshot is used to display that sometimes default scope for a tank is really, really bad. Category:In-game screenshots | 1 |
| 17:28, 25 October 2019 | Challenger 2 scope zero in for arcade mode.jpg (file) |  |
257 KB | Screenshot used to display the convenience of manual gun adjustment in Arcade battle. There is no AB hit marker past 1 KM, so challenger 2 would still have to aim manually. Category:In-game screenshots | 1 |
