


The Ki-44-II hei, designated as the Type 2 Single-Seat Fighter, Model IIc (二式単座戦闘機一型丙), was the final standard production variant of the Ki-44-II. It was armed with four 12.7 mm guns and featured a Type 100 optical sight, replacing the older Type 97 telescopic sight. As the most produced variant of the Ki-44, many earlier Ki-44-II models were upgraded to the Ki-44-IIc standard, although they often retained their original Type 97 gunsights. Despite this, the relatively limited production of the Ki-44 and the development of the Ki-44-III were eventually discontinued in favour of the more versatile Ki-84, Type 4 Fighter. This marked the end of the Ki-44's rather anticlimactic service record, which saw early action in the Pacific but primarily over the home islands. Although initially intended to be a formidable contender against Western designs, it was ultimately disliked by many Japanese aviators and was relegated to a limited-production interceptor mainly used for homeland defence.
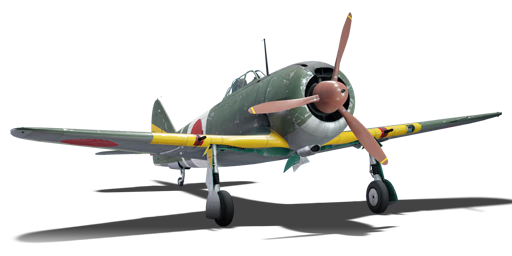
The default camouflage bears the insignia of the 70th Sentai, which like many other Ki-44 using air squadrons was purposed to shoot down B-29s in defense of Japan. Around June 1945, the squadron was slowly reinforced with Ki-84s, but didn't see service, the squadron members were instead prepared to train on the Ki-200, in July all pilots were taken to the Aviation Inspection Department to take physical examinations to fly the Ki-200, but the war ended before the squadron could take flight with the Ki-200.
It was introduced in Update 1.55 "Royal Armour". As the final variant of the Ki-44, it is heavily armed with four deadly 12.7 mm guns loaded with high-explosive rounds. However, this armament upgrade also pits it against more formidable opponents, making positioning crucial. To succeed, always aim to catch other pilots off guard by maintaining an altitude advantage, then use its relative manoeuvrability to finish them off. While climbing is straightforward, be aware that aircraft in this tier may be able to keep up with the Ki-44-II in a chase. Therefore, it is essential to destroy your target quickly or maintain your altitude advantage to stay ahead.
flaps
flaps
flaps
brake
| Belt | Belt filling | Armor penetration (mm) at a distance: | |||||
|---|---|---|---|---|---|---|---|
| 10 m | 100 m | 500 m | 1000 m | 1500 m | 2000 m | ||
| AP-T/AP/HEF-I | 21 | 19 | 13 | 7 | 4 | 3 | |
| AP-T/HEF-I/AP/HEF-I | 21 | 19 | 13 | 7 | 4 | 3 | |
| AP-T/HEF-I/HEF-I/HEF-I | 21 | 19 | 13 | 7 | 4 | 3 | |
| AP-T/AP/AP-T | 21 | 19 | 13 | 7 | 4 | 3 | |
| AP/HEF-I/HEF-I/HEF-I | 21 | 19 | 13 | 7 | 4 | 3 | |

Flight performance | |
|---|---|
Survivability |
|---|
Weaponry | |
|---|---|
