
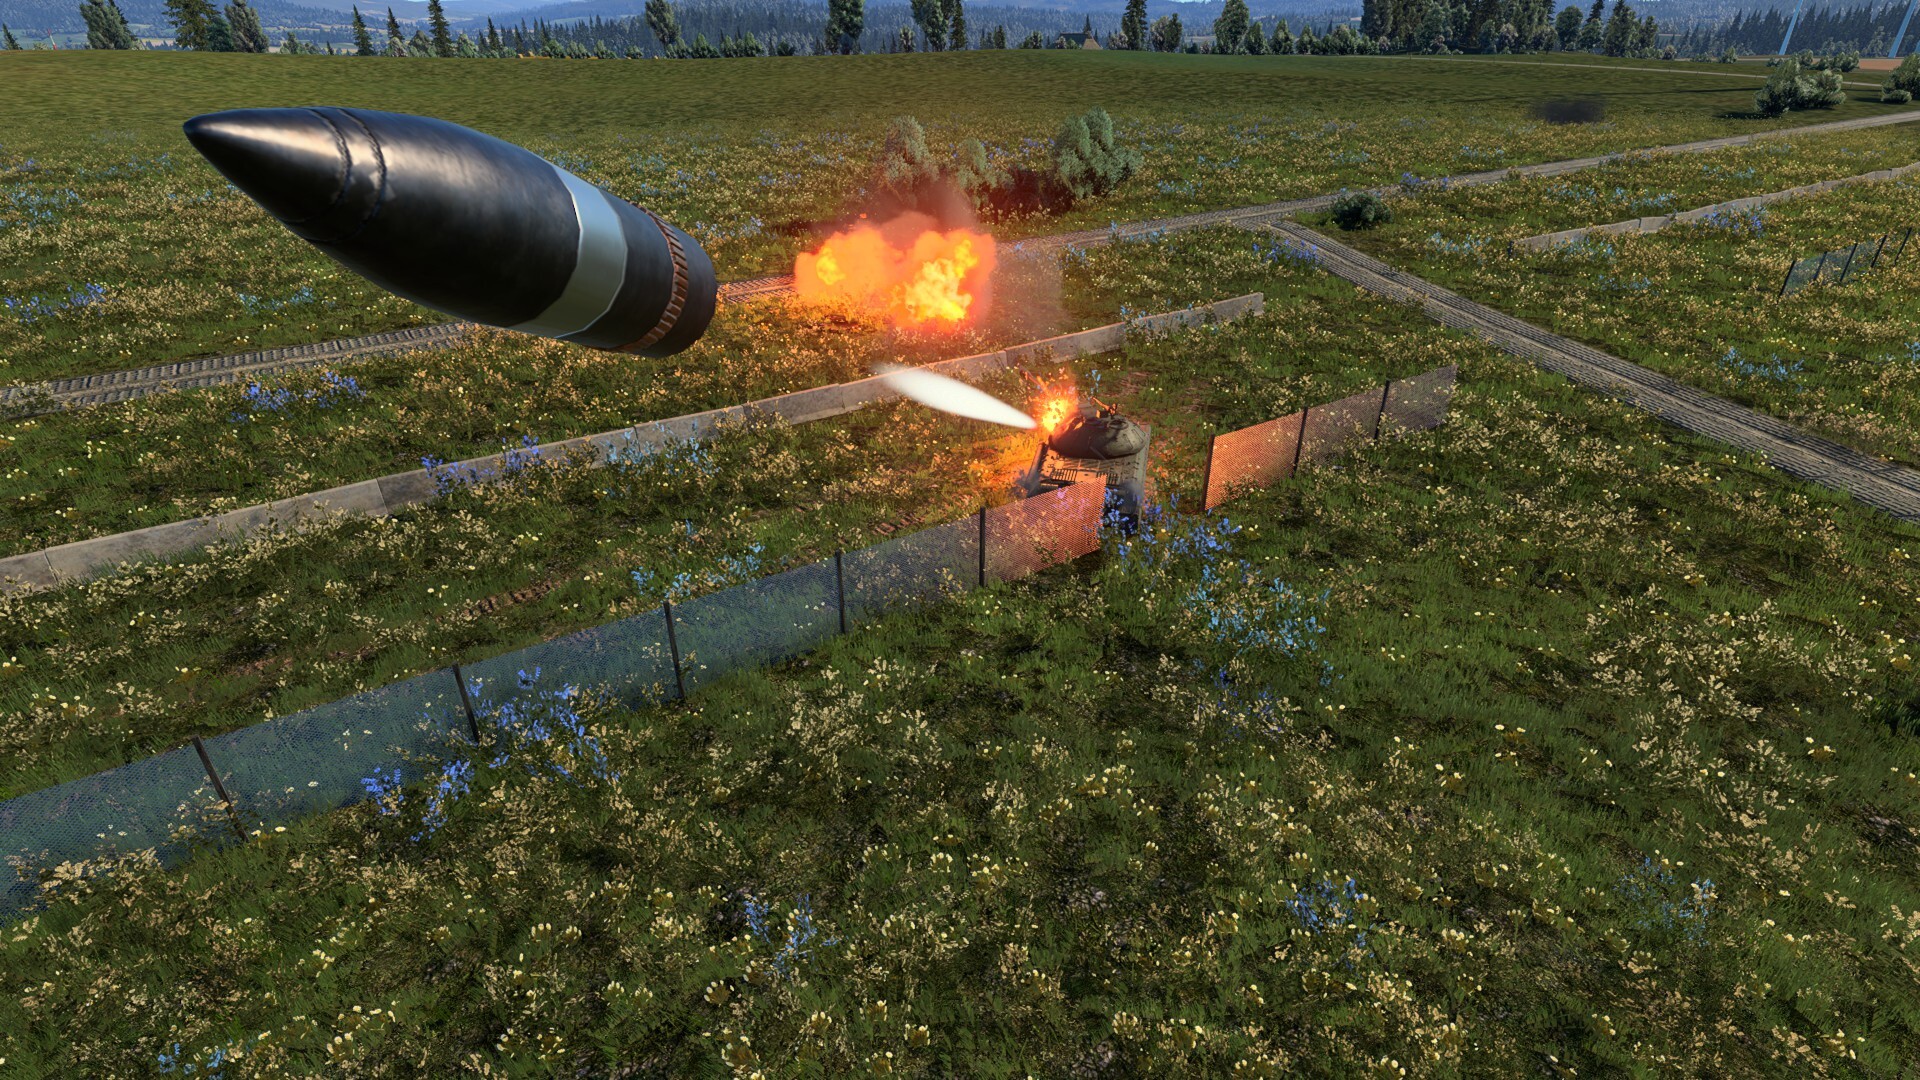
The “Iron Triangle” describes the three most important aspects of a tank’s design: Mobility, Protection, and Firepower. Like most things in this world, you can’t have the best of all worlds, so tradeoffs have to be made in each vehicle. For a more armored tank, mobility will likely be reduced, making it easier for enemies to locate, target, and damage your vehicle. Saying alive can make the difference between victory and defeat, so learning how to protect your vehicle and avoid critical damage is key to lasting longer in battles. With the right techniques, you can increase your chances of survival and lead your team to victory.
Angling
Possibly one of the most well-known methods to improving survivability is by rotating or “angling” a vehicle in a way that increases the armor’s thickness and slope from the perspective of the enemy. This optimal angle can be found with the armor protection analysis in the hangar, which calculates effective armor thickness, relative armor angle, and predicts potential damage.
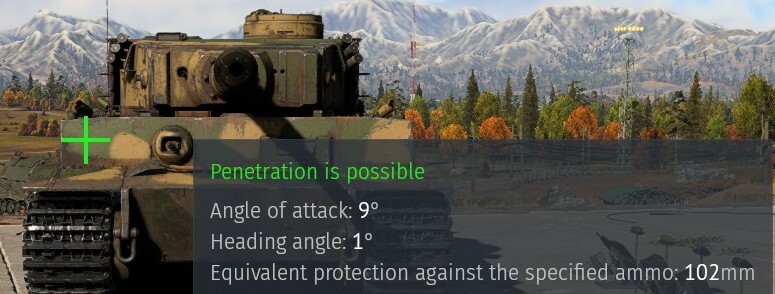
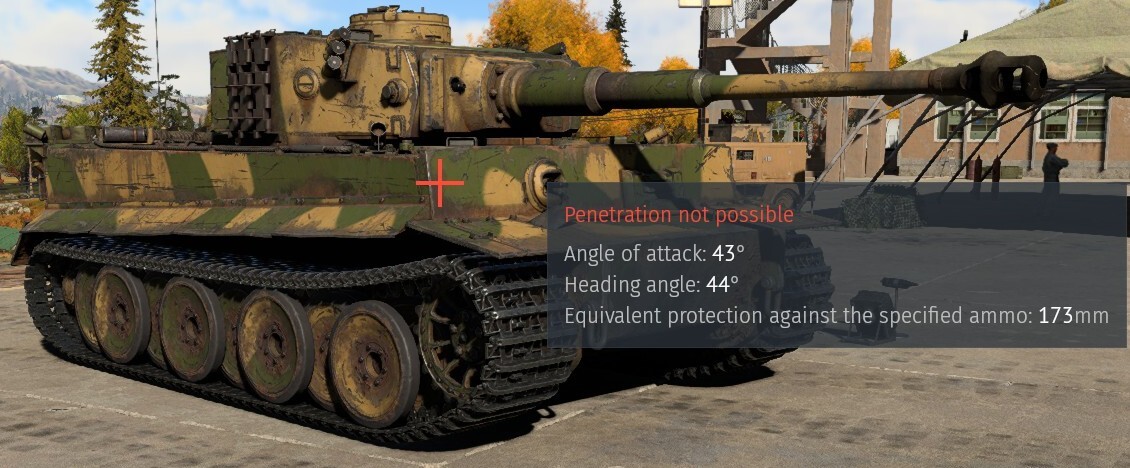
As you can see, angling the tank created an additional 70mm of effective thickness, which is enough to prevent penetration and increase the chance of ricochet. The optimal angle is found when the effective armor values between the front and sides are roughly equivalent. Angling too much may expose weaker side armor, which can lead to an easier shot for the enemy.
It is important to note that these values can vary tank to tank, and work best when a vehicle has strong frontal and side armor (typically reserved for vehicles from WWII and the early Cold War).
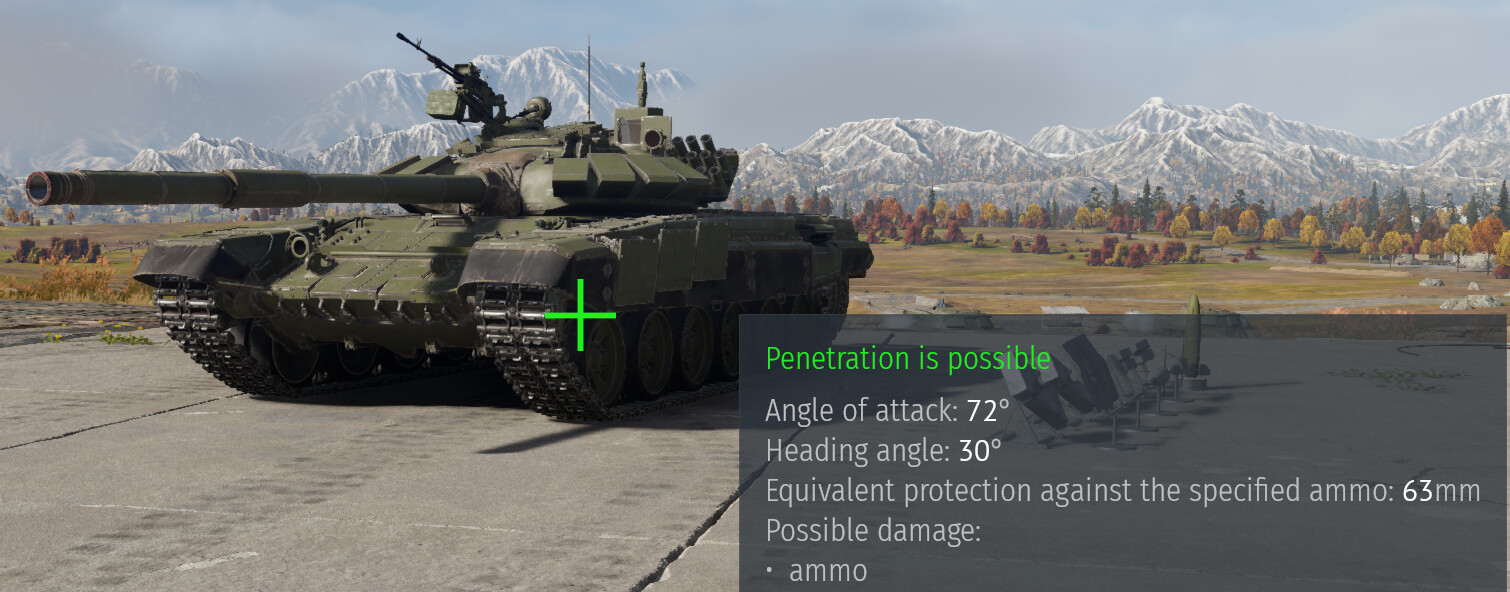
For more modern MBTs, angling is inadvisable, as very thin armor on the sides paired with more powerful ammunition often results in the destruction of the vehicle. MBTs are typically better armored frontally anyways, so there is little worry abut penetration.
Concealing Weak Points
Many heavy tanks, though they may seem impervious to your cannons, have weak points you can use to damage or completely destroy. One of the most famous examples of this is in the American M4A3E2 “Jumbo” heavy, with an impressive 200mm of effective armor thickness on the front (100mm at 50 degrees).
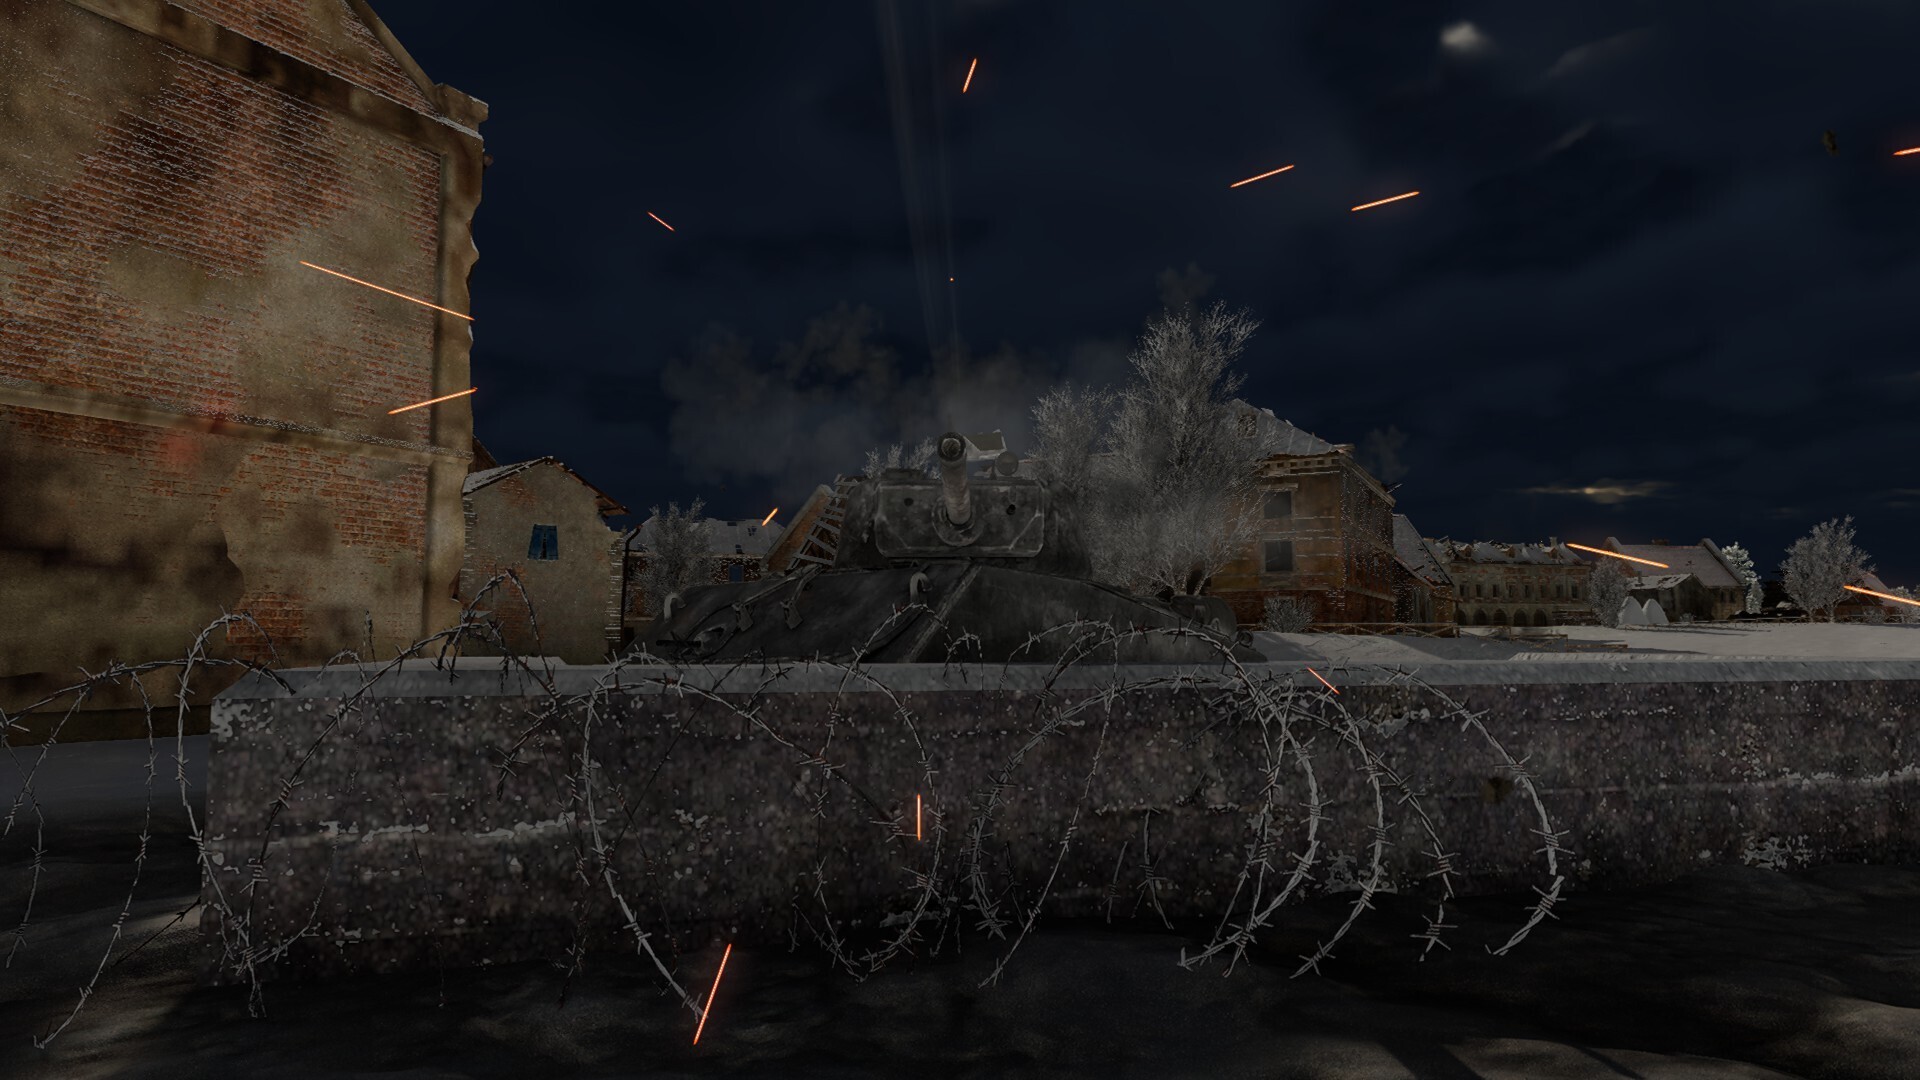
The machine gun port, however, only has 30mm of armor, and is located such that one shot can knock out the entire crew if hit. By making these weak points more difficult to hit, you can greatly improve your chances of survival to return rounds to your enemy. There are a few ways to do this:
- The easiest method to make weak points harder to hit is by wiggling your hull and turret. Especially effective at long range and when face-to-face with your enemy, you can easily deflect shots and return fire.
- Using pre-existing terrain and structures can also entirely prevent enemies from hitting your weak points (if positioned correctly), while also concealing your position.
- Cosmetic decorations can also be used to obscure weak points. While not as powerful as they used to be, bushes are still a viable way to improve survivability. They do cost 500 golden eagles each, but can occasionally be obtained via warbonds in the warbond shop.
Effective Use of Terrain
As mentioned in the previous section, terrain can be used to conceal weak points, but is also useful in other aspects as well. One of the most effective tactics is to only expose the turret of your vehicle and keep the hull protected from enemy fire. Known as “hull-down”, this tactic is especially powerful in vehicles that sport a well-armored turret, or in vehicles whose main drawbacks are significant weaknesses in hull armor.
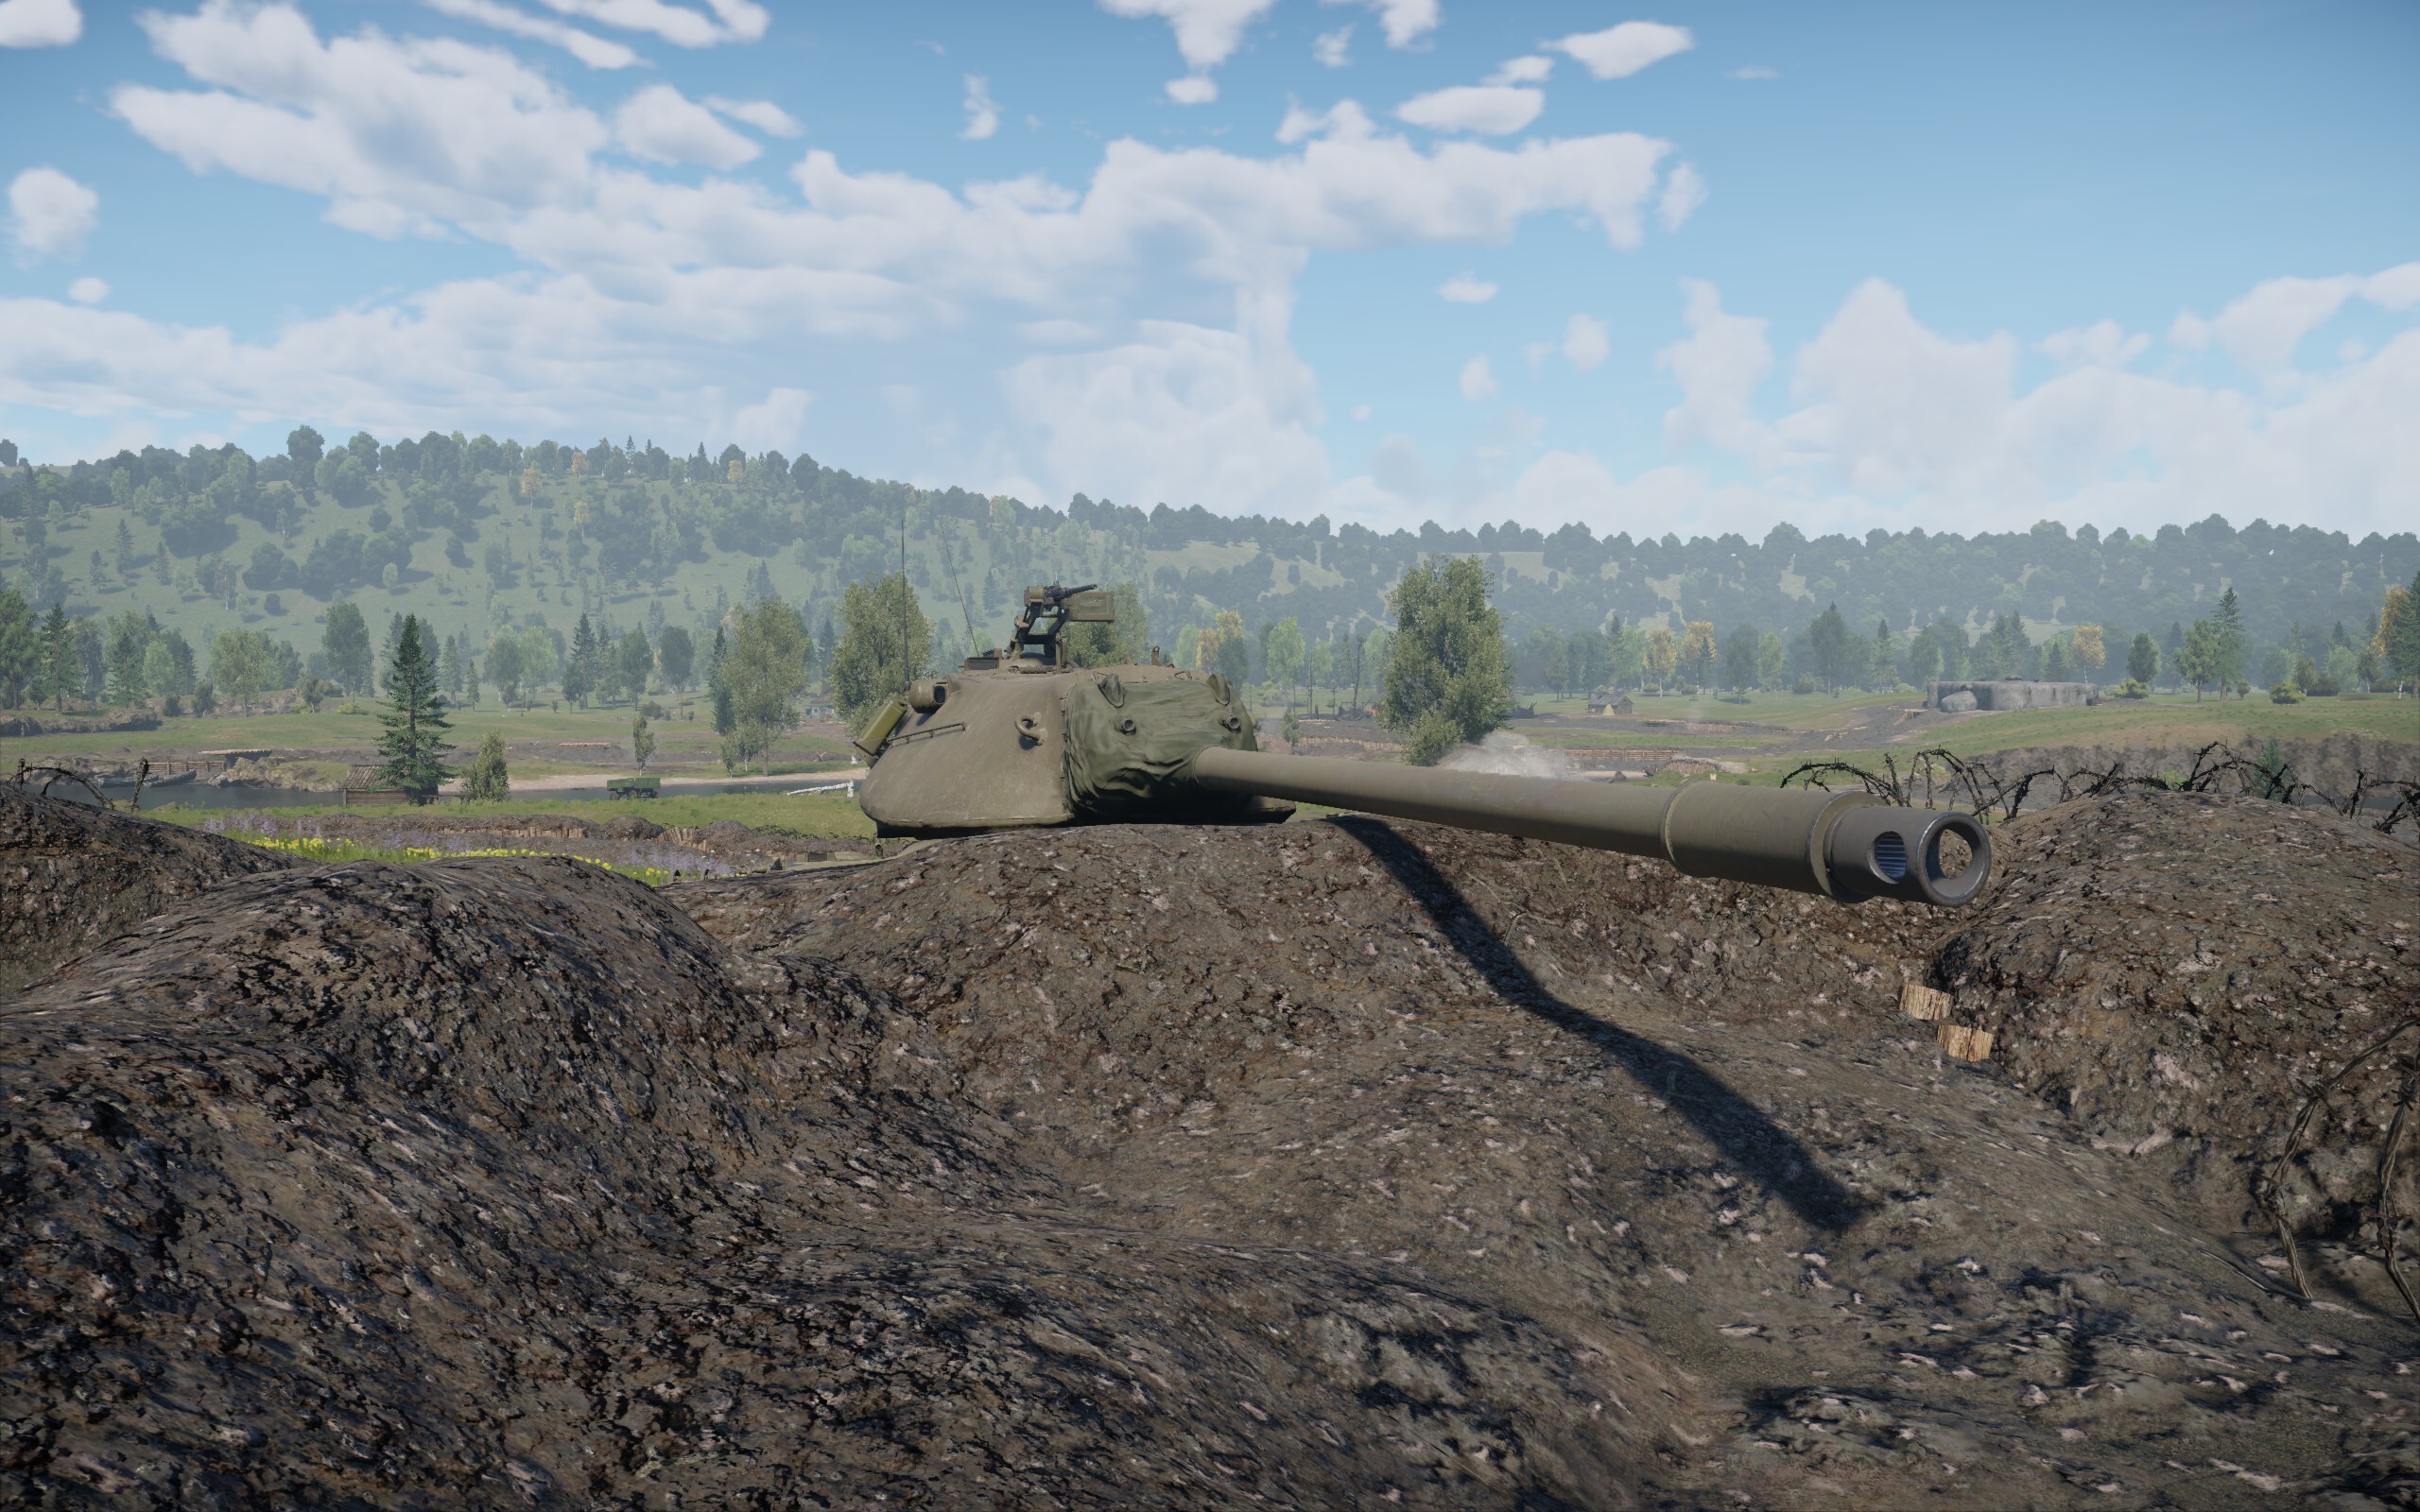
This terrain can also be modified if your vehicle has a dozer blade attachment, or if a suitable bomb crater can be found or created.
In addition to hull-down tactics, terrain can also be used to conceal your position if movement is required that would otherwise expose your vehicle to enemy fire.
Ammunition Stowage
One of the most spectacular moments in battle is when a fireball engulfs a vehicle due to an ammunition cookoff. Don’t let that be you!
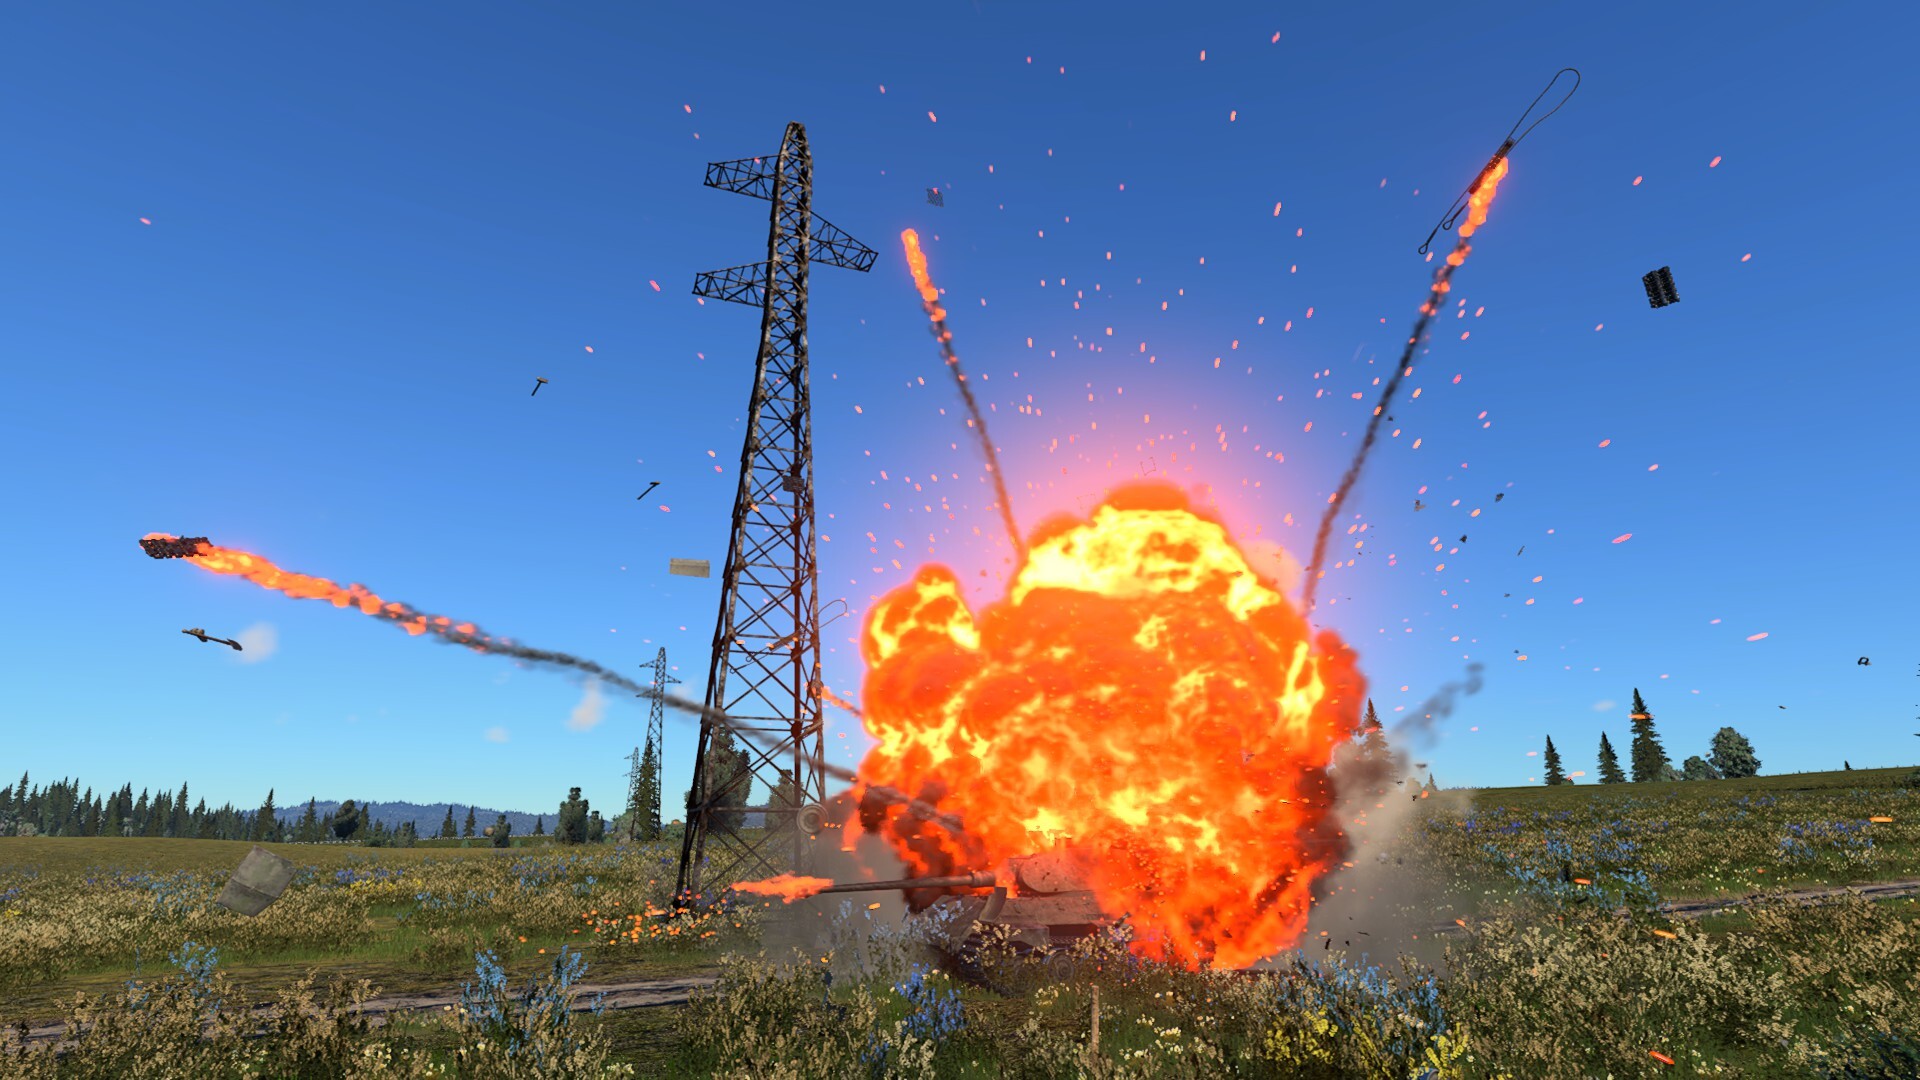
It’s no secret that taking too much ammunition into battle increases the risk of your turret detaching from the rest of your tank. The amount that you need depends on a variety of factors, including playstyle, reload rate, ammo stowage, and how effective your firepower is against enemies.
One way to find a limit to the amount of ammunition is to use the x-ray function in the hangar on your vehicles, hovering over different ammo stowage racks to find the first stage (usually in the turret). In general, you should not be taking much more ammunition than your first-stage stowage can hold, as these racks will be filled first, and are typically better protected.
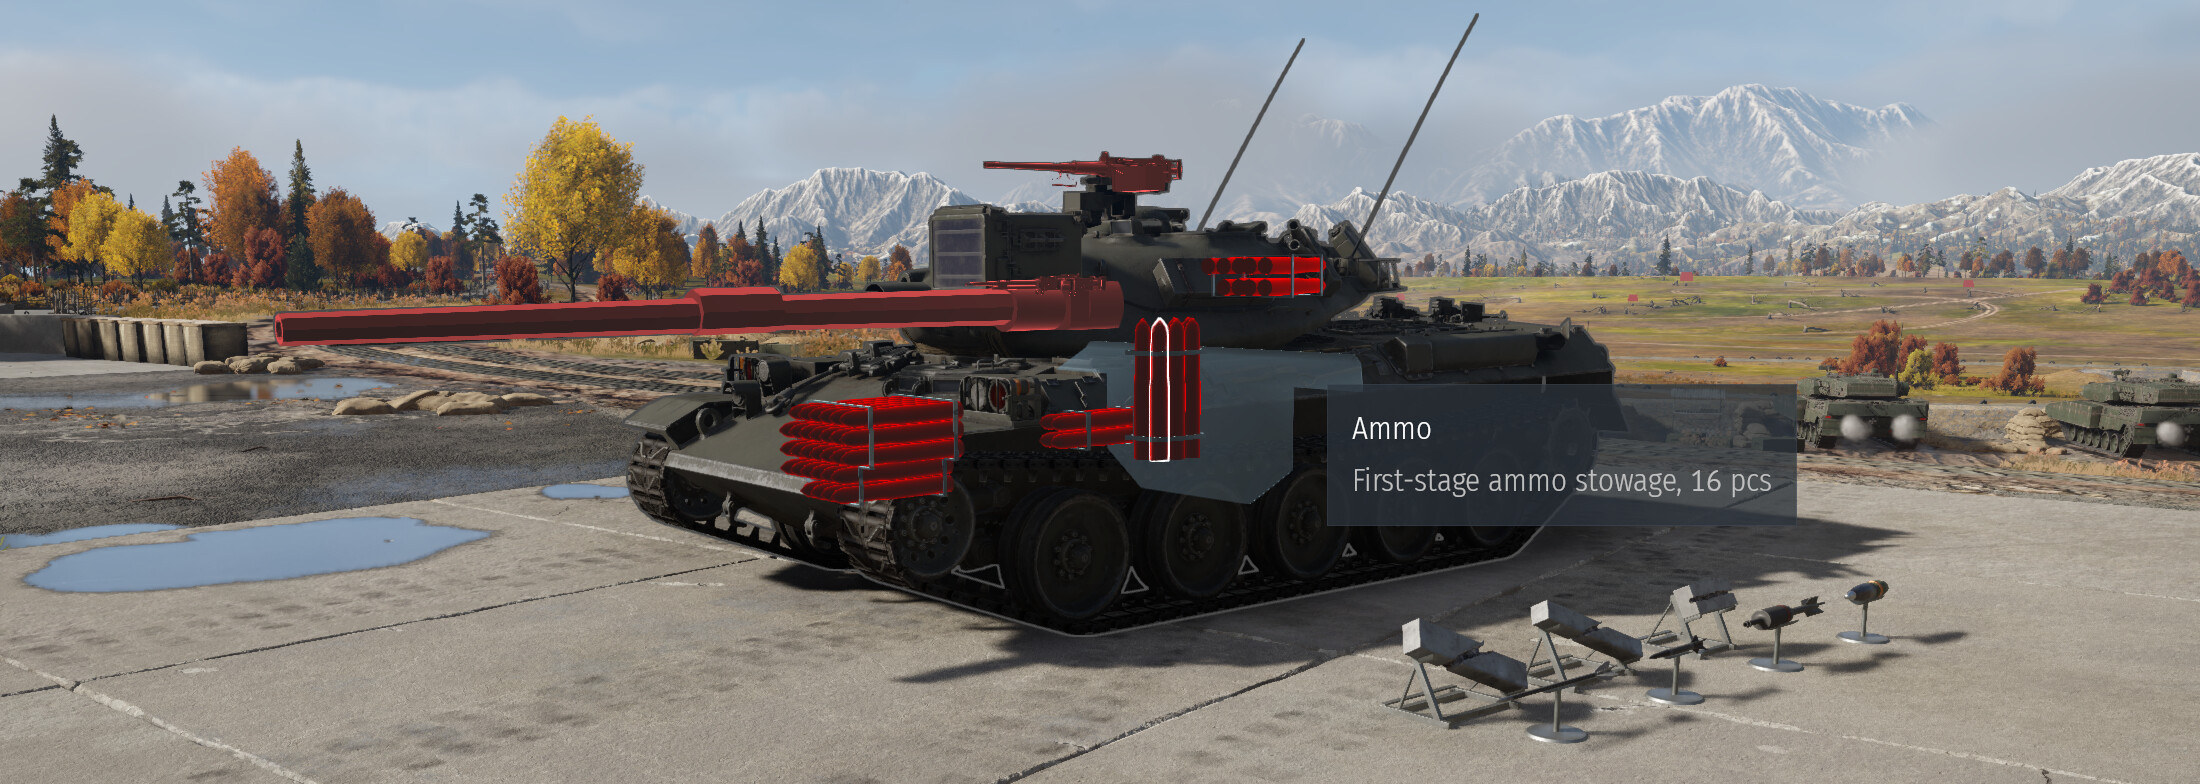
If a vehicle does not have a first-stage stowage, or has a limited capacity, test driving vehicles with a variety of rounds stored can also help determine what amount you are comfortable taking. (The default for x-ray view in battle is O.)
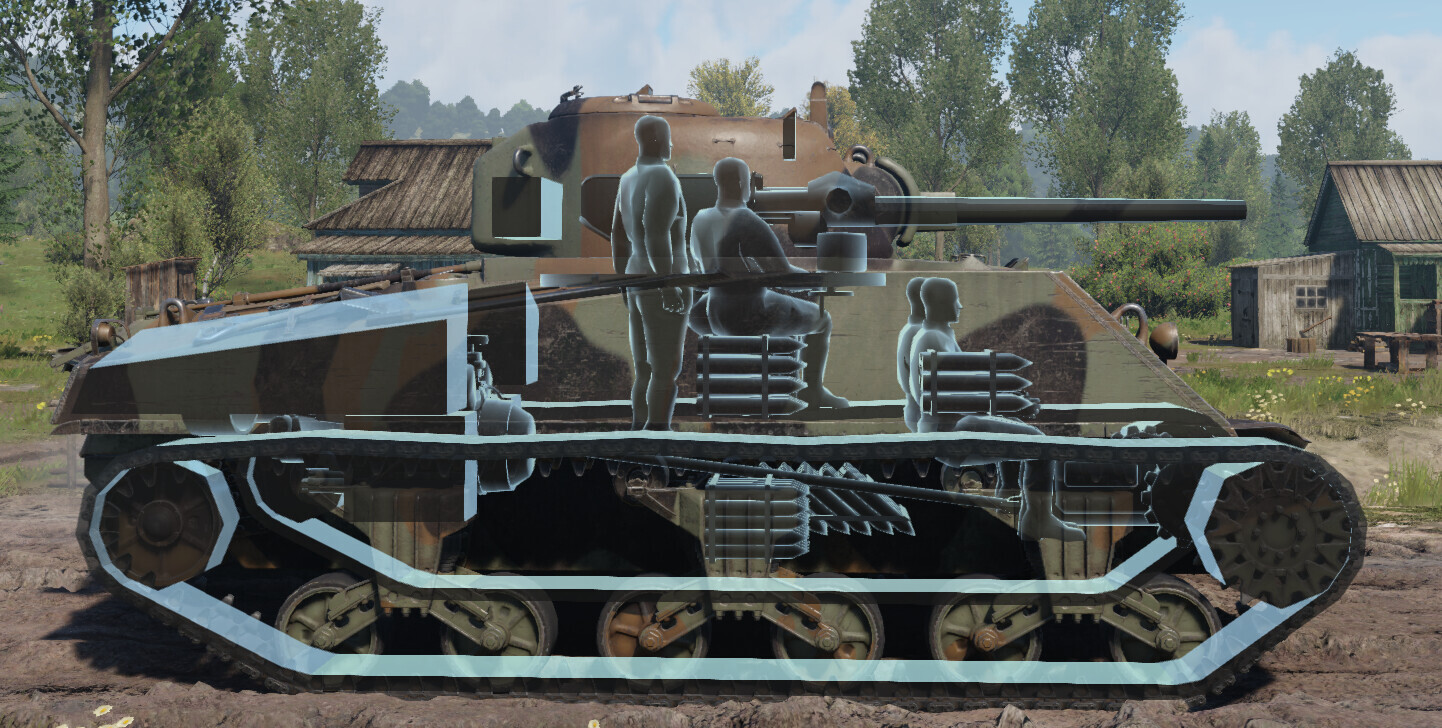
In addition to this, some vehicles (like the M4 Sherman family) have a research modification for ammo wetting, which reduces the chance of ignition from a crew/engine compartment fire.
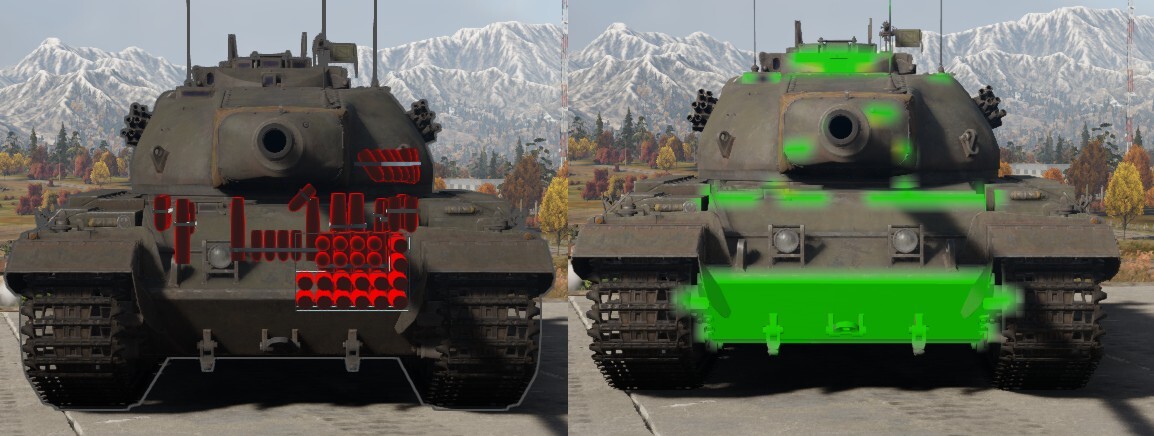
One final way to test the maximum amount of ammunition necessary is to use protection analysis in the hangar. If possible, limit the amount of ammunition stored that are near weak spots
Repairs and Replenishment
One of the most consistent ways to prolong your time in battle is by maintaining your vehicle and crew.
The three main actions that improve survivability that are part of the game are:
- Repairs: Can be done at any location, but the total time can be greatly reduced by improving crew skills for field repairs, or by starting the repair at a captured point.
- Firefighting: Once a fire is started, you don’t have a lot of time before it does extensive damage to your engine and crew, making firefighting the highest priority.
- Ammunition resupply: Can be done at any captured point, but light vehicles, SPGs, SPAAs, and armored cars can create their own ammunition resupply point (which takes 10 seconds to build).
The prioritization of these actions can improve survivability even more. Whenever you are in a situations where you have to do repairs or crew replenishments with enemies nearby, avoid starting crew replenishment, as it cannot be stopped or paused once it is started and renders you immobile. Partially damaged components (such as radiators or the engine) will also incur more damage whenever you move (which increases repair time), so do these repairs ASAP.
A final note.
Each of these methods can be used together, and there are many more you can use that I haven’t discussed here that are equally important. Each vehicle and situation is also unique and can change within seconds, so don’t try and follow an exact plan for every game.
Happy Hunting!