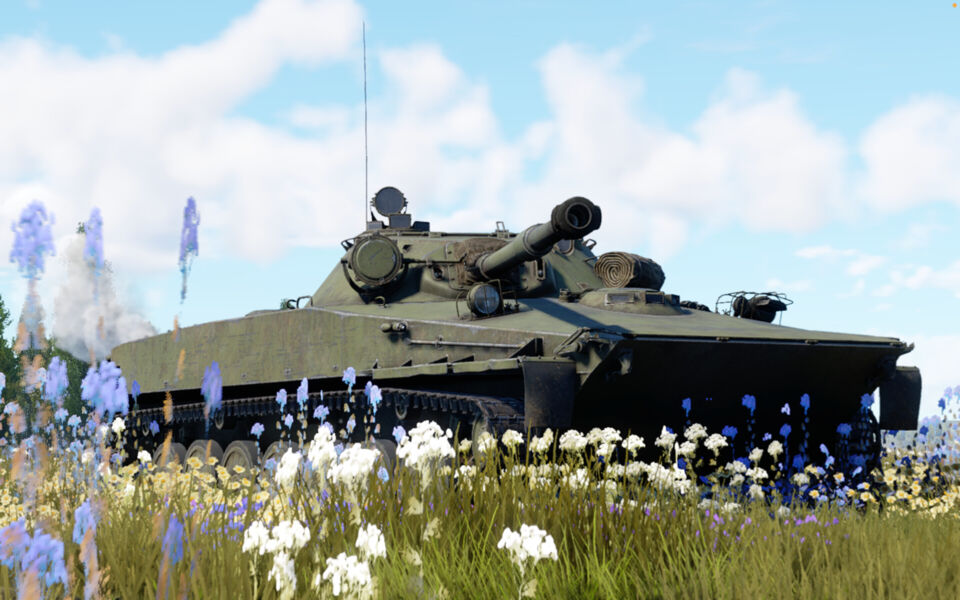
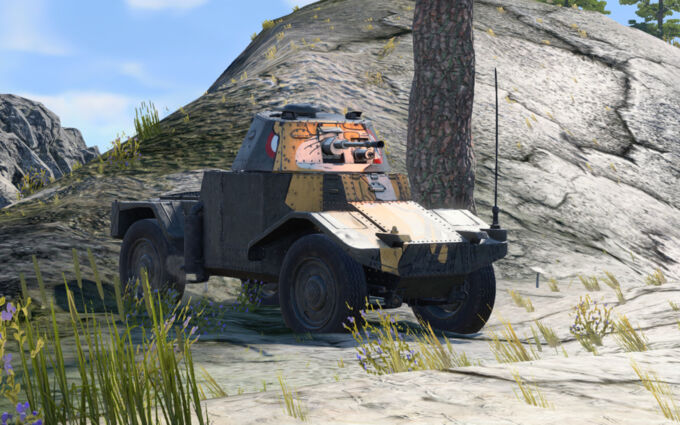
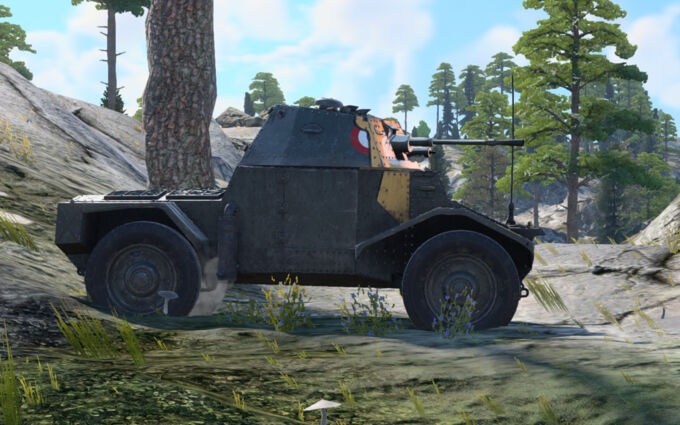
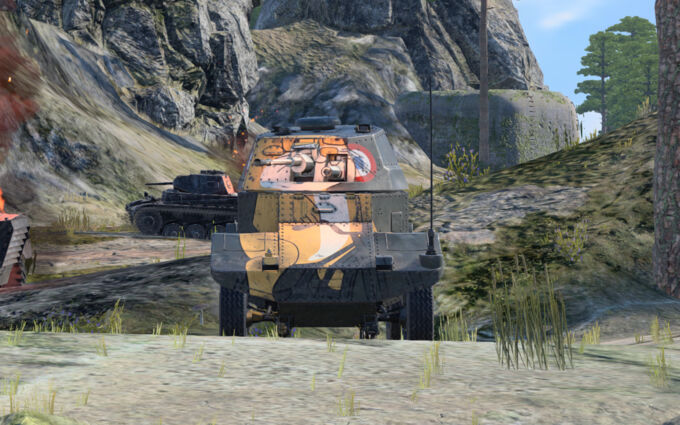
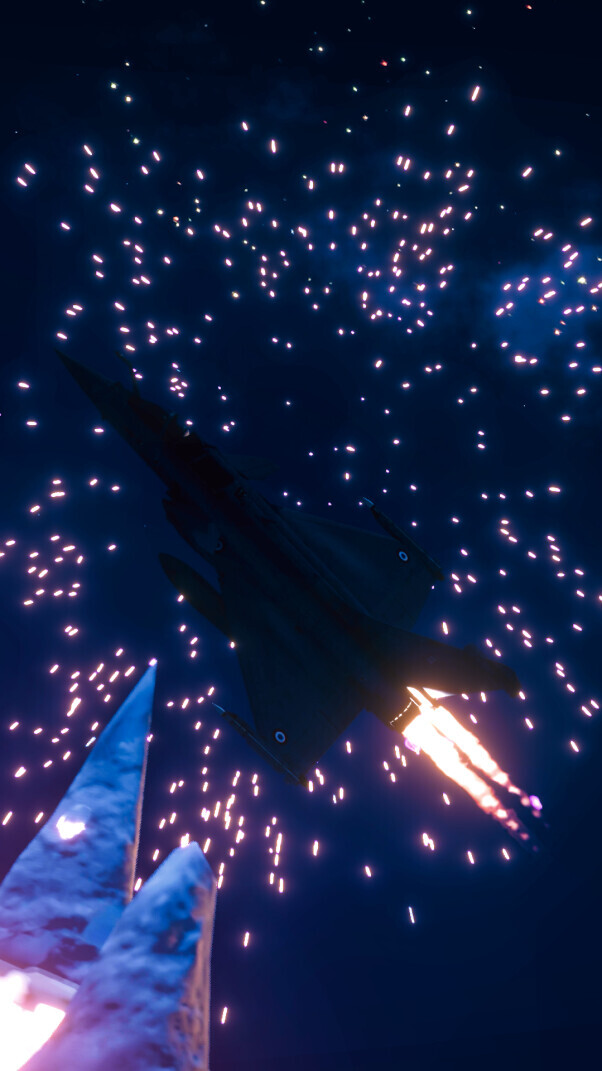
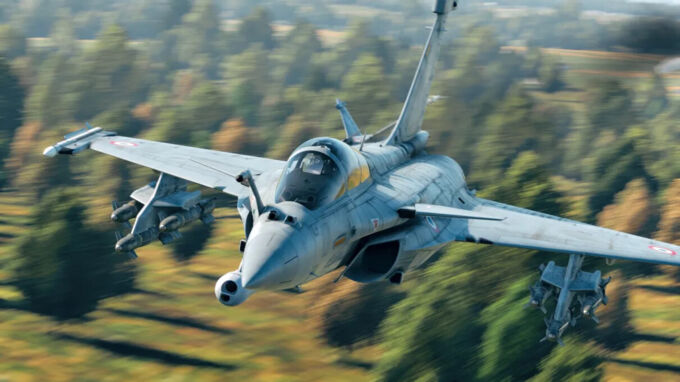
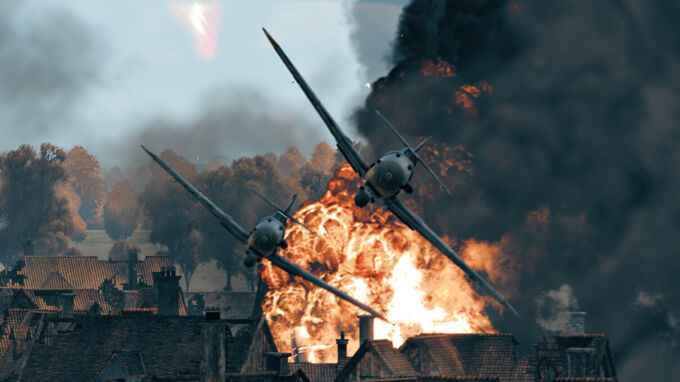
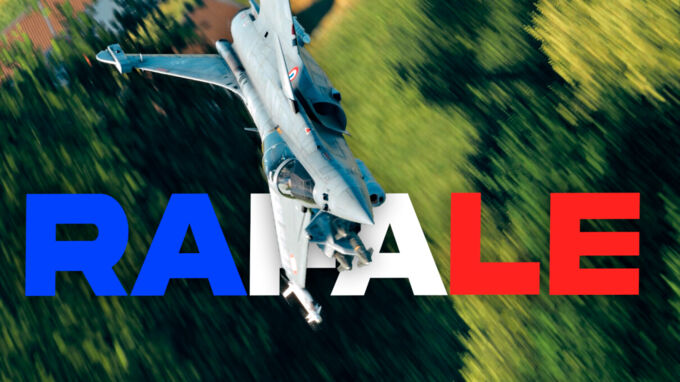
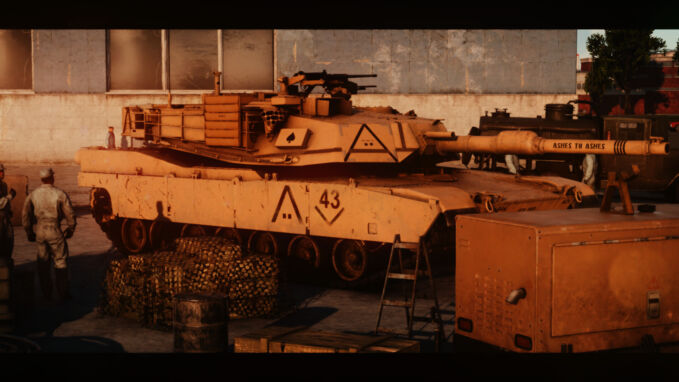
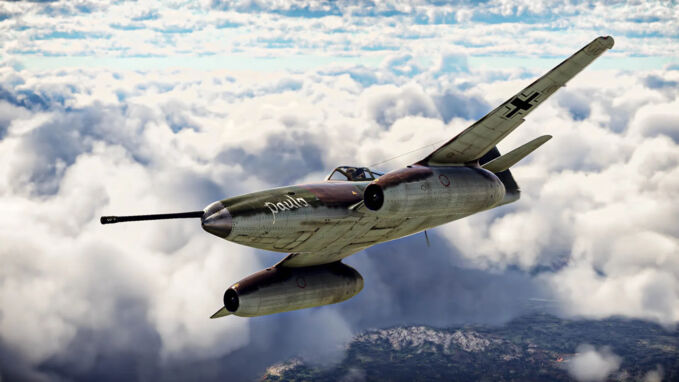
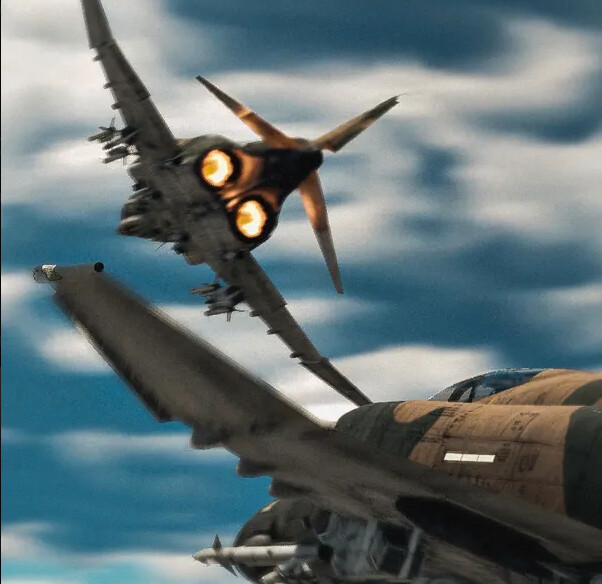
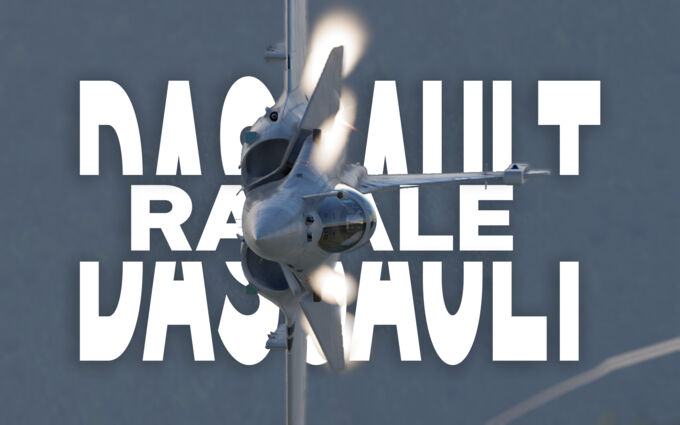
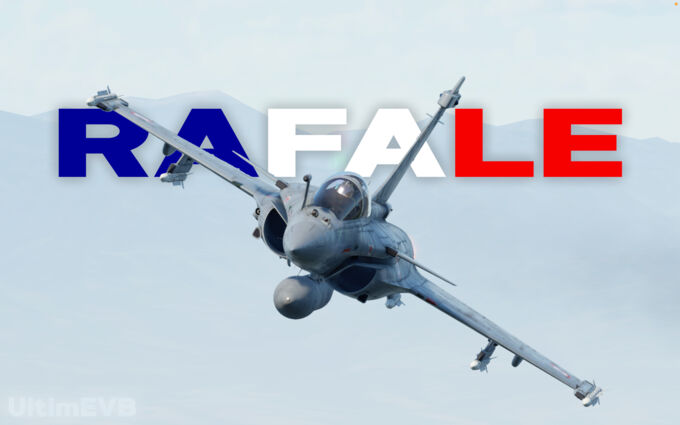
If you play War Thunder, you have probably seen plenty of stunning screenshots that look like they were taken by professional photographers, but with one key difference—they’re from the game. With the “Firebirds” update, the graphics have received significant upgrades, making it even easier to capture beautiful, high-quality photos. With that in mind, here are some tips to help you take great-looking screenshots in War Thunder.
Table of Content
Before we dive into the technical details, take a moment to understand what you’re capturing. Whether it’s a massive and impressive ship, a striking portrait, or an intense action scene, the vibe of your subject will greatly influence how you should approach the shot. Think about the story you want to tell and the emotions you want to convey through your photo.
Angle
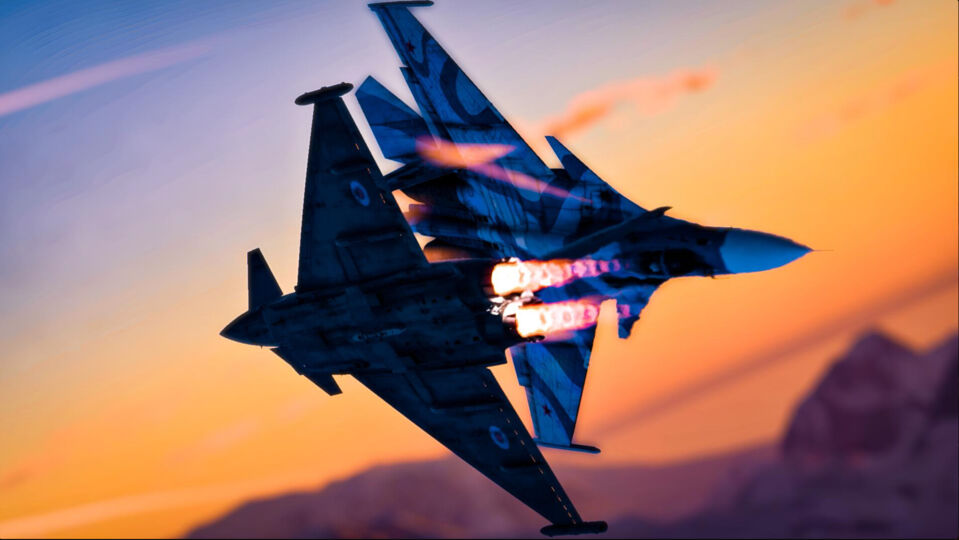
Take the time to experiment with different angles. The typical, straightforward shots aren’t always the most effective. For example, shooting from a 45° angle instead of a 90° angle can often provide a better view, allowing you to capture more of the subject. Keep in mind that finding the right angle is part of the process and might take some trial and error. The angle you choose should depend on what you want to convey, but here are a few options to try:
Tips:
- Experiment with replay camera angles: Use the in-game camera controls in replay mode to experiment with different perspectives. This allows you to capture shots from various points of view that aren’t possible during active gameplay.
- Try a bird’s eye view: Raise your camera above the subject to capture a shot from above. This works wonders for wide landscapes, large battles, or group shots of multiple vehicles. It offers a fresh perspective and can reveal intricate details not visible from the ground level.
- Get on the floor: Lower the camera to ground level to capture tanks, smaller vehicles (like the L3), or other details from a more intimate perspective. This angle emphasizes textures and shapes, and helps bring out details that might otherwise be missed from a higher vantage point.
Framing
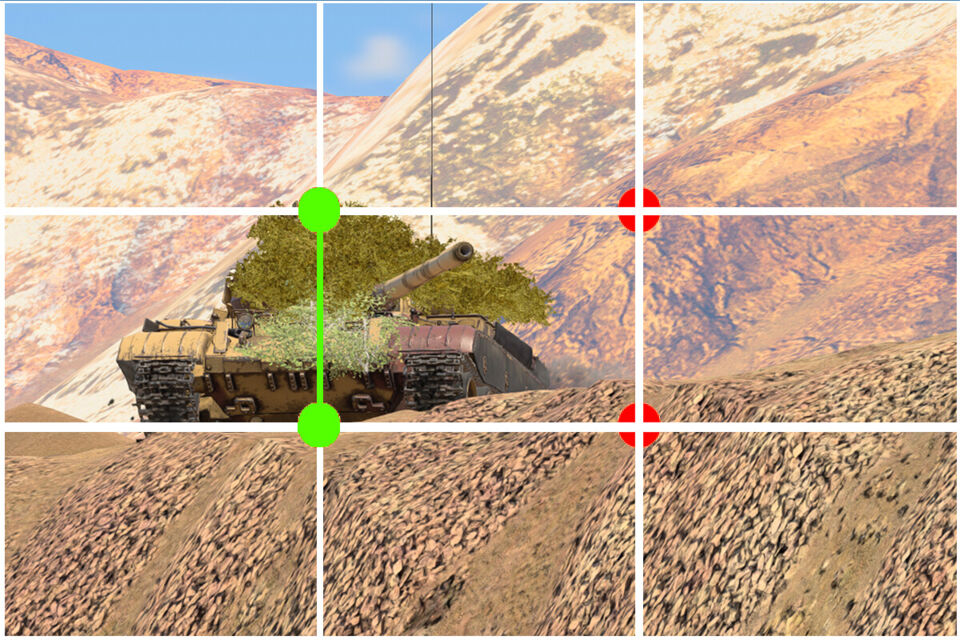
Framing is incredibly important, so it’s something you should pay close attention to. Generally, the tank, plane, or boat should be the main focus of your shot. However, this depends on the vision you have for the photograph. That’s where the Rule of Thirds comes in. But what exactly is it? Simply put, the Rule of Thirds is a compositional guideline that suggests placing your subject in the left or right third of the image, leaving the other two-thirds open.
The beauty of a picture consists in the just distribution of light and shade, and in the harmonious arrangement of objects with respect to their proportion and distance.
— “Remarks on Rural Scenery” (1797)
Be careful, though — this tip doesn’t always work in real life, but in War Thunder, it works 99.9% of the time. When taking screenshots, it’s often best to capture the scene from a distance and then use the built-in zoom to get a closer view. Why? This approach helps achieve a better angle, reducing distortion (or “warp”) and making the subject appear more natural and visually appealing.
Topic & Capturing the Moment
What do you want to photograph? This is the key question you should ask yourself before you start. A photo can have beautiful lighting, shading, and color correction, but if the subject isn’t interesting or compelling, the picture will likely fall flat.
Capturing artistic moments is a big part of defining what makes a shot stand out. While composition and angle can compensate for a lackluster scene, finding and capturing a unique or dramatic moment will always elevate your photograph. It’s not just about the perfect frame—it’s about catching a raw, dynamic, or unusual scene.
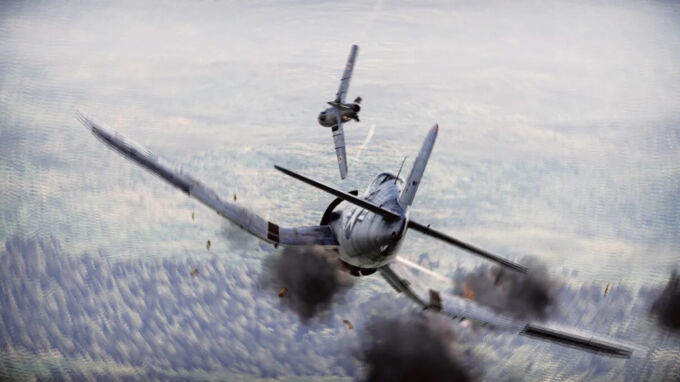
Look for those rare, intense moments in the game, whether it’s a dramatic explosion, a close-quarters battle, or an unexpected situation. These moments add a cinematic feel and bring your photos to life. Pay attention to the action, the environment, and any unique interactions that unfold, as these will provide the most compelling and artistic results.
Replay
The replay feature is probably the most important tool to master when it comes to taking screenshots, as it allows you to capture the perfect moment and rewind to get the ideal shot. To navigate effectively in the replay, follow these steps: First, turn on the option “Record a rewindable replay” to “Yes” before heading into battle, This will create a savestate of the game every so often which offers the timestamps in the replay, making it easier to pinpoint the exact moment you want and speeding up the process of getting that perfect screenshot.
Once you’ve found the moment, as mentioned in the “Framing” section of the guide, you should also consider taking screenshots from a distance and using the built-in zoom. Why? This gives you a better angle, reducing warping, and making the subject appear more natural and visually appealing.
“Where and what can I get these replays from?”
- Random Battles: These offer an opportunity to capture vehicles in their most natural and dynamic form, engaging in battle with no artificial setups. You’ll get a chance to photograph your vehicles in action as they perform under real conditions. However, keep in mind that customizations (like decals or decorations) might interfere with the shot and distract from the vehicle’s raw appearance.
- Custom Battles: Custom Battles allow for total freedom when it comes to creating scenes. You can arrange shots without the pressure of enemy fire, staging dramatic poses or even taking group shots with friends for a more lively feel. Custom Battles also give you the freedom to select the map, weather presets, and even use random vehicle bots with limited filtering, providing a great variety of situations to photograph.
- CDK (content developing kit): The CDK offers the ultimate creative freedom to design your own scenarios. You can place vehicles wherever you want, adjust the environment, and control every aspect of the scene, including weather, lighting, and time of day. It’s a great option for creating unique shots with vehicles that might not even be available to you through normal gameplay (e.g., NPC models, air combat objects, naval carriers, etc.). It’s ideal for more controlled and artistic setups.
Tools for screenshotting and editing
Capturing the moment
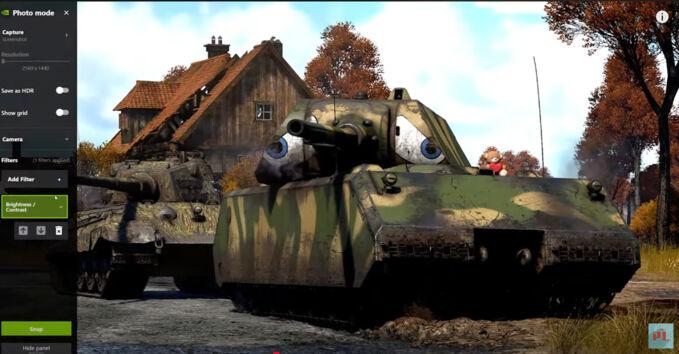
- NVIDIA® Ansel (NVIDIA GPUs)
NVIDIA Ansel provides the most freedom and artistic needs to take a great screenshot, automatically hiding HUD, free float camera movement, and further filters and settings such as zoom and camera angle.
- Steam / War Thunder Screenshot (Default: F12)
By using the built-in screenshot feature, you can press a hotkey and make the screenshot directly in-game. Although not recommended, as it is rather unpractical. Check/rebind it in Controls > Common > Screenshot
- PC Screen Capture
By screenshotting on your computer by pressing “print screen” or using screen captures such as a snipping tool or other third-party tools,
Editing tools
What I, (UltimEVB) would recommend for editing would be:
- Photoshop: a great editing platform and the best you have on the market.
- Photopea: a web-based Photoshop-like but free.
- Picsart: offers less flexibility, it is way more easy to master and to use. (also it’s only on mobile)
Contrast, Brightness, Saturation
When adjusting these settings, remember to keep it simple. Don’t overdo it; let the in-game effects do most of the work.
- Contrast: Lightly adjust the contrast when editing landscape-type photos. For images with a main focal point (like a plane, tank, or boat) against a darker or lighter background, increase the contrast. This will help the focal point stand out.
- Brightness: Avoid setting the brightness too high, as it can create a washed-out effect, which generally doesn’t look good. If you’re unsure of the right brightness level, try experimenting with it first. If it still feels off, it’s often better to leave it as is.
- Saturation: Saturation controls the depth and intensity of the colors in an image. Increasing saturation makes the image more vivid, while lowering it creates a more muted or calming effect. Be careful when adjusting saturation—make sure it doesn’t distort important details in the image.
PostFX
Tips for PostFX:
- Dynamic Lut: Off
- Vignette: Minimum
Removing it will allow to see the corners more and not feel enclaved by the image
- All “Sharpness” options: 2/10
Boils down to preference but too much Sharpness gives a crispy vibe, but too much crisp.
- Color Correction: Film / Contrast / Desaturated
Film gives a more purple/magenta/cyan look, while Contrast gives a Desaturated look but with more saturation.
- Lens Flare: Max
It gives realism and is generally agreed to look good.
- Tone Mapping: Default
Default, because either way it makes the sky look very very bright.
“I have a nice screenshot, now what?”
After taking one or more screenshots, you’re welcome to share them on the following platforms:
