Difference between revisions of "Finland"
Inceptor57 (talk | contribs) (Created page with "{{DISPLAYTITLE:Finland}} center|408px {| class="catlist" align="center" |- ! ! ! Game Modes ! ! |- |<div style="width:110px; bord...") |
(Updated page with new layout) |
||
| (One intermediate revision by one other user not shown) | |||
| Line 1: | Line 1: | ||
{{DISPLAYTITLE:Finland}} | {{DISPLAYTITLE:Finland}} | ||
| − | + | <div class="ttx"> | |
| − | + | <div class="ttx-image">[[File:MapIcon Ground Finland.jpg]]</div> | |
| − | + | <div class="ttx-table"> | |
| − | + | <div class="ttx-table-line ttx-table-head">Possible Layouts</div> | |
| − | + | <div class="ttx-table-line"><span class="ttx-value">[[File:Icon GreenCheckmark.png|link=]]</span><span class="ttx-name">Domination</span></div> | |
| − | + | <div class="ttx-table-line"><span class="ttx-value">[[File:Icon GreenCheckmark.png|link=]]</span><span class="ttx-name">Conquest</span></div> | |
| − | + | <div class="ttx-table-line"><span class="ttx-value">[[File:Icon GreenCheckmark.png|link=]]</span><span class="ttx-name">Battle</span></div> | |
| − | + | <div class="ttx-table-line"><span class="ttx-value">[[File:Icon RedXCross.png|link=]]</span><span class="ttx-name">Break</span></div> | |
| − | + | <div class="ttx-table-line"><span class="ttx-value">[[File:Icon RedXCross.png|link=]]</span><span class="ttx-name">Skirmish</span></div> | |
| − | + | <div class="ttx-table-line ttx-table-head">Other Information</div> | |
| − | + | <div class="ttx-table-line"><span class="ttx-value">2 km x 2 km</span><span class="ttx-name">Full tank area size</span></div> | |
| − | + | <div class="ttx-table-line"><span class="ttx-value">Kiviniemi, pre-war Finland [[File:CountryIcon FIN.png]]</span><span class="ttx-name">Real World Location</span></div> | |
| − | + | <div class="ttx-table-line ttx-table-head">Full Map</div> | |
| − | + | <div class="ttx-image">[[File:MapLayout_Ground_Finland.jpg]]</div> | |
| − | + | </div> | |
| − | + | </div> | |
__TOC__ | __TOC__ | ||
| − | |||
==Overview== | ==Overview== | ||
| − | + | <!--''Write an introduction to the article in 2-3 small paragraphs. Briefly tell about the location and also about its features.''--> | |
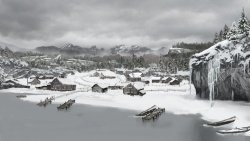
| − | '''Finland''' is a ground forces map available in all modes. It is set in an area on the Finland - Russia border, near the towns of Svetogorsk and Imatra. Being added in [[Update_1.51_ | + | '''Finland''' is a ground forces map available in all modes. It is set in an area on the Finland - Russia border, near the towns of Svetogorsk and Imatra. Being added in [[Update_1.51_"Cold_Steel"|Update 1.51 "Cold Steel"]] it was the first winter tank map to be added to the game. It also added an interesting unique gameplay mechanic where tanks could fall through the ice, on the lakes, if they were too heavy, or if the ice was shot / bombed / fired upon by artillery; however it seems that this mechanic may have since been disabled. |
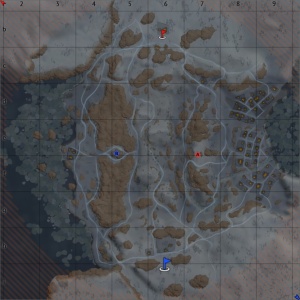
The map offers opportunities for both long and short range engagements. Ridges run horizontally along most of the north and south of the map, allowing for players to try and pick off enemy tanks from a distance. The west of the map has a small settlement on the shoreline of a lake that has turned to ice, the area is quite open, but there are rocks and the buildings in the settlement available for cover. Tanks trying to advance towards the settlement are open to fire from the north / south (depending on which team you are on) and from a small passage, connecting the west and middle of the map. Some players may try to flank over the ice lake however this is not advised as you are very exposed to enemy fire, with the only cover being some rocks; the ice lake is also very uneven, making it hard to traverse, and littered with hard to spot holes in the ice, meaning the player may get stuck or simply fall into the lake (with no chance of survival). | The map offers opportunities for both long and short range engagements. Ridges run horizontally along most of the north and south of the map, allowing for players to try and pick off enemy tanks from a distance. The west of the map has a small settlement on the shoreline of a lake that has turned to ice, the area is quite open, but there are rocks and the buildings in the settlement available for cover. Tanks trying to advance towards the settlement are open to fire from the north / south (depending on which team you are on) and from a small passage, connecting the west and middle of the map. Some players may try to flank over the ice lake however this is not advised as you are very exposed to enemy fire, with the only cover being some rocks; the ice lake is also very uneven, making it hard to traverse, and littered with hard to spot holes in the ice, meaning the player may get stuck or simply fall into the lake (with no chance of survival). | ||
| Line 31: | Line 30: | ||
The east and middle of the map are separated by a rocky hill, which layers can climb to provide a position to shoot enemy tanks from, or to move from the middle to the east of the map (or vice-versa). The East of the map contains a small village with a large number of wooden buildings. Players often set up in positions on the north and south ridges, trying to kill tanks approaching the town, or failing that, the tanks on the opposing ridge. | The east and middle of the map are separated by a rocky hill, which layers can climb to provide a position to shoot enemy tanks from, or to move from the middle to the east of the map (or vice-versa). The East of the map contains a small village with a large number of wooden buildings. Players often set up in positions on the north and south ridges, trying to kill tanks approaching the town, or failing that, the tanks on the opposing ridge. | ||
| − | The tank battles map is 2km x 2km. The Air battle map is 64km x 64km. | + | The tank battles map is 2km x 2km. The Air battle map is 64km x 64km. The tank battle areas are: |
| + | |||
| + | {| class="wikitable" | ||
| + | |+ Battle area Size | ||
| + | ! Game Mode | ||
| + | ! AB | ||
| + | ! RB | ||
| + | ! SB | ||
| + | |- | ||
| + | | Domination | ||
| + | | 1.7 km diameter circle | ||
| + | | 1.7 km diameter circle | ||
| + | | 1.7 km diameter circle | ||
| + | |- | ||
| + | | Conquest #1 | ||
| + | | 1.7 km diameter circle | ||
| + | | 1.7 km diameter circle | ||
| + | | 1.7 km diameter circle | ||
| + | |- | ||
| + | | Conquest #2 | ||
| + | | 1.7 km diameter circle | ||
| + | | 1.7 km diameter circle | ||
| + | | 1.7 km diameter circle | ||
| + | |- | ||
| + | | Conquest #3 | ||
| + | | 1.7 km diameter circle | ||
| + | | 1.7 km diameter circle | ||
| + | | 1.7 km diameter circle | ||
| + | |- | ||
| + | | Battle | ||
| + | | 1.7 km diameter circle | ||
| + | | 1.7 km diameter circle | ||
| + | | 1.7 km diameter circle | ||
| + | |} | ||
===Game Description=== | ===Game Description=== | ||
| + | <!--Description in the map loading screen prior to joining the battle. Remove if non-existent.--> | ||
In these frosty parts of the world, a war is like a stern test that needs to be passed in order to win. | In these frosty parts of the world, a war is like a stern test that needs to be passed in order to win. | ||
===Historical Background=== | ===Historical Background=== | ||
| + | <!--''Describe historical context of the location.''--> | ||
This map is set on the Finland - Russia border, near the towns of Svetogorsk and Imatra. The actual battle area is a strip of land, 6.75km (4.25 miles) east of Svetogorsk and 2.8km (1.75 miles) north of the town of Losevo (in modern day Russia). The map area is flanked on the east and west by Voroshilovskoye lake and Yasnoye lake respectively (the partly frozen lakes you see in game). Although the location of the ground forces map and the surrounding area (in the air forces map) is historical, the actual layout and terrain of the ground forces map appears to be largely fictional. The map is located at 61°06'11.7"N 28°59'34.7"E in the real world. | This map is set on the Finland - Russia border, near the towns of Svetogorsk and Imatra. The actual battle area is a strip of land, 6.75km (4.25 miles) east of Svetogorsk and 2.8km (1.75 miles) north of the town of Losevo (in modern day Russia). The map area is flanked on the east and west by Voroshilovskoye lake and Yasnoye lake respectively (the partly frozen lakes you see in game). Although the location of the ground forces map and the surrounding area (in the air forces map) is historical, the actual layout and terrain of the ground forces map appears to be largely fictional. The map is located at 61°06'11.7"N 28°59'34.7"E in the real world. | ||
| Line 44: | Line 78: | ||
==Map configuration== | ==Map configuration== | ||
| − | + | <!--Under this heading is the box to change game mode--> | |
| − | + | {| style="width:314; margin-left: auto; margin-right: auto; border: none;" class="wikitable" | |
| − | + | ! colspan="3" | Change Maps by Game Modes | |
| + | |- | ||
| + | ! <div class="ttx-switch-mode"><div class="ttx-switch-mode-button" id="ttx-ab-button">AB</div><div class="ttx-switch-mode-button" id="ttx-rb-button">RB</div><div class="ttx-switch-mode-button" id="ttx-sb-button" >SB</div></div> | ||
| + | |} | ||
| − | + | At present, this map has the same layouts in AB, RB and SB. | |
| − | |||
| − | |||
| − | |||
| − | |||
| − | + | ===Domination=== | |
| − | + | <!--Put map screenshot, layout sizes and basic description (where each cap point is) in table using ttx-ab, ttx-rb &ttx-sb spans appropriately. If a more detailed description is desired then insert it as a paragraph of text above the table--> | |
| − | [[File:MapLayout Battle Finland.jpg| | + | {| style="width: 300px;" class="wikitable" |
| + | ! Domination Mode - Map Layouts | ||
| + | |- align="center" | ||
| + | | | ||
| + | <div style="float: none;" class="ttx-ab">[[File:MapLayout Domination Finland ABRBSB.jpg|300px]]</div> | ||
| + | <div style="float: none;" class="ttx-rb">[[File:MapLayout Domination Finland ABRBSB.jpg|300px]]</div> | ||
| + | <div style="float: none;" class="ttx-sb">[[File:MapLayout Domination Finland ABRBSB.jpg|300px]]</div> | ||
| + | |- align="center" | ||
| + | | | ||
| + | <span class="ttx-ab">1.7 km diameter circle</span> | ||
| + | <span class="ttx-rb">1.7 km diameter circle</span> | ||
| + | <span class="ttx-sb">1.7 km diameter circle</span> | ||
| + | |- | ||
| + | | | ||
| + | <span class="ttx-ab">In AB point A is in the village in the east of the map, B is in the central mountain pass, and C is in the small settlement in the west of the map.</span> | ||
| + | <span class="ttx-rb">In RB point A is in the village in the east of the map, B is in the central mountain pass, and C is in the small settlement in the west of the map.</span> | ||
| + | <span class="ttx-sb">In SB point A is in the village in the east of the map, B is in the central mountain pass, and C is in the small settlement in the west of the map.</span> | ||
| + | |} | ||
| + | |||
| + | ===Conquest=== | ||
| + | <!--Put map screenshots, layout sizes and basic descriptions (where each cap point is) in table using ttx-ab, ttx-rb &ttx-sb spans appropriately. If a more detailed description is desired then insert it as a paragraph of text above the table--> | ||
| + | {| style="width: 900px;" class="wikitable" | ||
| + | ! colspan="3" | Conquest Mode - Map Layouts | ||
| + | |- | ||
| + | ! Conquest #1 | ||
| + | ! Conquest #2 | ||
| + | ! Conquest #3 | ||
| + | |- align="center" | ||
| + | | | ||
| + | <div style="float: none;" class="ttx-ab">[[File:MapLayout Conquest1 Finland ABRBSB.jpg|300px]]</div> | ||
| + | <div style="float: none;" class="ttx-rb">[[File:MapLayout Conquest1 Finland ABRBSB.jpg|300px]]</div> | ||
| + | <div style="float: none;" class="ttx-sb">[[File:MapLayout Conquest1 Finland ABRBSB.jpg|300px]]</div> | ||
| + | | | ||
| + | <div style="float: none;" class="ttx-ab">[[File:MapLayout Conquest2 Finland ABRBSB.jpg|300px]]</div> | ||
| + | <div style="float: none;" class="ttx-rb">[[File:MapLayout Conquest2 Finland ABRBSB.jpg|300px]]</div> | ||
| + | <div style="float: none;" class="ttx-sb">[[File:MapLayout Conquest2 Finland ABRBSB.jpg|300px]]</div> | ||
| + | | | ||
| + | <div style="float: none;" class="ttx-ab">[[File:MapLayout Conquest3 Finland ABRBSB.jpg|300px]]</div> | ||
| + | <div style="float: none;" class="ttx-rb">[[File:MapLayout Conquest3 Finland ABRBSB.jpg|300px]]</div> | ||
| + | <div style="float: none;" class="ttx-sb">[[File:MapLayout Conquest3 Finland ABRBSB.jpg|300px]]</div> | ||
| + | |- align="center" | ||
| + | | | ||
| + | <span class="ttx-ab">1.7 km diameter circle</span> | ||
| + | <span class="ttx-rb">1.7 km diameter circle</span> | ||
| + | <span class="ttx-sb">1.7 km diameter circle</span> | ||
| + | | | ||
| + | <span class="ttx-ab">1.7 km diameter circle</span> | ||
| + | <span class="ttx-rb">1.7 km diameter circle</span> | ||
| + | <span class="ttx-sb">1.7 km diameter circle</span> | ||
| + | | | ||
| + | <span class="ttx-ab">1.7 km diameter circle</span> | ||
| + | <span class="ttx-rb">1.7 km diameter circle</span> | ||
| + | <span class="ttx-sb">1.7 km diameter circle</span> | ||
| + | |- | ||
| + | | | ||
| + | <span class="ttx-ab">In AB the capture point is in the village in the east of the map.</span> | ||
| + | <span class="ttx-rb">In RB the capture point is in the village in the east of the map.</span> | ||
| + | <span class="ttx-sb">In SB the capture point is in the village in the east of the map.</span> | ||
| + | | | ||
| + | <span class="ttx-ab">In AB the capture point is is in the central mountain pass.</span> | ||
| + | <span class="ttx-rb">In RB the capture point is is in the central mountain pass.</span> | ||
| + | <span class="ttx-sb">In SB the capture point is is in the central mountain pass.</span> | ||
| + | | | ||
| + | <span class="ttx-ab">In AB the capture point is in the small settlement in the west of the map.</span> | ||
| + | <span class="ttx-rb">In RB the capture point is in the small settlement in the west of the map.</span> | ||
| + | <span class="ttx-sb">In RB the capture point is in the small settlement in the west of the map.</span> | ||
| + | |} | ||
| + | |||
| + | ===Battle=== | ||
| + | <!--Put map screenshots, layout sizes and basic descriptions (where each cap point is) in table using ttx-ab, ttx-rb &ttx-sb spans appropriately. If a more detailed description is desired then insert it as a paragraph of text above the table--> | ||
| + | {| style="width: 300px;" class="wikitable" | ||
| + | ! Battle Mode - Map Layouts | ||
| + | |- align="center" | ||
| + | | | ||
| + | <div style="float: none;" class="ttx-ab">[[File:MapLayout Battle Finland ABRBSB.jpg|300px]]</div> | ||
| + | <div style="float: none;" class="ttx-rb">[[File:MapLayout Battle Finland ABRBSB.jpg|300px]]</div> | ||
| + | <div style="float: none;" class="ttx-sb">[[File:MapLayout Battle Finland ABRBSB.jpg|300px]]</div> | ||
| + | |- align="center" | ||
| + | | | ||
| + | <span class="ttx-ab">1.7 km diameter circle</span> | ||
| + | <span class="ttx-rb">1.7 km diameter circle</span> | ||
| + | <span class="ttx-sb">1.7 km diameter circle</span> | ||
| + | |- | ||
| + | | | ||
| + | <span class="ttx-ab">In AB the capture points are located in the western passage, and on top of the eastern hill.</span> | ||
| + | <span class="ttx-rb">In RB the capture points are located in the western passage, and on top of the eastern hill.</span> | ||
| + | <span class="ttx-sb">In SB the capture points are located in the western passage, and on top of the eastern hill.</span> | ||
| + | |} | ||
==Strategy== | ==Strategy== | ||
| + | ''Describe what focus a team should have when spawning into the map'' | ||
== Media == | == Media == | ||
| − | ''An excellent addition to the article will be video guides, as well as screenshots from the game and photos.'' | + | <!--''An excellent addition to the article will be video guides, as well as screenshots from the game and photos.''--> |
| + | <div><ul> | ||
| + | <li style="display: inline-block;">[[File:Finland Concept Art 1.jpg|thumb|none|250px|Concept art of the Finland location]]</li> | ||
| + | <li style="display: inline-block;">[[File:Finland Concept Art 2.jpg|thumb|none|250px|Concept art of the Finland location]]</li> | ||
| + | </ul></div> | ||
==References== | ==References== | ||
<references /> | <references /> | ||
| − | == | + | == See also == |
| − | <!--''Links to the articles on the War Thunder Wiki that you think will be useful for the reader, for example | + | <!--''Links to the articles on the War Thunder Wiki that you think will be useful for the reader, for example:'' |
| − | * ''reference to | + | * ''reference to related locations;''--> |
| − | * | + | * [[Frozen Pass]] |
| − | + | * [[Stalingrad (Ground Forces)]] | |
| − | [ | + | * [[Volokolamsk]] |
| + | * [[Surroundings of Volokolamsk]] | ||
| − | == | + | == External links == |
| − | ''Paste links to sources and external resources, such as:'' | + | <!--''Paste links to sources and external resources, such as:'' |
* ''topic on the official game forum;'' | * ''topic on the official game forum;'' | ||
| − | * ''other literature.'' | + | * ''encyclopedia page on location/battle;'' |
| + | * ''other literature.''--> | ||
| + | |||
| + | * [https://warthunder.com/en/devblog/current/786 [Devblog<nowiki>]</nowiki> Finland] | ||
[[Category:Maps_and_missions]] | [[Category:Maps_and_missions]] | ||
[[Category:Ground forces maps]] | [[Category:Ground forces maps]] | ||
Revision as of 12:22, 29 February 2020
Contents
Overview
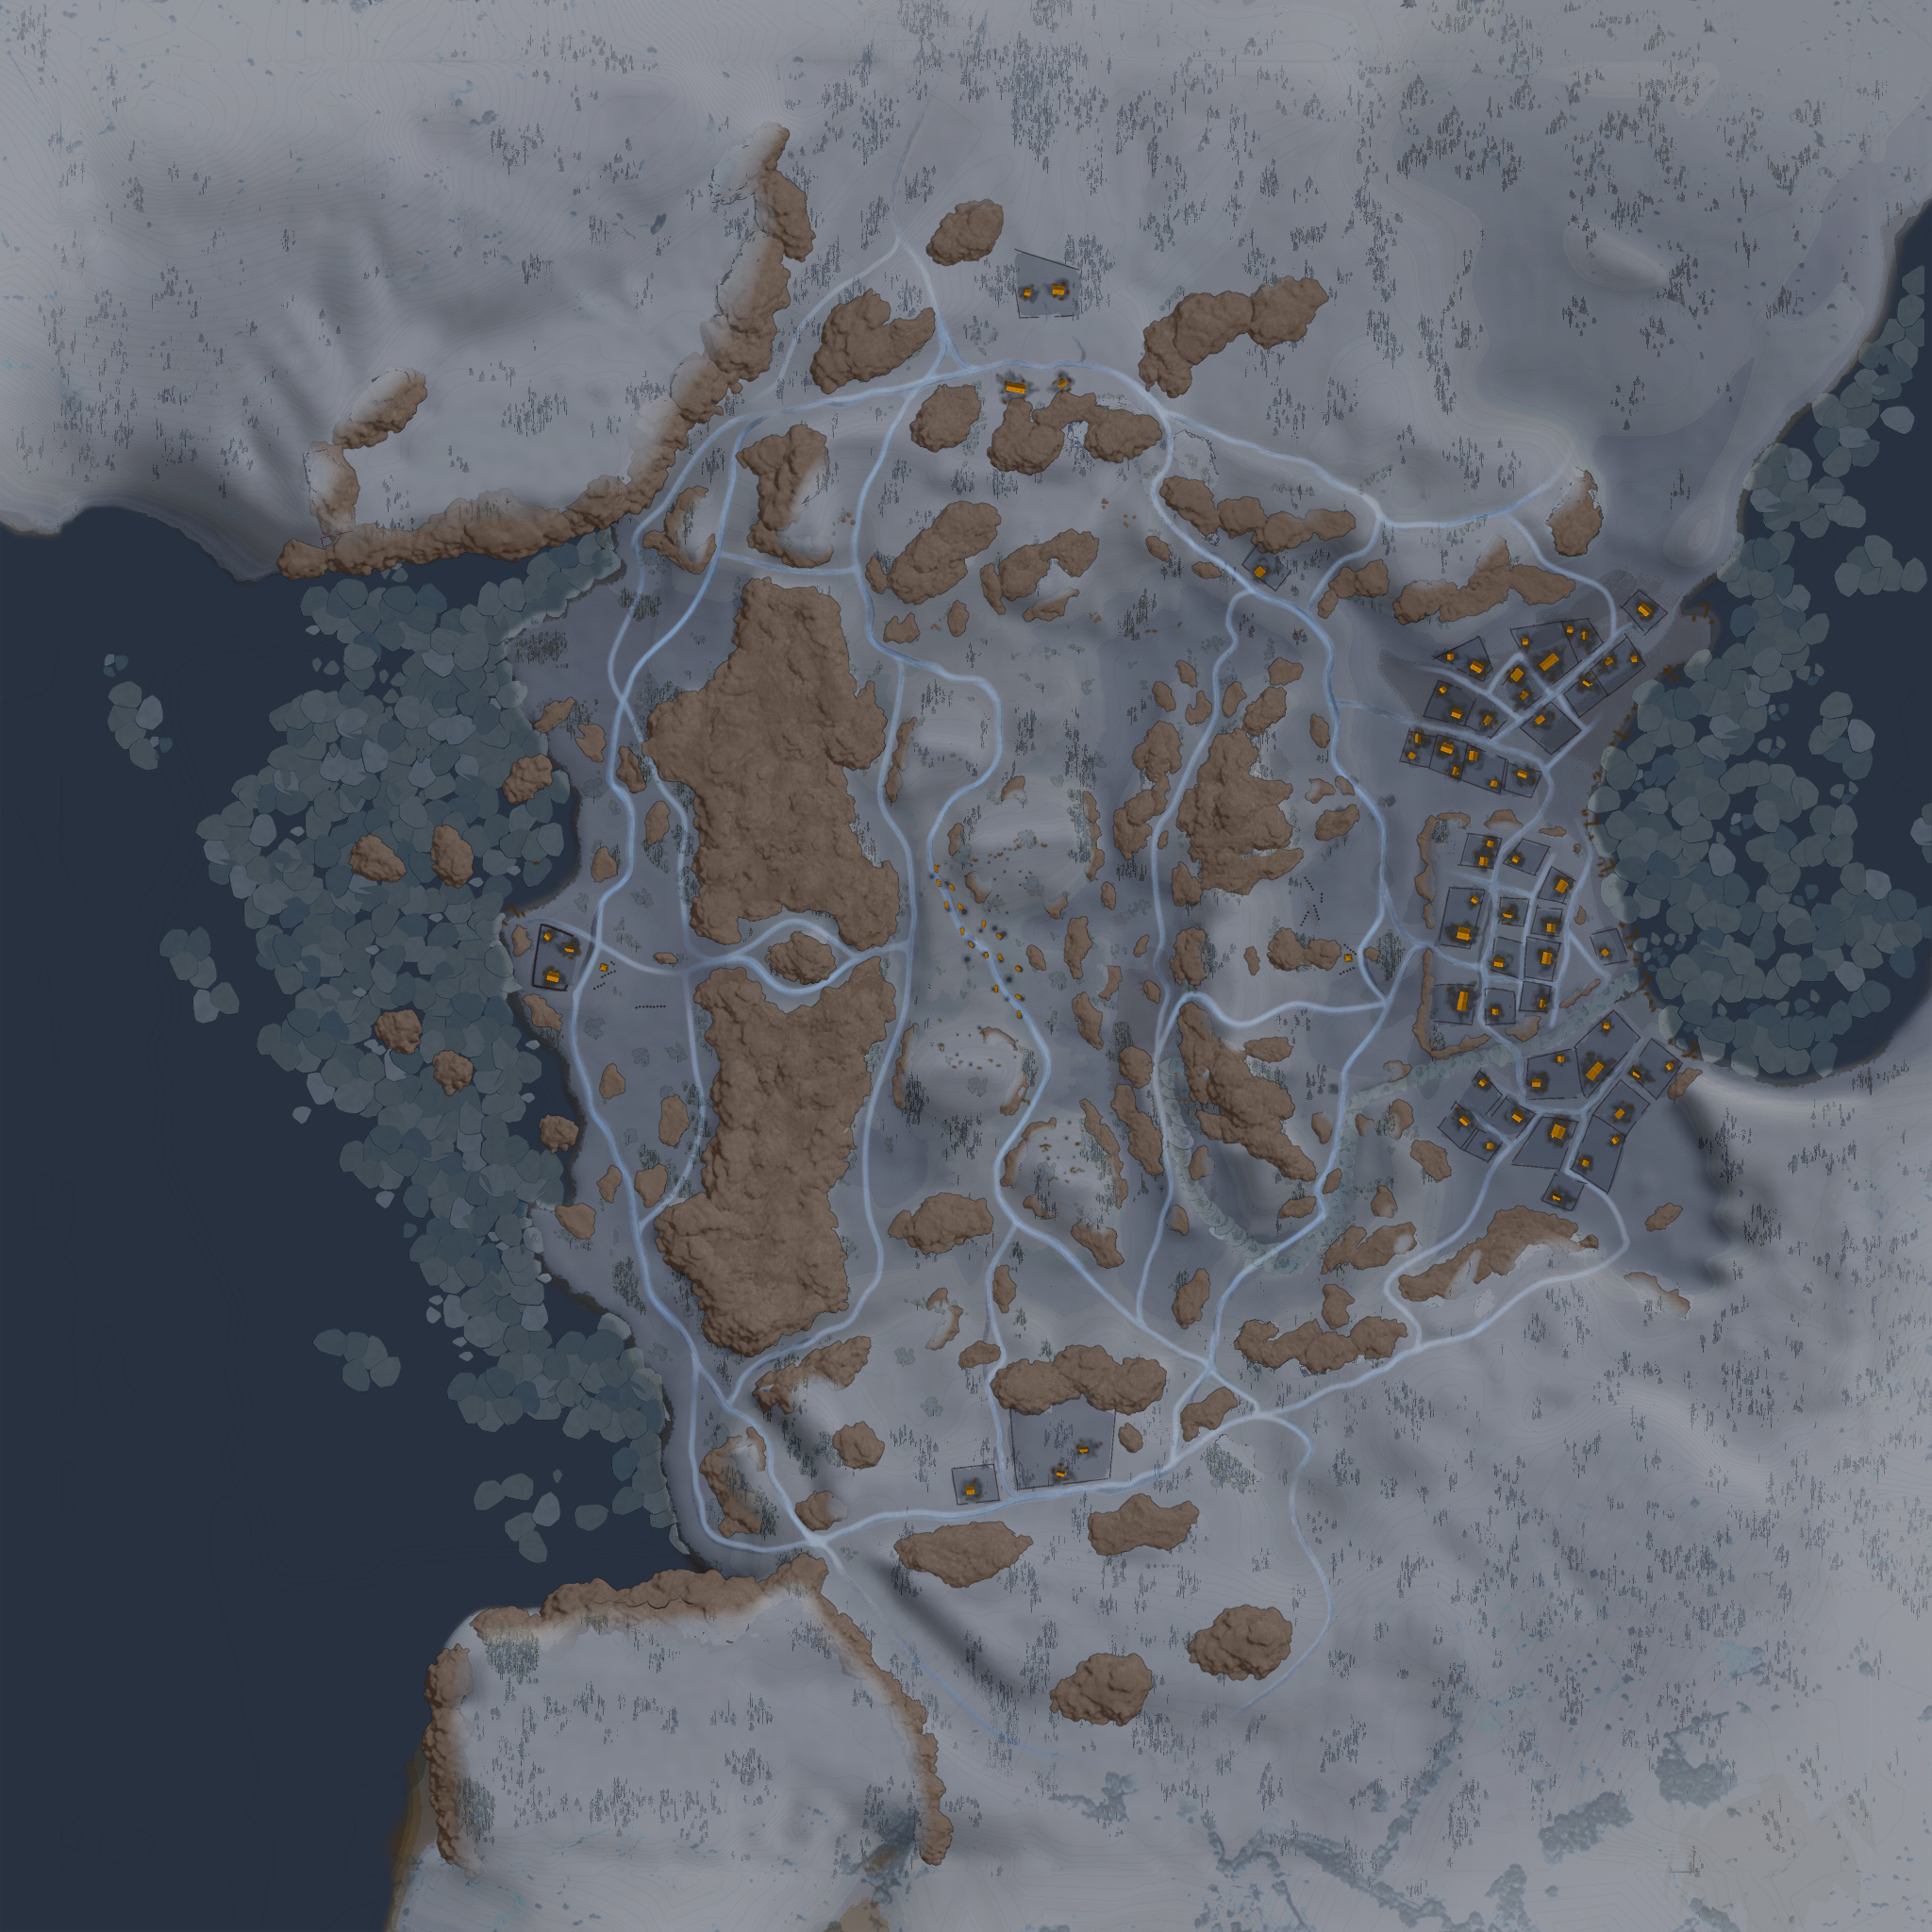
Finland is a ground forces map available in all modes. It is set in an area on the Finland - Russia border, near the towns of Svetogorsk and Imatra. Being added in Update 1.51 "Cold Steel" it was the first winter tank map to be added to the game. It also added an interesting unique gameplay mechanic where tanks could fall through the ice, on the lakes, if they were too heavy, or if the ice was shot / bombed / fired upon by artillery; however it seems that this mechanic may have since been disabled.
The map offers opportunities for both long and short range engagements. Ridges run horizontally along most of the north and south of the map, allowing for players to try and pick off enemy tanks from a distance. The west of the map has a small settlement on the shoreline of a lake that has turned to ice, the area is quite open, but there are rocks and the buildings in the settlement available for cover. Tanks trying to advance towards the settlement are open to fire from the north / south (depending on which team you are on) and from a small passage, connecting the west and middle of the map. Some players may try to flank over the ice lake however this is not advised as you are very exposed to enemy fire, with the only cover being some rocks; the ice lake is also very uneven, making it hard to traverse, and littered with hard to spot holes in the ice, meaning the player may get stuck or simply fall into the lake (with no chance of survival).
The middle of the map has some rocky hills and a number of destroyed vehicles in the center, providing cover. Players either go hull-down on the hills, and try to pick each other off, or advance down the roads, for more close quarter’s fighting. A small passage connects the west and middle of the map. Control over this passage provides a strategic advantage, as it allows players to quickly move across the map, and put fire into the sides of enemies in the western and middle capture points.
The east and middle of the map are separated by a rocky hill, which layers can climb to provide a position to shoot enemy tanks from, or to move from the middle to the east of the map (or vice-versa). The East of the map contains a small village with a large number of wooden buildings. Players often set up in positions on the north and south ridges, trying to kill tanks approaching the town, or failing that, the tanks on the opposing ridge.
The tank battles map is 2km x 2km. The Air battle map is 64km x 64km. The tank battle areas are:
| Game Mode | AB | RB | SB |
|---|---|---|---|
| Domination | 1.7 km diameter circle | 1.7 km diameter circle | 1.7 km diameter circle |
| Conquest #1 | 1.7 km diameter circle | 1.7 km diameter circle | 1.7 km diameter circle |
| Conquest #2 | 1.7 km diameter circle | 1.7 km diameter circle | 1.7 km diameter circle |
| Conquest #3 | 1.7 km diameter circle | 1.7 km diameter circle | 1.7 km diameter circle |
| Battle | 1.7 km diameter circle | 1.7 km diameter circle | 1.7 km diameter circle |
Game Description
In these frosty parts of the world, a war is like a stern test that needs to be passed in order to win.
Historical Background
This map is set on the Finland - Russia border, near the towns of Svetogorsk and Imatra. The actual battle area is a strip of land, 6.75km (4.25 miles) east of Svetogorsk and 2.8km (1.75 miles) north of the town of Losevo (in modern day Russia). The map area is flanked on the east and west by Voroshilovskoye lake and Yasnoye lake respectively (the partly frozen lakes you see in game). Although the location of the ground forces map and the surrounding area (in the air forces map) is historical, the actual layout and terrain of the ground forces map appears to be largely fictional. The map is located at 61°06'11.7"N 28°59'34.7"E in the real world.
The map is located in the area of the Winter War (November 1939 - March 1940) and subsequent Continuation War (June 1941 - September 1944). The Soviet Union demanded that Finland Cede (give up) substantial portions of its territory on the border, in exchange for being given land elsewhere. Finland refused and Soviet forces invaded on 30th November 1939. The Soviets possessed more than three times the amount of soldiers as Finland, thirty times as many aircraft, and a hundred times as many tanks. The Red Army, however, had been crippled by Joseph Stalin's Great Purge of 1936–1938, with over 36,000 of its officers executed or imprisoned. This left the Red Army with many inexperienced senior and mid-level officers. This combined with other factors, and the extremely high moral and fighting ability, of the defending Finnish forces meant that the Soviet advance was held back for 3 months, much longer than the Soviets had anticipated. The Soviet forces suffered heavy casualties, totalling up to 363,000) while the Finnish forces suffered only 70,000. Hostilities ceased in March 1940 with the signing of the Moscow Peace Treaty. Finland ceded territory representing 11 percent of its land (including the town of Svetogorsk (the area where the map is set), but maintained its sovereignty. Soviet gains were greater than their pre-war demands.
After the treaty there was 15 months of peace, before the Continuation War began in June 1941. The Continuation war began on 25 June 1941, in conjunction with the German invasion of the Soviet Union. Germany had agreed to help Finland invade the Soviet Union (to recapture the land they lost in the peace treaty), as part of Operation Barbarossa (the German invasion of the Soviet Union). Finnish forces were able to retake most of the land they lost (including the area where the map is based) by September 1941, usually stopping where the old border once was. Through 1942 - 1943 military operations on the front were limited. Both sides dug in, partaking in trench warfare and unconventional warfare, with the Finns sending long-range reconnaissance patrols behind Soviet lines. All Soviet offenses were defeated. In mid-1944, the Soviet offensive drove the Finns from most of the territories they had gained, but the Finnish Army was later able to bring the offensive to a standstill by July 1944. A ceasefire ended hostilities on 5 September and was followed by the Moscow Armistice on 19 September. Finland again ceded territory (including where the map is based) to the Soviets, but maintained its independence. Today the site of the map is located in Russia 5.5km (3.4 miles) from the border.
Map configuration
| Change Maps by Game Modes | ||
|---|---|---|
| | ||
At present, this map has the same layouts in AB, RB and SB.
Domination
| Domination Mode - Map Layouts |
|---|
|
1.7 km diameter circle 1.7 km diameter circle 1.7 km diameter circle |
|
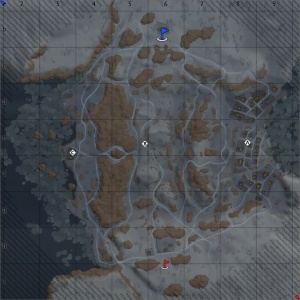
In AB point A is in the village in the east of the map, B is in the central mountain pass, and C is in the small settlement in the west of the map. In RB point A is in the village in the east of the map, B is in the central mountain pass, and C is in the small settlement in the west of the map. In SB point A is in the village in the east of the map, B is in the central mountain pass, and C is in the small settlement in the west of the map. |
Conquest
| Conquest Mode - Map Layouts | ||
|---|---|---|
| Conquest #1 | Conquest #2 | Conquest #3 |
|
1.7 km diameter circle 1.7 km diameter circle 1.7 km diameter circle |
1.7 km diameter circle 1.7 km diameter circle 1.7 km diameter circle |
1.7 km diameter circle 1.7 km diameter circle 1.7 km diameter circle |
|
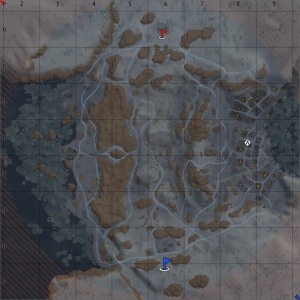
In AB the capture point is in the village in the east of the map. In RB the capture point is in the village in the east of the map. In SB the capture point is in the village in the east of the map. |
In AB the capture point is is in the central mountain pass. In RB the capture point is is in the central mountain pass. In SB the capture point is is in the central mountain pass. |
In AB the capture point is in the small settlement in the west of the map. In RB the capture point is in the small settlement in the west of the map. In RB the capture point is in the small settlement in the west of the map. |
Battle
| Battle Mode - Map Layouts |
|---|
|
1.7 km diameter circle 1.7 km diameter circle 1.7 km diameter circle |
|
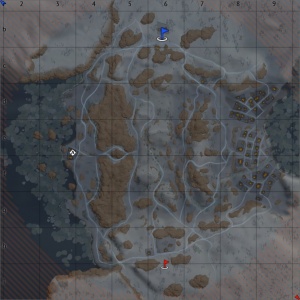
In AB the capture points are located in the western passage, and on top of the eastern hill. In RB the capture points are located in the western passage, and on top of the eastern hill. In SB the capture points are located in the western passage, and on top of the eastern hill. |
Strategy
Describe what focus a team should have when spawning into the map
Media
References


