Difference between revisions of "Category:Maps and missions"
Inceptor57 (talk | contribs) m (→Ground Forces Maps) |
(Added Alaska Map) |
||
| (9 intermediate revisions by 2 users not shown) | |||
| Line 1: | Line 1: | ||
<center>[[File:Maps missions.jpg|class=dynamic_image]]</center> | <center>[[File:Maps missions.jpg|class=dynamic_image]]</center> | ||
| − | == [[Ground Forces Maps]] == | + | |
| + | __TOC__ | ||
| + | |||
| + | == [[:Category:Ground_forces_maps|Ground Forces Maps]] == | ||
<!--Please note some links have been made redundant for the time being, these will be back. For now please do not remove any text in the arrows or reactive the links which have been deactivated--> | <!--Please note some links have been made redundant for the time being, these will be back. For now please do not remove any text in the arrows or reactive the links which have been deactivated--> | ||
===General Ground Forces Maps=== | ===General Ground Forces Maps=== | ||
| Line 8: | Line 11: | ||
|[[File:MapIcon Ground AbandonedFactory.jpg|200x200px|border|link=Abandoned_Factory (Ground Forces)]] | |[[File:MapIcon Ground AbandonedFactory.jpg|200x200px|border|link=Abandoned_Factory (Ground Forces)]] | ||
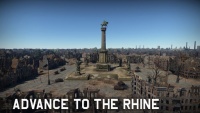
|[[File:MapIcon Ground AdvancetotheRhine.jpg|200x200px|border|link=Advance_to_the_Rhine|]] | |[[File:MapIcon Ground AdvancetotheRhine.jpg|200x200px|border|link=Advance_to_the_Rhine|]] | ||
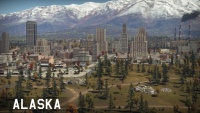
| + | |[[File:MapIcon Ground Alaska.jpg|200x200px|border|link=Alaska|]] | ||
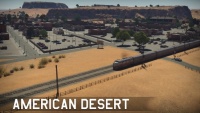
|[[File:MapIcon Ground AmericanDesert.jpg|200x200px|border|link=American_Desert|]] | |[[File:MapIcon Ground AmericanDesert.jpg|200x200px|border|link=American_Desert|]] | ||
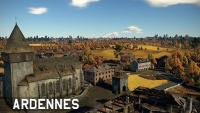
|[[File:MapIcon Ground Ardennes.jpg|200x200px|border|link=Ardennes (Ground Forces)|]] | |[[File:MapIcon Ground Ardennes.jpg|200x200px|border|link=Ardennes (Ground Forces)|]] | ||
| − | |||
|} | |} | ||
{|class="catlist" align="center" | {|class="catlist" align="center" | ||
|- | |- | ||
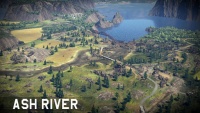
| + | |[[File:MapIcon Ground AshRiver.jpg|200x200px|border|link=Ash_River|]] | ||
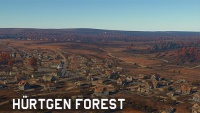
|[[File:MapIcon Ground HurtgenForest.jpg|200x200px|border|link=Battle of Hurtgen Forest (Ground Forces)|]] | |[[File:MapIcon Ground HurtgenForest.jpg|200x200px|border|link=Battle of Hurtgen Forest (Ground Forces)|]] | ||
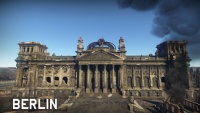
|[[File:MapIcon Ground Berlin.jpg|200x200px|border|link=Berlin (Ground Forces)|]] | |[[File:MapIcon Ground Berlin.jpg|200x200px|border|link=Berlin (Ground Forces)|]] | ||
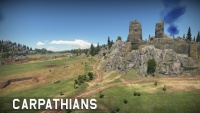
|[[File:MapIcon Ground Carpathians.jpg|200x200px|border|link=Carpathians (Ground Forces)|]] | |[[File:MapIcon Ground Carpathians.jpg|200x200px|border|link=Carpathians (Ground Forces)|]] | ||
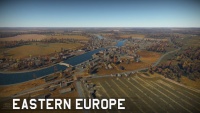
|[[File:MapIcon Ground EasternEurope.jpg|200x200px|border|link=Eastern_Europe (Ground Forces)|]] | |[[File:MapIcon Ground EasternEurope.jpg|200x200px|border|link=Eastern_Europe (Ground Forces)|]] | ||
| − | |||
|} | |} | ||
{|class="catlist" align="center" | {|class="catlist" align="center" | ||
|- | |- | ||
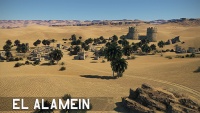
| + | |[[File:MapIcon Ground ElAlamein.jpg|200x200px|border|link=Second battle of El_Alamein|]] | ||
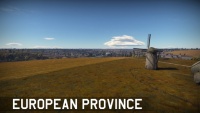
|[[File:MapIcon Ground EuropeanProvince.jpg|200x200px|border|link=European_Province|]] | |[[File:MapIcon Ground EuropeanProvince.jpg|200x200px|border|link=European_Province|]] | ||
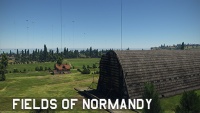
|[[File:MapIcon Ground FieldsofNormandy.jpg|200x200px|border|link=Fields_of_Normandy|]] | |[[File:MapIcon Ground FieldsofNormandy.jpg|200x200px|border|link=Fields_of_Normandy|]] | ||
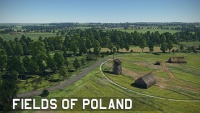
|[[File:MapIcon Ground FieldsofPoland.jpg|200x200px|border|link=Fields_of_Poland|]] | |[[File:MapIcon Ground FieldsofPoland.jpg|200x200px|border|link=Fields_of_Poland|]] | ||
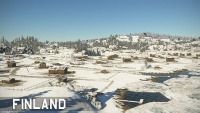
|[[File:MapIcon Ground Finland.jpg|200x200px|border|link=Finland|]] | |[[File:MapIcon Ground Finland.jpg|200x200px|border|link=Finland|]] | ||
| − | |||
|} | |} | ||
{|class="catlist" align="center" | {|class="catlist" align="center" | ||
|- | |- | ||
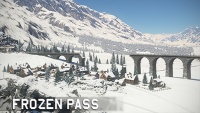
| + | |[[File:MapIcon Ground FrozenPass.jpg|200x200px|border|link=Frozen_Pass (Ground Forces)|]] | ||
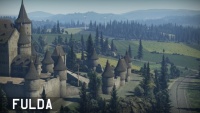
|[[File:MapIcon Ground Fulda.jpg|200x200px|border|link=Fulda (Ground Forces)|]] | |[[File:MapIcon Ground Fulda.jpg|200x200px|border|link=Fulda (Ground Forces)|]] | ||
|[[File:MapIcon Ground Italy.jpg|200x200px|border|link=Italy (Ground Forces)|]] | |[[File:MapIcon Ground Italy.jpg|200x200px|border|link=Italy (Ground Forces)|]] | ||
|[[File:MapIcon Ground Japan.jpg|200x200px|border|link=Emperors_Garden_Map|]] | |[[File:MapIcon Ground Japan.jpg|200x200px|border|link=Emperors_Garden_Map|]] | ||
|[[File:MapIcon Ground Jungle.jpg|200x200px|border|link=Jungle|]] | |[[File:MapIcon Ground Jungle.jpg|200x200px|border|link=Jungle|]] | ||
| − | |||
|} | |} | ||
{|class="catlist" align="center" | {|class="catlist" align="center" | ||
|- | |- | ||
| + | |[[File:MapIcon Ground Karelia.jpg|200x200px|border|link=Karelia (Ground Forces)|]] | ||
|[[File:MapIcon Ground Korea.jpg|200x200px|border|link=Korea_(Ground Forces)]] | |[[File:MapIcon Ground Korea.jpg|200x200px|border|link=Korea_(Ground Forces)]] | ||
| − | |[[File:MapIcon Ground Kuban.jpg|200x200px|border|link=Kuban|]] | + | |[[File:MapIcon Ground Kuban.jpg|200x200px|border|link=Kuban (Ground Forces)|]] |
|[[File:MapIcon Ground Kursk.jpg|200x200px|border|link=Kursk_(Ground Forces)|]] | |[[File:MapIcon Ground Kursk.jpg|200x200px|border|link=Kursk_(Ground Forces)|]] | ||
|[[File:MapIcon Ground MaginotLine.jpg|200x200px|border|link=Maginot_Line (Ground Forces)|]] | |[[File:MapIcon Ground MaginotLine.jpg|200x200px|border|link=Maginot_Line (Ground Forces)|]] | ||
| − | |||
|} | |} | ||
{|class="catlist" align="center" | {|class="catlist" align="center" | ||
|- | |- | ||
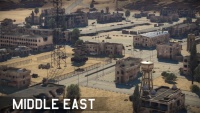
| + | |[[File:MapIcon Ground MiddleEast.jpg|200x200px|border|link=Middle_East (Ground Forces)|]] | ||
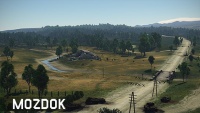
|[[File:MapIcon Ground Mozdok.jpg|200x200px|border|link=Mozdok (Ground Forces)|]] | |[[File:MapIcon Ground Mozdok.jpg|200x200px|border|link=Mozdok (Ground Forces)|]] | ||
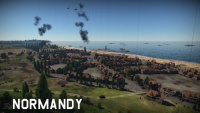
|[[File:MapIcon Ground Normandy.jpg|200x200px|border|link=Normandy (Ground Forces)|]] | |[[File:MapIcon Ground Normandy.jpg|200x200px|border|link=Normandy (Ground Forces)|]] | ||
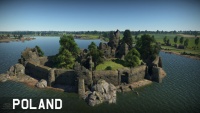
| − | |[[File:MapIcon Ground Poland.jpg|200x200px|border|link=Poland|]] | + | |[[File:MapIcon Ground Poland.jpg|200x200px|border|link=Poland (Ground Forces)|]] |
|[[File:MapIcon Ground PortNovorossiysk.jpg |200x200px|border|link=Port_Novorossiysk|]] | |[[File:MapIcon Ground PortNovorossiysk.jpg |200x200px|border|link=Port_Novorossiysk|]] | ||
| − | |||
|} | |} | ||
{|class="catlist" align="center" | {|class="catlist" align="center" | ||
|- | |- | ||
| + | |[[File:MapIcon Ground SandsofSinai.jpg|200x200px|border|link=Sands_of_Sinai|]] | ||
|[[File:MapIcon Ground SandsofTunisia.jpg|200x200px|border|link=Sands_of_Tunisia|]] | |[[File:MapIcon Ground SandsofTunisia.jpg|200x200px|border|link=Sands_of_Tunisia|]] | ||
|[[File:MapIcon Ground Sinai.jpg|200x200px|border|link=Sinai|]] | |[[File:MapIcon Ground Sinai.jpg|200x200px|border|link=Sinai|]] | ||
| − | |[[File:MapIcon Ground Stalingrad.jpg|200x200px|border|link= | + | |[[File:MapIcon Ground Stalingrad.jpg|200x200px|border|link=Stalingrad_(Ground Forces)|]] |
|[[File:MapIcon Ground SurroundingsofVolokolamsk.jpg|200x200px|border|link=Surroundings_of_Volokolamsk|]] | |[[File:MapIcon Ground SurroundingsofVolokolamsk.jpg|200x200px|border|link=Surroundings_of_Volokolamsk|]] | ||
| − | |||
|} | |} | ||
{|class="catlist" align="center" | {|class="catlist" align="center" | ||
|- | |- | ||
| + | |[[File:MapIcon Ground Tunisia.jpg|200x200px|border|link=Tunisia|]] | ||
| + | |[[File:MapIcon Ground VietnamHills.jpg|200x200px|border|link=Vietnam_Hills|]] | ||
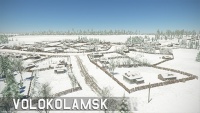
|[[File:MapIcon Ground Volokolamsk.jpg|200x200px|border|link=Volokolamsk|]] | |[[File:MapIcon Ground Volokolamsk.jpg|200x200px|border|link=Volokolamsk|]] | ||
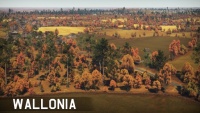
|[[File:MapIcon Ground Wallonia.jpg|200x200px|border|link=Wallonia|]] | |[[File:MapIcon Ground Wallonia.jpg|200x200px|border|link=Wallonia|]] | ||
| Line 82: | Line 87: | ||
|} | |} | ||
| − | == [[Air Forces Maps]] == | + | == [[:Category:Air_forces_maps|Air Forces Maps]] == |
<!--Please note some links have been made redundant for the time being, these will be back. For now please do not remove any text in the arrows or reactive the links which have been deactivated--> | <!--Please note some links have been made redundant for the time being, these will be back. For now please do not remove any text in the arrows or reactive the links which have been deactivated--> | ||
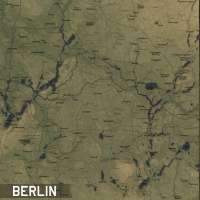
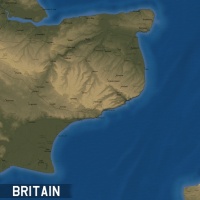
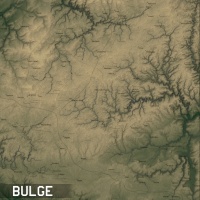
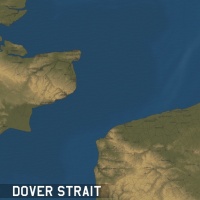
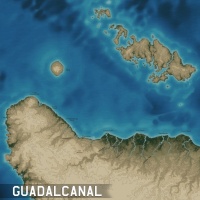
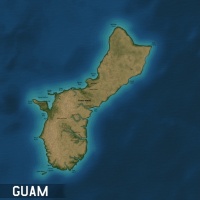
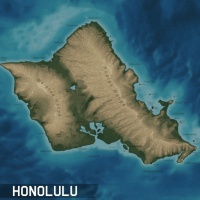
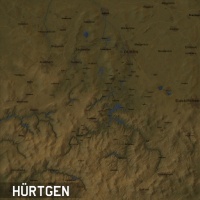
A lot of these maps have configurations for all three air game modes (Arcade, Realistic and Simulator). They are larger than Arcade maps, generally being between 64km x 64km and 131km x 131km, with a couple of exceptions. All of these maps are based off of real world locations; the level of accuracy varies between maps, but in general they tend to be reasonably accurate to the real world. | A lot of these maps have configurations for all three air game modes (Arcade, Realistic and Simulator). They are larger than Arcade maps, generally being between 64km x 64km and 131km x 131km, with a couple of exceptions. All of these maps are based off of real world locations; the level of accuracy varies between maps, but in general they tend to be reasonably accurate to the real world. | ||
| Line 88: | Line 93: | ||
{|class="catlist" align="center" | {|class="catlist" align="center" | ||
|- | |- | ||
| − | |[[File:MapIcon Air Berlin.jpg|200x200px|border|link= | + | |[[File:MapIcon Air Berlin.jpg|200x200px|border|link=Berlin_(Air Forces)]] |
| − | |[[File:MapIcon Air Britain.jpg|200x200px|border|link= | + | |[[File:MapIcon Air Britain.jpg|200x200px|border|link=Britain|]] |
|[[File:MapIcon Air Bulge.jpg|200x200px|border|link=Bulge|]] | |[[File:MapIcon Air Bulge.jpg|200x200px|border|link=Bulge|]] | ||
|[[File:MapIcon Air DoverStrait.jpg|200x200px|border|link=Dover_Strait|]] | |[[File:MapIcon Air DoverStrait.jpg|200x200px|border|link=Dover_Strait|]] | ||
| Line 99: | Line 104: | ||
|[[File:MapIcon Air Guam.jpg|200x200px|border|link=Guam]] | |[[File:MapIcon Air Guam.jpg|200x200px|border|link=Guam]] | ||
|[[File:MapIcon Air Honolulu.jpg|200x200px|border|link=Honolulu|]] | |[[File:MapIcon Air Honolulu.jpg|200x200px|border|link=Honolulu|]] | ||
| − | |[[File:MapIcon Air Hurtgen.jpg|200x200px|border|link= | + | |[[File:MapIcon Air Hurtgen.jpg|200x200px|border|link=Hurtgen_(Air Forces)|]] |
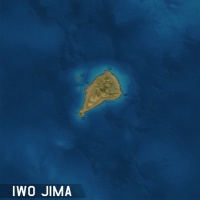
|[[File:MapIcon Air IwoJima.jpg|200x200px|border|link=Iwo Jima|]] | |[[File:MapIcon Air IwoJima.jpg|200x200px|border|link=Iwo Jima|]] | ||
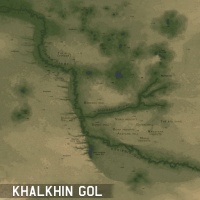
|[[File:MapIcon Air KhalkhinGol.jpg|200x200px|border|link=Khalkhin_Gol|]] | |[[File:MapIcon Air KhalkhinGol.jpg|200x200px|border|link=Khalkhin_Gol|]] | ||
| Line 106: | Line 111: | ||
{|class="catlist" align="center" | {|class="catlist" align="center" | ||
|- | |- | ||
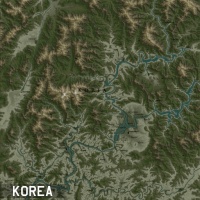
| − | |[[File:MapIcon Air Korea.jpg|200x200px|border|link= | + | |[[File:MapIcon Air Korea.jpg|200x200px|border|link=Korea_(Air Forces)|]] |
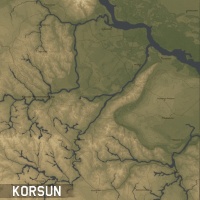
|[[File:MapIcon Air Korsun.jpg|200x200px|border|link=Korsun]] | |[[File:MapIcon Air Korsun.jpg|200x200px|border|link=Korsun]] | ||
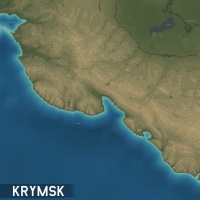
|[[File:MapIcon Air Krymsk.jpg|200x200px|border|link=Krymsk|]] | |[[File:MapIcon Air Krymsk.jpg|200x200px|border|link=Krymsk|]] | ||
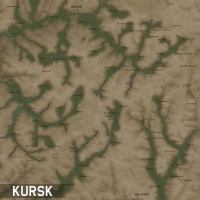
| − | |[[File:MapIcon Air Kursk.jpg|200x200px|border|link= | + | |[[File:MapIcon Air Kursk.jpg|200x200px|border|link=Kursk_(Air Forces)|]] |
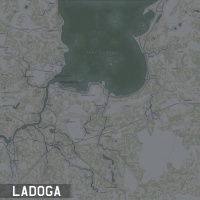
|[[File:MapIcon Air Ladoga.jpg|200x200px|border|link=Ladoga|]] | |[[File:MapIcon Air Ladoga.jpg|200x200px|border|link=Ladoga|]] | ||
|} | |} | ||
| Line 118: | Line 123: | ||
|[[File:MapIcon Air Midway.jpg|200x200px|border|link=Midway|]] | |[[File:MapIcon Air Midway.jpg|200x200px|border|link=Midway|]] | ||
|[[File:MapIcon Air Moscow.jpg|200x200px|border|link=Moscow]] | |[[File:MapIcon Air Moscow.jpg|200x200px|border|link=Moscow]] | ||
| − | |[[File:MapIcon Air Mozdok.jpg|200x200px|border|link= | + | |[[File:MapIcon Air Mozdok.jpg|200x200px|border|link=Mozdok_(Air Forces)|]] |
|[[File:MapIcon Air Norway.jpg|200x200px|border|link=Norway|]] | |[[File:MapIcon Air Norway.jpg|200x200px|border|link=Norway|]] | ||
|} | |} | ||
| + | |||
| + | ==[[:Category:Naval_forces_maps|Naval Forces Maps]]== | ||
| + | WIP | ||
[[Category:Game mechanics]] | [[Category:Game mechanics]] | ||
Revision as of 17:17, 17 March 2019

Contents
Ground Forces Maps
General Ground Forces Maps

|
|
|
|
|
|
|
|
|
|
|
|
|
|
|
|
|
|
|
|
|
|
|
|
|
|
|
|
|
|
|
|
|
|
|
|
|
|
|
|
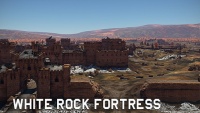
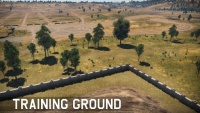
Special Ground Forces Maps
These maps are do not occur in normal ground battles. They are only normally available to play in specific game modes / special events, tutorials, or in user made missions.
|

|
Air Forces Maps
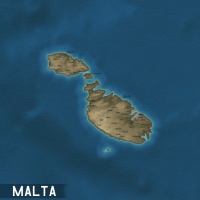
A lot of these maps have configurations for all three air game modes (Arcade, Realistic and Simulator). They are larger than Arcade maps, generally being between 64km x 64km and 131km x 131km, with a couple of exceptions. All of these maps are based off of real world locations; the level of accuracy varies between maps, but in general they tend to be reasonably accurate to the real world.
|
|
|
|
|
|
|
|
|
|
|
|
|
|
|
|
|
|
|
|
WIP
Subcategories
This category has the following 3 subcategories, out of 3 total.
Pages in category "Maps and missions"
The following 52 pages are in this category, out of 52 total.
