Difference between revisions of "Carpathians (Ground Forces)"
Inceptor57 (talk | contribs) m (→Notable Landmarks) |
Colok76286 (talk | contribs) (Edits) |
||
| (9 intermediate revisions by 6 users not shown) | |||
| Line 1: | Line 1: | ||
{{DISPLAYTITLE:Carpathians}} | {{DISPLAYTITLE:Carpathians}} | ||
| − | + | <div class="ttx"> | |
| − | + | <div class="ttx-image">[[File:MapIcon Ground Carpathians.jpg]]</div> | |
| − | + | <div class="ttx-table"> | |
| − | + | <div class="ttx-table-line ttx-table-head">Possible Layouts</div> | |
| − | + | <div class="ttx-table-line"><span class="ttx-value">[[File:Icon GreenCheckmark.png|link=]]</span><span class="ttx-name">Domination</span></div> | |
| − | + | <div class="ttx-table-line"><span class="ttx-value">[[File:Icon GreenCheckmark.png|link=]]</span><span class="ttx-name">Conquest</span></div> | |
| − | + | <div class="ttx-table-line"><span class="ttx-value">[[File:Icon GreenCheckmark.png|link=]]</span><span class="ttx-name">Battle</span></div> | |
| − | + | <div class="ttx-table-line"><span class="ttx-value">[[File:Icon GreenCheckmark.png|link=]]</span><span class="ttx-name">Break</span></div> | |
| − | + | <div class="ttx-table-line"><span class="ttx-value">[[File:Icon RedXCross.png|link=]]</span><span class="ttx-name">Skirmish</span></div> | |
| − | + | <div class="ttx-table-line ttx-table-head">Other Information</div> | |
| − | + | <div class="ttx-table-line"><span class="ttx-value">2 km x 2 km</span><span class="ttx-name">Full tank area size</span></div> | |
| − | + | <div class="ttx-table-line"><span class="ttx-value">Carpathian Mountains</span><span class="ttx-name">Real World Location</span></div> | |
| − | + | <div class="ttx-table-line ttx-table-head">Full Map</div> | |
| − | + | <div class="ttx-image">[[File:MapLayout_Ground_Carpathians.jpg]]</div> | |
| − | + | </div> | |
| − | + | </div> | |
__TOC__ | __TOC__ | ||
==Overview== | ==Overview== | ||
| − | |||
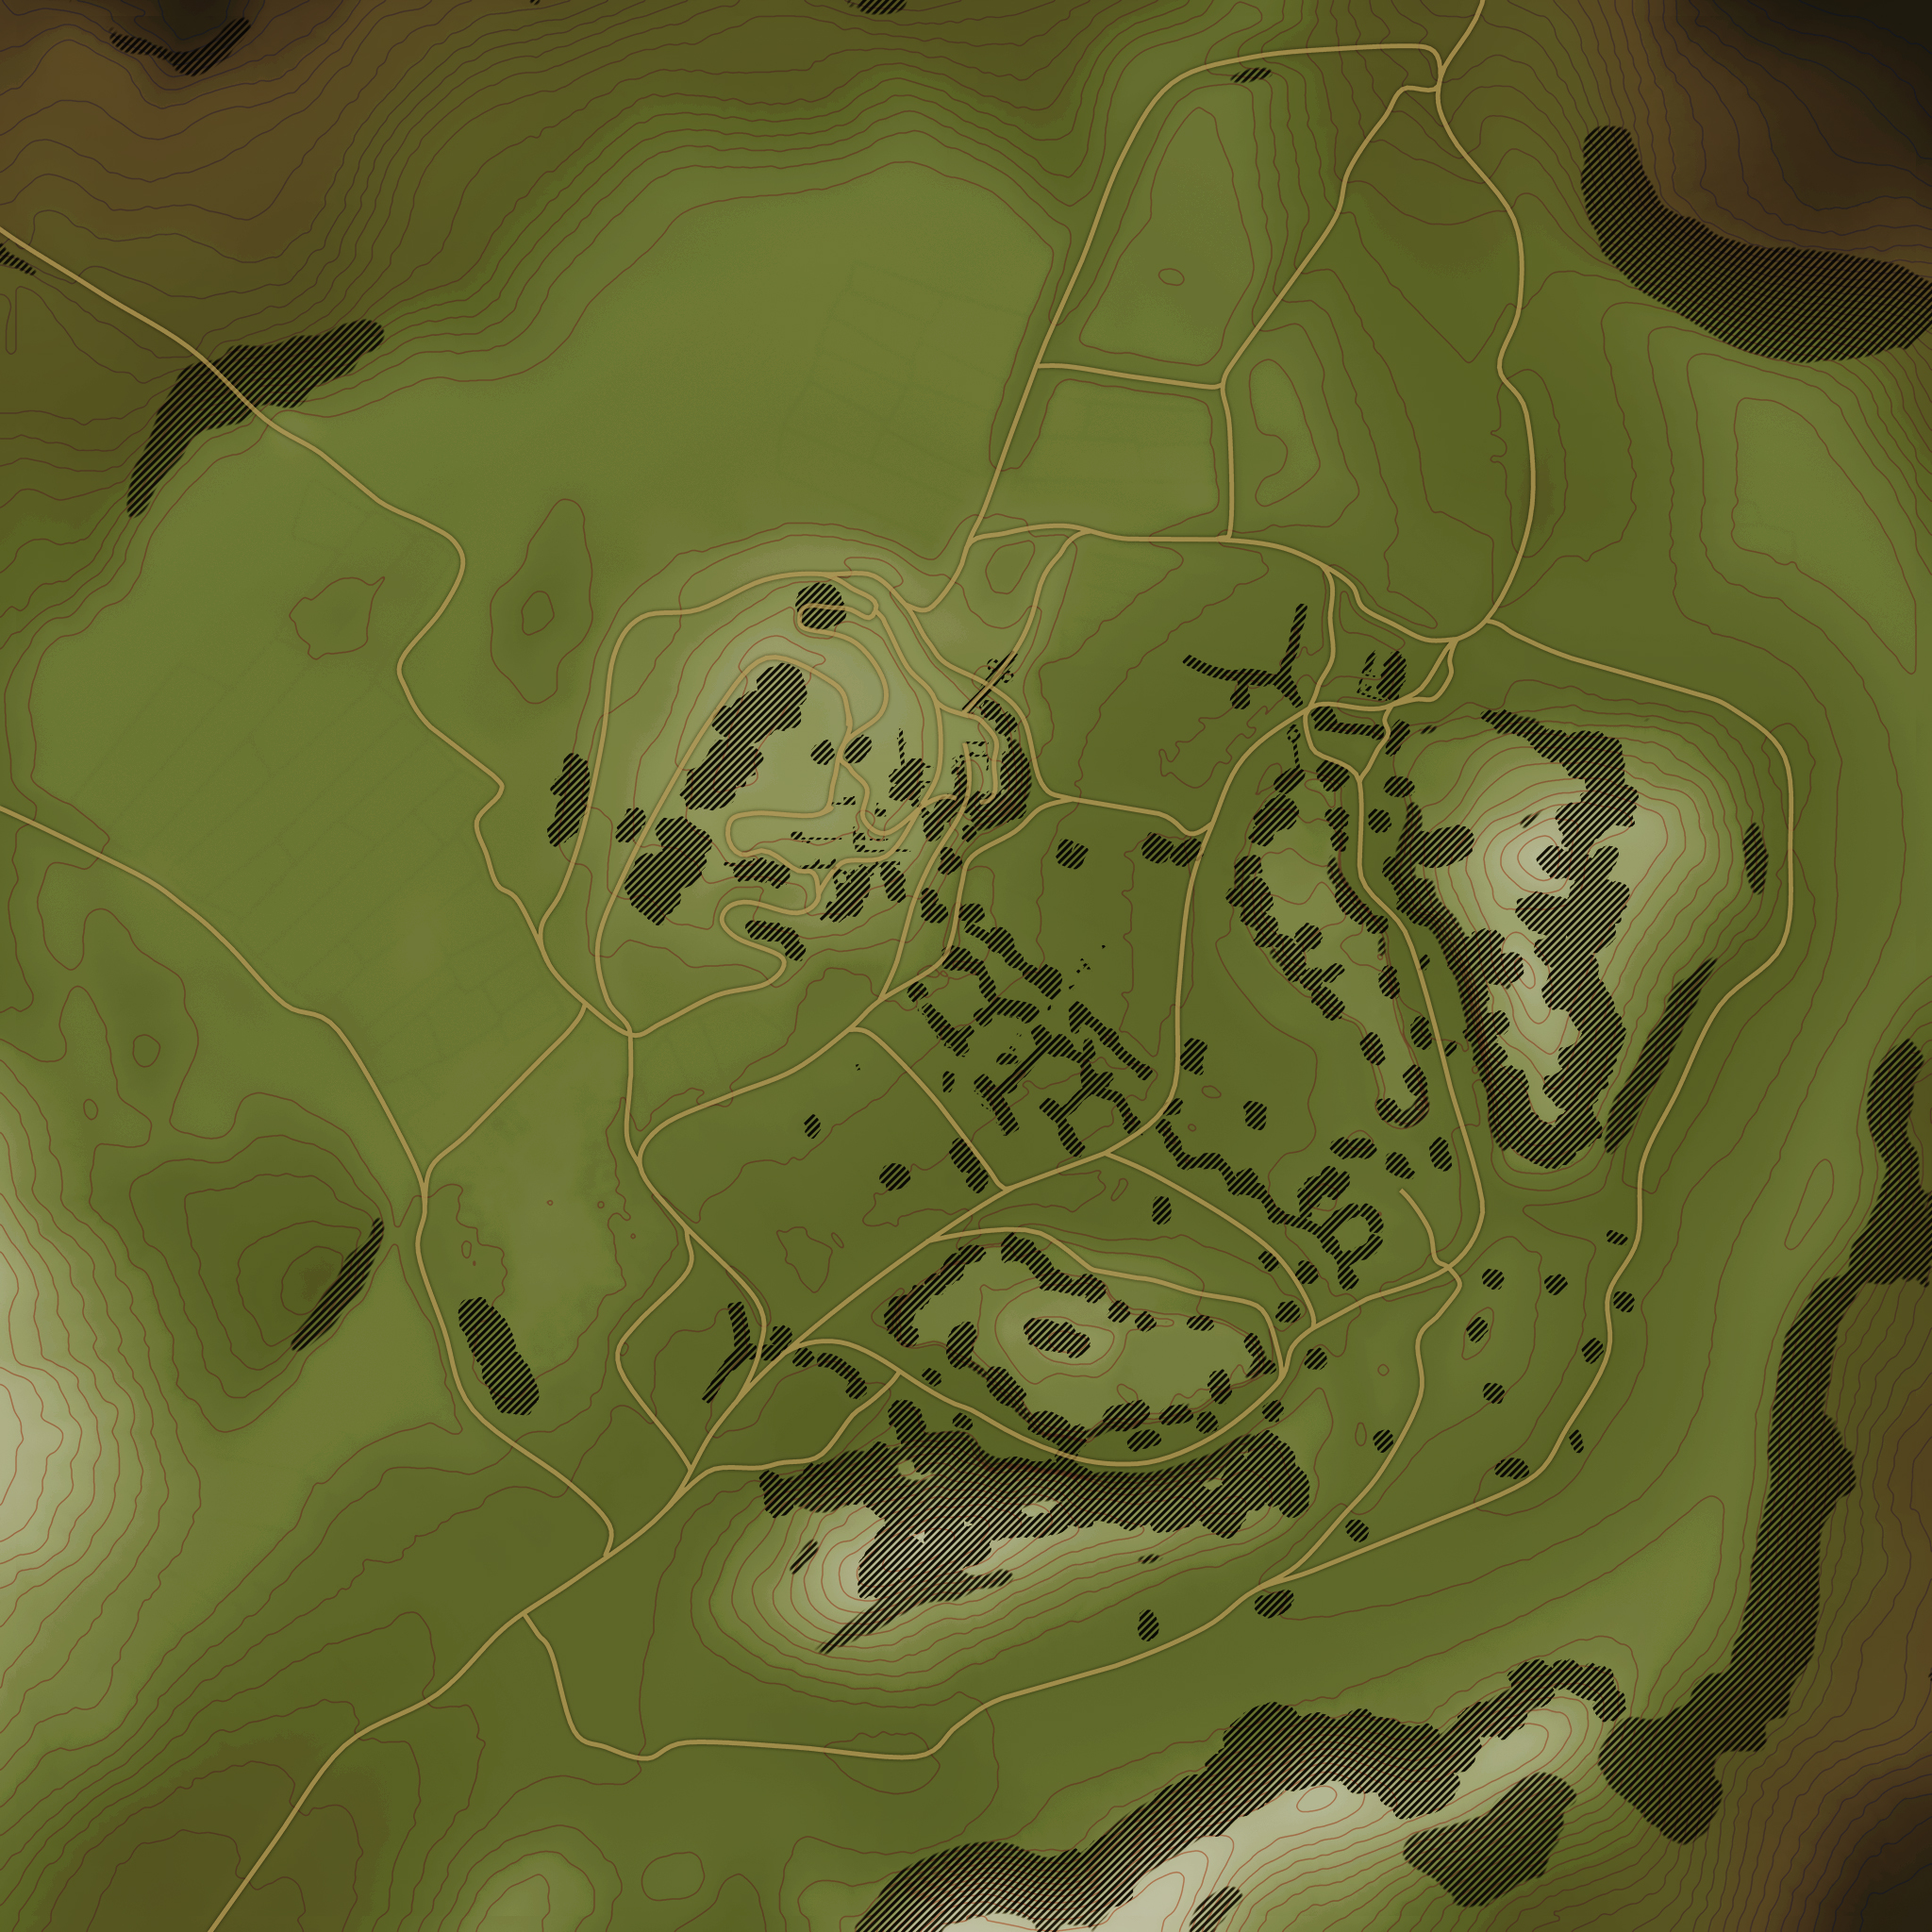
'''Carpathians''' is a ground forces map available in all modes, it was added in Update 1.41.27.12 (a major patch between Update 1.41 and 1.43). The map is set in the Carpathian Mountain range, in Eastern Europe. The center of the map is an open field, with some natural depressions, and a trench system in the middle, to provide cover. There are a few rocky hills in the north-east, and south of the map and a main, larger hill in the west. There is a ruined castle on top the western hill providing a location for close quarters flights, and a good position to shoot down on players in the middle and east of the map. | '''Carpathians''' is a ground forces map available in all modes, it was added in Update 1.41.27.12 (a major patch between Update 1.41 and 1.43). The map is set in the Carpathian Mountain range, in Eastern Europe. The center of the map is an open field, with some natural depressions, and a trench system in the middle, to provide cover. There are a few rocky hills in the north-east, and south of the map and a main, larger hill in the west. There is a ruined castle on top the western hill providing a location for close quarters flights, and a good position to shoot down on players in the middle and east of the map. | ||
| − | The tank battles map is | + | The tank battles map is 2 km x 2 km and the air battles map is 65 km x 65 km. |
| + | The map is named "avg_karpaty_passage" in the [[War Thunder CDK|CDK]]. | ||
| + | |||
| + | {| class="wikitable" | ||
| + | |+ Battle area Size | ||
| + | ! Game Mode | ||
| + | ! AB | ||
| + | ! RB | ||
| + | ! SB | ||
| + | |- | ||
| + | | Domination | ||
| + | | 2.0 km x 2.0 km | ||
| + | | 2.0 km x 2.0 km | ||
| + | | 2.0 km x 2.0 km | ||
| + | |- | ||
| + | | Conquest #1 | ||
| + | | 2.0 km x 2.0 km | ||
| + | | 2.0 km x 2.0 km | ||
| + | | 2.0 km x 2.0 km | ||
| + | |- | ||
| + | | Conquest #2 | ||
| + | | 2.0 km x 2.0 km | ||
| + | | 2.0 km x 2.0 km | ||
| + | | 2.0 km x 2.0 km | ||
| + | |- | ||
| + | | Conquest #3 | ||
| + | | 2.0 km x 2.0 km | ||
| + | | 2.0 km x 2.0 km | ||
| + | | 2.0 km x 2.0 km | ||
| + | |- | ||
| + | | Battle | ||
| + | | 2.0 km x 2.0 km | ||
| + | | 2.0 km x 2.0 km | ||
| + | | 2.0 km x 2.0 km | ||
| + | |- | ||
| + | | Break | ||
| + | | 2.0 km x 2.0 km | ||
| + | | 2.0 km x 2.0 km | ||
| + | | 2.0 km x 2.0 km | ||
| + | |} | ||
===Game Description=== | ===Game Description=== | ||
Two armies ran into a fight for possession of the mountain pass. | Two armies ran into a fight for possession of the mountain pass. | ||
===Historical Background=== | ===Historical Background=== | ||
| − | The Carpathians is a mountain range stretching throughout Central Europe into Eastern and Southeastern Europe. Today the Carpathians is divided into three sections, Western ( | + | The Carpathians is a mountain range stretching throughout Central Europe into Eastern and Southeastern Europe. Today the Carpathians is divided into three sections, Western (Czech Republic, Poland, Slovakia), Eastern (southeastern Poland, eastern Slovakia, Ukraine, Romania), and Southern (Romania, Serbia). As a range passing through most of the Eastern Front, the Germans attempt to defend the Carpathian region via the passes while the Soviets attempt to break through the mountain ranges. This culminated to the Battle of Dukla Pass that lasted from September to October 1944. The battle ended indecisively with both sides suffering losses, but the Axis' dwindling manpower causes them to withdraw and the Soviets were able to continue and liberate Ukraine. |
| + | |||
| + | The ruined castle on the map bears some resemblance to Spiš Castle in modern day Slovakia. | ||
| − | === | + | === Trivia === |
| + | |||
| + | Voice messages about the "D point" were added exclusively for this map: at one point there was a version of the map where a D point would appear on the map during the game randomly as a "Supply Crate". Capturing the supply crate was an in-game action that greatly reduced enemy tickets and the D point disappeared afterwards. The map also included AI tanks that would attack alongside each team, killing the enemy AI command tank also gave a reward. | ||
==Map configuration== | ==Map configuration== | ||
| − | + | <!--Under this heading is the box to change game mode--> | |
| + | {| class="wikitable" style="width:314; margin-left: auto; margin-right: auto; border: none;" | ||
| + | ! colspan="3" | Change Maps by Game Modes | ||
| + | |- | ||
| + | ! <div class="ttx-switch-mode"><div class="ttx-switch-mode-button" id="ttx-ab-button">AB</div><div class="ttx-switch-mode-button" id="ttx-rb-button">RB</div><div class="ttx-switch-mode-button" id="ttx-sb-button">SB</div></div> | ||
| + | |} | ||
| + | |||
| + | ===Domination=== | ||
| + | <!--Put map screenshot, layout sizes and basic description (where each cap point is) in table using ttx-ab, ttx-rb &ttx-sb spans appropriately. If a more detailed description is desired then insert it as a paragraph of text above the table--> | ||
There are three Capture Points. Point A will be in the middle of map in a formation of rocks, B is on the bottom right side, C is on the fortress structure on the hill top left of the map. | There are three Capture Points. Point A will be in the middle of map in a formation of rocks, B is on the bottom right side, C is on the fortress structure on the hill top left of the map. | ||
| − | [[File:MapLayout Domination Carpathians.jpg| | + | {| class="wikitable" style="width: 300px;" |
| + | ! Domination Mode - Map Layouts | ||
| + | |- align="center" | ||
| + | | | ||
| + | <div style="float: none;" class="ttx-ab">[[File:MapLayout Domination Carpathians ABRB.jpg|300px]]</div> | ||
| + | <div style="float: none;" class="ttx-rb">[[File:MapLayout Domination Carpathians ABRB.jpg|300px]]</div> | ||
| + | <div style="float: none;" class="ttx-sb">[[File:MapLayout Domination Carpathians SB.jpg|300px]]</div> | ||
| + | |- align="center" | ||
| + | | | ||
| + | <span class="ttx-ab">2.0 km x 2.0 km</span> | ||
| + | <span class="ttx-rb">2.0 km x 2.0 km</span> | ||
| + | <span class="ttx-sb">2.0 km x 2.0 km</span> | ||
| + | |- | ||
| + | | | ||
| + | <span class="ttx-ab">In AB point A will be among the trenches in the centre of the map, B is between two hills in the east of the map, C is in the castle on the western hill.</span> | ||
| + | <span class="ttx-rb">In RB point A will be among the trenches in the centre of the map, B is between two hills in the east of the map, C is in the castle on the western hill.</span> | ||
| + | <span class="ttx-sb">In SB the capture points are in the same place as in AB and RB, however each team has two spawn points, which are located further away from the capture points.</span> | ||
| + | |} | ||
| − | + | ===Conquest=== | |
| + | <!--Put map screenshot, layout sizes and basic description (where each cap point is) in table using ttx-ab, ttx-rb &ttx-sb spans appropriately. If a more detailed description is desired then insert it as a paragraph of text above the table--> | ||
There are three configurations of the conquest mode, each with one capture point. The point will either be at the north valley, middle hill, or south cliff. | There are three configurations of the conquest mode, each with one capture point. The point will either be at the north valley, middle hill, or south cliff. | ||
| − | [[File:MapLayout Conquest1 Carpathians.jpg| | + | {| class="wikitable" style="width: 900px;" |
| − | [[File:MapLayout Conquest2 Carpathians.jpg| | + | ! colspan="3" | Conquest Mode - Map Layouts |
| − | [[File:MapLayout Conquest3 Carpathians.jpg| | + | |- |
| + | ! Conquest #1 | ||
| + | ! Conquest #2 | ||
| + | ! Conquest #3 | ||
| + | |- align="center" | ||
| + | | | ||
| + | <div style="float: none;" class="ttx-ab">[[File:MapLayout Conquest1 Carpathians ABRB.jpg|300px]]</div> | ||
| + | <div style="float: none;" class="ttx-rb">[[File:MapLayout Conquest1 Carpathians ABRB.jpg|300px]]</div> | ||
| + | <div style="float: none;" class="ttx-sb">[[File:MapLayout Conquest1 Carpathians SB.jpg|300px]]</div> | ||
| + | | | ||
| + | <div style="float: none;" class="ttx-ab">[[File:MapLayout Conquest2 Carpathians ABRB.jpg|300px]]</div> | ||
| + | <div style="float: none;" class="ttx-rb">[[File:MapLayout Conquest2 Carpathians ABRB.jpg|300px]]</div> | ||
| + | <div style="float: none;" class="ttx-sb">[[File:MapLayout Conquest2 Carpathians SB.jpg|300px]]</div> | ||
| + | | | ||
| + | <div style="float: none;" class="ttx-ab">[[File:MapLayout Conquest3 Carpathians ABRB.jpg|300px]]</div> | ||
| + | <div style="float: none;" class="ttx-rb">[[File:MapLayout Conquest3 Carpathians ABRB.jpg|300px]]</div> | ||
| + | <div style="float: none;" class="ttx-sb">[[File:MapLayout Conquest3 Carpathians SB.jpg|300px]]</div> | ||
| + | |- align="center" | ||
| + | | | ||
| + | <span class="ttx-ab">2.0 km x 2.0 km</span> | ||
| + | <span class="ttx-rb">2.0 km x 2.0 km</span> | ||
| + | <span class="ttx-sb">2.0 km x 2.0 km</span> | ||
| + | | | ||
| + | <span class="ttx-ab">2.0 km x 2.0 km</span> | ||
| + | <span class="ttx-rb">2.0 km x 2.0 km</span> | ||
| + | <span class="ttx-sb">2.0 km x 2.0 km</span> | ||
| + | | | ||
| + | <span class="ttx-ab">2.0 km x 2.0 km</span> | ||
| + | <span class="ttx-rb">2.0 km x 2.0 km</span> | ||
| + | <span class="ttx-sb">2.0 km x 2.0 km</span> | ||
| + | |- | ||
| + | | | ||
| + | <span class="ttx-ab">In AB the capture point is among the trenches in the centre of the map.</span> | ||
| + | <span class="ttx-rb">In RB the capture point is among the trenches in the centre of the map.</span> | ||
| + | <span class="ttx-sb">In SB the capture point is among the trenches in the centre of the map.</span> | ||
| + | | | ||
| + | <span class="ttx-ab">In AB the capture point is between two hills in the east of the map.</span> | ||
| + | <span class="ttx-rb">In RB the capture point is between two hills in the east of the map.</span> | ||
| + | <span class="ttx-sb">In SB the capture point is between two hills in the east of the map.</span> | ||
| + | | | ||
| + | <span class="ttx-ab">In AB the capture point is in the castle on the western hill.</span> | ||
| + | <span class="ttx-rb">In RB the capture point is in the castle on the western hill.</span> | ||
| + | <span class="ttx-sb">In SB the capture point is in the castle on the western hill.</span> | ||
| + | |} | ||
| − | + | ===Battle=== | |
| − | There are two capture points, each belonging to a team. The points are located north and south of the trench system in the middle of the map. [[File:MapLayout Battle Carpathians.jpg| | + | <!--Put map screenshots, layout sizes and basic descriptions (where each cap point is) in table using ttx-ab, ttx-rb &ttx-sb spans appropriately. If a more detailed description is desired then insert it as a paragraph of text above the table--> |
| + | There are two capture points, each belonging to a team. The points are located north and south of the trench system in the middle of the map. | ||
| + | {| class="wikitable" style="width: 300px;" | ||
| + | ! Battle Mode - Map Layouts | ||
| + | |- align="center" | ||
| + | | | ||
| + | <div style="float: none;" class="ttx-ab">[[File:MapLayout Battle Carpathians ABRB.jpg|300px]]</div> | ||
| + | <div style="float: none;" class="ttx-rb">[[File:MapLayout Battle Carpathians ABRB.jpg|300px]]</div> | ||
| + | <div style="float: none;" class="ttx-sb">[[File:MapLayout Battle Carpathians SB.jpg|300px]]</div> | ||
| + | |- align="center" | ||
| + | | | ||
| + | <span class="ttx-ab">2.0 km x 2.0 km</span> | ||
| + | <span class="ttx-rb">2.0 km x 2.0 km</span> | ||
| + | <span class="ttx-sb">2.0 km x 2.0 km</span> | ||
| + | |- | ||
| + | | | ||
| + | <span class="ttx-ab">In AB the capture points are locate in the fields to the east and west of the center hill.</span> | ||
| + | <span class="ttx-rb">In RB the capture points are locate in the fields to the east and west of the center hill.</span> | ||
| + | <span class="ttx-sb">In SB the capture points are locate in the fields to the east and west of the center hill.</span> | ||
| + | |} | ||
| − | + | ===Break=== | |
| + | {{Notice|It is not clear if the Break variant of Carpathians still appears in random battles.}} | ||
One flag will be on the castle on northwest hill that, when taken, will unlock a flag close to the original spawn point for the opposing team. The other flag will be in the fortified pit in the south east that, when taken, will unlock a point close to the original spawn point for the opposing team. [[File:MapLayout Break Carpathians.jpg|x300px|thumbnail|none|The Break configuration.]] | One flag will be on the castle on northwest hill that, when taken, will unlock a flag close to the original spawn point for the opposing team. The other flag will be in the fortified pit in the south east that, when taken, will unlock a point close to the original spawn point for the opposing team. [[File:MapLayout Break Carpathians.jpg|x300px|thumbnail|none|The Break configuration.]] | ||
==Strategy== | ==Strategy== | ||
| + | ''Describe what focus a team should have when spawning into the map'' | ||
== Media == | == Media == | ||
| − | <!--'' | + | <!-- ''Excellent additions to the article would be video guides, screenshots from the game, and photos.'' --> |
| − | + | ;Videos | |
| − | + | {{Youtube-gallery|vknn8HX9DD4|'''The Shooting Range #355''' - ''Squadmates'' section at 07:19 discusses the map {{PAGENAME}}.}} | |
| − | == | + | == See also == |
| − | + | ''Links to the articles on the War Thunder Wiki that you think will be useful for the reader, for example:'' | |
| − | |||
| − | |||
| − | |||
| − | == | + | * ''reference to related locations'' |
| + | |||
| + | == External links == | ||
''Paste links to sources and external resources, such as:'' | ''Paste links to sources and external resources, such as:'' | ||
| + | |||
* ''topic on the official game forum;'' | * ''topic on the official game forum;'' | ||
* ''other literature.'' | * ''other literature.'' | ||
Latest revision as of 22:25, 6 June 2023
Contents
Overview
Carpathians is a ground forces map available in all modes, it was added in Update 1.41.27.12 (a major patch between Update 1.41 and 1.43). The map is set in the Carpathian Mountain range, in Eastern Europe. The center of the map is an open field, with some natural depressions, and a trench system in the middle, to provide cover. There are a few rocky hills in the north-east, and south of the map and a main, larger hill in the west. There is a ruined castle on top the western hill providing a location for close quarters flights, and a good position to shoot down on players in the middle and east of the map.
The tank battles map is 2 km x 2 km and the air battles map is 65 km x 65 km.
The map is named "avg_karpaty_passage" in the CDK.
| Game Mode | AB | RB | SB |
|---|---|---|---|
| Domination | 2.0 km x 2.0 km | 2.0 km x 2.0 km | 2.0 km x 2.0 km |
| Conquest #1 | 2.0 km x 2.0 km | 2.0 km x 2.0 km | 2.0 km x 2.0 km |
| Conquest #2 | 2.0 km x 2.0 km | 2.0 km x 2.0 km | 2.0 km x 2.0 km |
| Conquest #3 | 2.0 km x 2.0 km | 2.0 km x 2.0 km | 2.0 km x 2.0 km |
| Battle | 2.0 km x 2.0 km | 2.0 km x 2.0 km | 2.0 km x 2.0 km |
| Break | 2.0 km x 2.0 km | 2.0 km x 2.0 km | 2.0 km x 2.0 km |
Game Description
Two armies ran into a fight for possession of the mountain pass.
Historical Background
The Carpathians is a mountain range stretching throughout Central Europe into Eastern and Southeastern Europe. Today the Carpathians is divided into three sections, Western (Czech Republic, Poland, Slovakia), Eastern (southeastern Poland, eastern Slovakia, Ukraine, Romania), and Southern (Romania, Serbia). As a range passing through most of the Eastern Front, the Germans attempt to defend the Carpathian region via the passes while the Soviets attempt to break through the mountain ranges. This culminated to the Battle of Dukla Pass that lasted from September to October 1944. The battle ended indecisively with both sides suffering losses, but the Axis' dwindling manpower causes them to withdraw and the Soviets were able to continue and liberate Ukraine.
The ruined castle on the map bears some resemblance to Spiš Castle in modern day Slovakia.
Trivia
Voice messages about the "D point" were added exclusively for this map: at one point there was a version of the map where a D point would appear on the map during the game randomly as a "Supply Crate". Capturing the supply crate was an in-game action that greatly reduced enemy tickets and the D point disappeared afterwards. The map also included AI tanks that would attack alongside each team, killing the enemy AI command tank also gave a reward.
Map configuration
| Change Maps by Game Modes | ||
|---|---|---|
| | ||
Domination
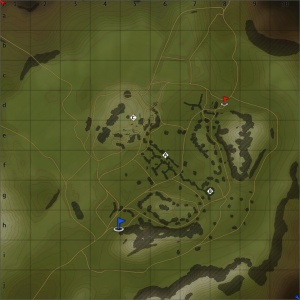
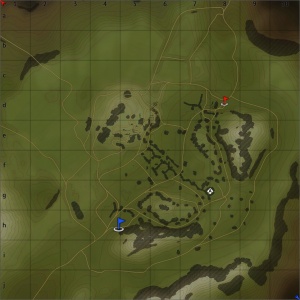
There are three Capture Points. Point A will be in the middle of map in a formation of rocks, B is on the bottom right side, C is on the fortress structure on the hill top left of the map.
| Domination Mode - Map Layouts |
|---|
|
2.0 km x 2.0 km 2.0 km x 2.0 km 2.0 km x 2.0 km |
|
In AB point A will be among the trenches in the centre of the map, B is between two hills in the east of the map, C is in the castle on the western hill. In RB point A will be among the trenches in the centre of the map, B is between two hills in the east of the map, C is in the castle on the western hill. In SB the capture points are in the same place as in AB and RB, however each team has two spawn points, which are located further away from the capture points. |
Conquest
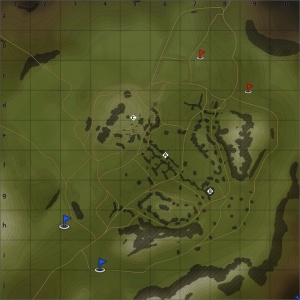
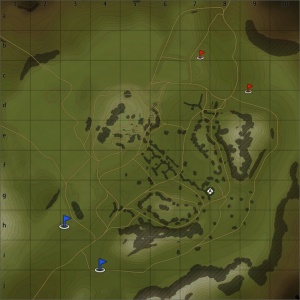
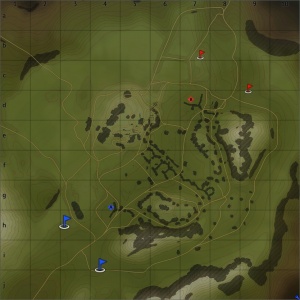
There are three configurations of the conquest mode, each with one capture point. The point will either be at the north valley, middle hill, or south cliff.
| Conquest Mode - Map Layouts | ||
|---|---|---|
| Conquest #1 | Conquest #2 | Conquest #3 |
|
2.0 km x 2.0 km 2.0 km x 2.0 km 2.0 km x 2.0 km |
2.0 km x 2.0 km 2.0 km x 2.0 km 2.0 km x 2.0 km |
2.0 km x 2.0 km 2.0 km x 2.0 km 2.0 km x 2.0 km |
|
In AB the capture point is among the trenches in the centre of the map. In RB the capture point is among the trenches in the centre of the map. In SB the capture point is among the trenches in the centre of the map. |
In AB the capture point is between two hills in the east of the map. In RB the capture point is between two hills in the east of the map. In SB the capture point is between two hills in the east of the map. |
In AB the capture point is in the castle on the western hill. In RB the capture point is in the castle on the western hill. In SB the capture point is in the castle on the western hill. |
Battle
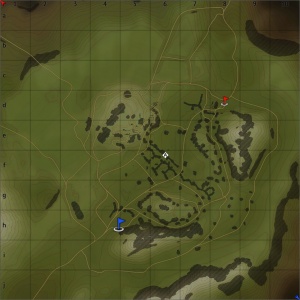
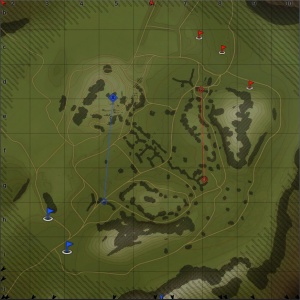
There are two capture points, each belonging to a team. The points are located north and south of the trench system in the middle of the map.
| Battle Mode - Map Layouts |
|---|
|
2.0 km x 2.0 km 2.0 km x 2.0 km 2.0 km x 2.0 km |
|
In AB the capture points are locate in the fields to the east and west of the center hill. In RB the capture points are locate in the fields to the east and west of the center hill. In SB the capture points are locate in the fields to the east and west of the center hill. |
Break
| It is not clear if the Break variant of Carpathians still appears in random battles. |
Strategy
Describe what focus a team should have when spawning into the map
Media
- Videos
See also
Links to the articles on the War Thunder Wiki that you think will be useful for the reader, for example:
- reference to related locations
External links
Paste links to sources and external resources, such as:
- topic on the official game forum;
- other literature.


