Difference between revisions of "Advance to the Rhine"
(→Map configuration: Removed broken "Domination" link) |
Inceptor57 (talk | contribs) m |
||
| (5 intermediate revisions by 3 users not shown) | |||
| Line 1: | Line 1: | ||
{{DISPLAYTITLE:Advance to the Rhine}} | {{DISPLAYTITLE:Advance to the Rhine}} | ||
| − | |||
| − | |||
| − | |||
| − | + | <div class="ttx"> | |
| − | + | <div class="ttx-image">[[File:MapIcon Ground AdvancetotheRhine.jpg]]</div> | |
| − | + | <div class="ttx-table"> | |
| − | + | <div class="ttx-table-line ttx-table-head">Possible Layouts</div> | |
| − | + | <div class="ttx-table-line"><span class="ttx-value">[[File:Icon GreenCheckmark.png|link=]]</span><span class="ttx-name">Domination</span></div> | |
| − | + | <div class="ttx-table-line"><span class="ttx-value">[[File:Icon GreenCheckmark.png|link=]]</span><span class="ttx-name">Conquest</span></div> | |
| − | + | <div class="ttx-table-line"><span class="ttx-value">[[File:Icon GreenCheckmark.png|link=]]</span><span class="ttx-name">Battle</span></div> | |
| − | + | <div class="ttx-table-line"><span class="ttx-value">[[File:Icon RedXCross.png|link=]]</span><span class="ttx-name">Break</span></div> | |
| − | + | <div class="ttx-table-line"><span class="ttx-value">[[File:Icon RedXCross.png|link=]]</span><span class="ttx-name">Skirmish</span></div> | |
| − | + | <div class="ttx-table-line ttx-table-head">Other Information</div> | |
| − | + | <div class="ttx-table-line"><span class="ttx-value">1.05 km x 1.05 km</span><span class="ttx-name">Full tank area size</span></div> | |
| − | + | <div class="ttx-table-line"><span class="ttx-value">Cologne, Germany [[File:CountryIcon NDE.png]]</span><span class="ttx-name">Real World Location</span></div> | |
| − | + | <div class="ttx-table-line ttx-table-head">Full Map</div> | |
| − | + | <div class="ttx-image">[[File:MapLayout Ground AdvancetotheRhine.jpg]]</div> | |
| + | </div> | ||
| + | </div> | ||
__TOC__ | __TOC__ | ||
==Overview== | ==Overview== | ||
| − | + | <!--''Write an introduction to the article in 2-3 small paragraphs. Briefly tell about the location and also about its features.''--> | |
| − | '''Advance to the Rhine''' is a ground forces map available in all modes. Being a "generalized recreation" of the city of Cologne, Germany, it was added in [[ | + | '''Advance to the Rhine''' is a ground forces map available in all modes. Being a "generalized recreation" of the city of Cologne, Germany, it was added in [[Update 1.53 "Fire Storm"]]. The map is very close quarters, with fighting taking place on the city streets of Cologne. The majority of the map is made up of bombed out buildings, with a large tower statue in the west, and a more open park area in the east of the map. |
| − | The tank | + | The full tank map is 1.05 km x 1.05 km, making it the smallest tank map in the game. The air battle area is 65km x 65km. |
| + | |||
| + | {| class="wikitable" | ||
| + | |+ Battle area Size | ||
| + | ! Game Mode | ||
| + | ! AB | ||
| + | ! RB | ||
| + | ! SB | ||
| + | |- | ||
| + | | Domination | ||
| + | | 1.05 km x 1.05 km | ||
| + | | 1.05 km x 1.05 km | ||
| + | | 1.05 km x 1.05 km | ||
| + | |- | ||
| + | | Conquest #1 | ||
| + | | 1.05 km x 1.05 km | ||
| + | | 1.05 km x 1.05 km | ||
| + | | 1.05 km x 1.05 km | ||
| + | |- | ||
| + | | Conquest #2 | ||
| + | | 1.05 km x 1.05 km | ||
| + | | 1.05 km x 1.05 km | ||
| + | | 1.05 km x 1.05 km | ||
| + | |- | ||
| + | | Conquest #3 | ||
| + | | 1.05 km x 1.05 km | ||
| + | | 1.05 km x 1.05 km | ||
| + | | 1.05 km x 1.05 km | ||
| + | |- | ||
| + | | Conquest #4 | ||
| + | | 1.05 km x 1.05 km | ||
| + | | 1.05 km x 1.05 km | ||
| + | | 1.05 km x 1.05 km | ||
| + | |- | ||
| + | | Battle | ||
| + | | 1.05 km x 1.05 km | ||
| + | | 1.05 km x 1.05 km | ||
| + | | 1.05 km x 1.05 km | ||
| + | |} | ||
===Game Description=== | ===Game Description=== | ||
| + | <!--Description in the map loading screen prior to joining the battle. Remove if non-existent.--> | ||
Teams fight for control over the bridges leading to the other side of the Rhine. | Teams fight for control over the bridges leading to the other side of the Rhine. | ||
===Historical Background=== | ===Historical Background=== | ||
| + | <!--''Describe historical context of the location.''--> | ||
The devastated urban environment of "Advance to the Rhine" is based off the conditions of the city Cologne in Germany. | The devastated urban environment of "Advance to the Rhine" is based off the conditions of the city Cologne in Germany. | ||
| Line 38: | Line 77: | ||
===Notable Landmarks=== | ===Notable Landmarks=== | ||
| + | |||
# The large tower statue as seen in the map's thumbnail is the landmark in most game modes for a flag point. | # The large tower statue as seen in the map's thumbnail is the landmark in most game modes for a flag point. | ||
==Map configuration== | ==Map configuration== | ||
| − | + | <!--Under this heading is the box to change game mode--> | |
| − | + | {| class="wikitable" style="width:314; margin-left: auto; margin-right: auto; border: none;" | |
| + | ! colspan="3" | Change Maps by Game Modes | ||
| + | |- | ||
| + | ! <div class="ttx-switch-mode"><div class="ttx-switch-mode-button" id="ttx-ab-button">AB</div><div class="ttx-switch-mode-button" id="ttx-rb-button">RB</div><div class="ttx-switch-mode-button" id="ttx-sb-button">SB</div></div> | ||
| + | |} | ||
| + | |||
| + | At present this map has the same layouts in AB, RB and SB. | ||
| + | |||
| + | ===Domination=== | ||
| + | <!--Put map screenshot, layout sizes and basic description (where each cap point is) in table using ttx-ab, ttx-rb &ttx-sb spans appropriately. If a more detailed description is desired then insert it as a paragraph of text above the table--> | ||
| + | |||
| + | {| class="wikitable" style="width: 300px;" | ||
| + | ! Domination Mode - Map Layouts | ||
| + | |- align="center" | ||
| + | | | ||
| + | <div style="float: none;" class="ttx-ab">[[File:MapLayout Domination AdvancetotheRhine ABRBSB.jpg|300px]]</div> | ||
| + | <div style="float: none;" class="ttx-rb">[[File:MapLayout Domination AdvancetotheRhine ABRBSB.jpg|300px]]</div> | ||
| + | <div style="float: none;" class="ttx-sb">[[File:MapLayout Domination AdvancetotheRhine ABRBSB.jpg|300px]]</div> | ||
| + | |- align="center" | ||
| + | | | ||
| + | <span class="ttx-ab">1.05 km x 1.05 km</span> | ||
| + | <span class="ttx-rb">1.05 km x 1.05 km</span> | ||
| + | <span class="ttx-sb">1.05 km x 1.05 km</span> | ||
| + | |- | ||
| + | | | ||
| + | <span class="ttx-ab">In AB point A is around the statue / column in the west, point B is at the southeast intersection, and C is at the northeast intersection.</span> | ||
| + | <span class="ttx-rb">In RB point A is around the statue / column in the west, point B is at the southeast intersection, and C is at the northeast intersection.</span> | ||
| + | <span class="ttx-sb">In SB point A is around the statue / column in the west, point B is at the southeast intersection, and C is at the northeast intersection.</span> | ||
| + | |} | ||
| − | + | ===Conquest=== | |
| − | + | <!--Put map screenshot, layout sizes and basic description (where each cap point is) in table using ttx-ab, ttx-rb &ttx-sb spans appropriately. If a more detailed description is desired then insert it as a paragraph of text above the table--> | |
| − | |||
| − | |||
| − | |||
| − | |||
| − | + | {| class="wikitable" style="width: 900px;" | |
| − | + | ! colspan="4" | Conquest Mode - Map Layouts | |
| − | [[File:MapLayout Battle AdvancetotheRhine.jpg| | + | |- |
| + | ! Conquest #1 | ||
| + | ! Conquest #2 | ||
| + | ! Conquest #3 | ||
| + | ! Conquest #4 | ||
| + | |- align="center" | ||
| + | | | ||
| + | <div style="float: none;" class="ttx-ab">[[File:MapLayout Conquest1 AdvancetotheRhine ABRBSB.jpg|250px]]</div> | ||
| + | <div style="float: none;" class="ttx-rb">[[File:MapLayout Conquest1 AdvancetotheRhine ABRBSB.jpg|250px]]</div> | ||
| + | <div style="float: none;" class="ttx-sb">[[File:MapLayout Conquest1 AdvancetotheRhine ABRBSB.jpg|250px]]</div> | ||
| + | | | ||
| + | <div style="float: none;" class="ttx-ab">[[File:MapLayout Conquest2 AdvancetotheRhine ABRBSB.jpg|250px]]</div> | ||
| + | <div style="float: none;" class="ttx-rb">[[File:MapLayout Conquest2 AdvancetotheRhine ABRBSB.jpg|250px]]</div> | ||
| + | <div style="float: none;" class="ttx-sb">[[File:MapLayout Conquest2 AdvancetotheRhine ABRBSB.jpg|250px]]</div> | ||
| + | | | ||
| + | <div style="float: none;" class="ttx-ab">[[File:MapLayout Conquest3 AdvancetotheRhine ABRBSB.jpg|250px]]</div> | ||
| + | <div style="float: none;" class="ttx-rb">[[File:MapLayout Conquest3 AdvancetotheRhine ABRBSB.jpg|250px]]</div> | ||
| + | <div style="float: none;" class="ttx-sb">[[File:MapLayout Conquest3 AdvancetotheRhine ABRBSB.jpg|250px]]</div> | ||
| + | | | ||
| + | <div style="float: none;" class="ttx-ab">[[File:MapLayout Conquest4 AdvancetotheRhine ABRBSB.jpg|250px]]</div> | ||
| + | <div style="float: none;" class="ttx-rb">[[File:MapLayout Conquest4 AdvancetotheRhine ABRBSB.jpg|250px]]</div> | ||
| + | <div style="float: none;" class="ttx-sb">[[File:MapLayout Conquest4 AdvancetotheRhine ABRBSB.jpg|250px]]</div> | ||
| + | |- align="center" | ||
| + | | | ||
| + | <span class="ttx-ab">1.05 km x 1.05 km</span> | ||
| + | <span class="ttx-rb">1.05 km x 1.05 km</span> | ||
| + | <span class="ttx-sb">1.05 km x 1.05 km</span> | ||
| + | | | ||
| + | <span class="ttx-ab">1.05 km x 1.05 km</span> | ||
| + | <span class="ttx-rb">1.05 km x 1.05 km</span> | ||
| + | <span class="ttx-sb">1.05 km x 1.05 km</span> | ||
| + | | | ||
| + | <span class="ttx-ab">1.05 km x 1.05 km</span> | ||
| + | <span class="ttx-rb">1.05 km x 1.05 km</span> | ||
| + | <span class="ttx-sb">1.05 km x 1.05 km</span> | ||
| + | | | ||
| + | <span class="ttx-ab">1.05 km x 1.05 km</span> | ||
| + | <span class="ttx-rb">1.05 km x 1.05 km</span> | ||
| + | <span class="ttx-sb">1.05 km x 1.05 km</span> | ||
| + | |- | ||
| + | | | ||
| + | <span class="ttx-ab">In AB the capture point is around the statue / column in the west.</span> | ||
| + | <span class="ttx-rb">In RB the capture point is around the statue / column in the west.</span> | ||
| + | <span class="ttx-sb">In SB the capture point is around the statue / column in the west.</span> | ||
| + | | | ||
| + | <span class="ttx-ab">In AB the capture point is at the southeast intersection.</span> | ||
| + | <span class="ttx-rb">In RB the capture point is at the southeast intersection.</span> | ||
| + | <span class="ttx-sb">In SB the capture point is at the southeast intersection.</span> | ||
| + | | | ||
| + | <span class="ttx-ab">In AB the capture point is at the northeast intersection.</span> | ||
| + | <span class="ttx-rb">In RB the capture point is at the northeast intersection.</span> | ||
| + | <span class="ttx-sb">In SB the capture point is at the northeast intersection.</span> | ||
| + | | | ||
| + | <span class="ttx-ab">In AB the capture point is in the middle of the park in the east of the map.</span> | ||
| + | <span class="ttx-rb">In RB the capture point is in the middle of the park in the east of the map.</span> | ||
| + | <span class="ttx-sb">In SB the capture point is in the middle of the park in the east of the map.</span> | ||
| + | |} | ||
| + | |||
| + | ===Battle=== | ||
| + | <!--Put map screenshots, layout sizes and basic descriptions (where each cap point is) in table using ttx-ab, ttx-rb &ttx-sb spans appropriately. If a more detailed description is desired then insert it as a paragraph of text above the table--> | ||
| + | |||
| + | {| class="wikitable" style="width: 300px;" | ||
| + | ! Battle Mode - Map Layouts | ||
| + | |- align="center" | ||
| + | | | ||
| + | <div style="float: none;" class="ttx-ab">[[File:MapLayout Battle AdvancetotheRhine ABRBSB.jpg|300px]]</div> | ||
| + | <div style="float: none;" class="ttx-rb">[[File:MapLayout Battle AdvancetotheRhine ABRBSB.jpg|300px]]</div> | ||
| + | <div style="float: none;" class="ttx-sb">[[File:MapLayout Battle AdvancetotheRhine ABRBSB.jpg|300px]]</div> | ||
| + | |- align="center" | ||
| + | | | ||
| + | <span class="ttx-ab">1.05 km x 1.05 km</span> | ||
| + | <span class="ttx-rb">1.05 km x 1.05 km</span> | ||
| + | <span class="ttx-sb">1.05 km x 1.05 km</span> | ||
| + | |- | ||
| + | | | ||
| + | <span class="ttx-ab">In AB the capture points are located at the northeast and southeast intersections.</span> | ||
| + | <span class="ttx-rb">In RB the capture points are located at the northeast and southeast intersections.</span> | ||
| + | <span class="ttx-sb">In SB the capture points are located at the northeast and southeast intersections.</span> | ||
| + | |} | ||
==Strategy== | ==Strategy== | ||
| + | <!--Describe what focus a team should have when spawning into the map--> | ||
| + | The map with its dense urban environment is unfriendly for tank destroyer players, giving them only two options: | ||
| + | * Camping behind strategic corners for long duration of time | ||
| + | * Attempting to advance along the wide and long streets on the far right side of the map and toward the central statue square | ||
| + | Tank destroyers should otherwise always advance in company of medium or heavy tanks, as they can be easily flanked in this map. | ||
| + | |||
| + | The map is a great battlefield for fast, light tanks that can outflank the enemy. Heavy tanks should similarly as tank destroyers beware of being flanked, traveling in groups and using street corners to their advantage. | ||
| + | |||
| + | Airplanes, especially bombers, will have a difficult time in the map against ground targets. The best opportunity for bombers to score hits is when the enemy is capturing a point or when allies designate their location on the mini-map. Flying low to spot enemies is also an option but very dangerous. | ||
| + | |||
| + | The design of the map makes it harder for the team starting in the bottom (south) spawn points. | ||
== Media == | == Media == | ||
<!--''An excellent addition to the article will be video guides, as well as screenshots from the game and photos.''--> | <!--''An excellent addition to the article will be video guides, as well as screenshots from the game and photos.''--> | ||
| − | {{ | + | {{Youtube-gallery|_axMvzS97Sw|Map Review: Advance to the Rhine - War Thunder Video Tutorials}} |
| − | {{ | + | {{Youtube-gallery|rEqwLLFNC3w|[History] Video of Jim Bates talking about the filming of the Panther vs. Pershing at Cologne (Warning: Graphic images)}} |
==References== | ==References== | ||
<references /> | <references /> | ||
| − | == | + | == See also == |
<!--''Links to the articles on the War Thunder Wiki that you think will be useful for the reader, for example,'' | <!--''Links to the articles on the War Thunder Wiki that you think will be useful for the reader, for example,'' | ||
* ''reference to the series of the vehicles;'' | * ''reference to the series of the vehicles;'' | ||
* ''links to approximate analogues of other nations and research trees.'' | * ''links to approximate analogues of other nations and research trees.'' | ||
''ETC.''--> | ''ETC.''--> | ||
| − | [ | + | |
| − | == | + | * [[Berlin (Ground Forces)]] |
| − | ''Paste links to sources and external resources, such as:'' | + | |
| + | == External links == | ||
| + | <!--''Paste links to sources and external resources, such as:'' | ||
* ''topic on the official game forum;'' | * ''topic on the official game forum;'' | ||
| − | * ''other literature.'' | + | * ''encyclopedia page on location/battle;'' |
| + | * ''other literature.''--> | ||
| + | |||
| + | * [https://warthunder.com/en/devblog/current/805/ [Devblog<nowiki>]</nowiki> Advance to the Rhine]<br /> | ||
[[Category:Maps_and_missions]] | [[Category:Maps_and_missions]] | ||
[[Category:Ground forces maps]] | [[Category:Ground forces maps]] | ||
Revision as of 23:18, 28 May 2019
Contents
Overview
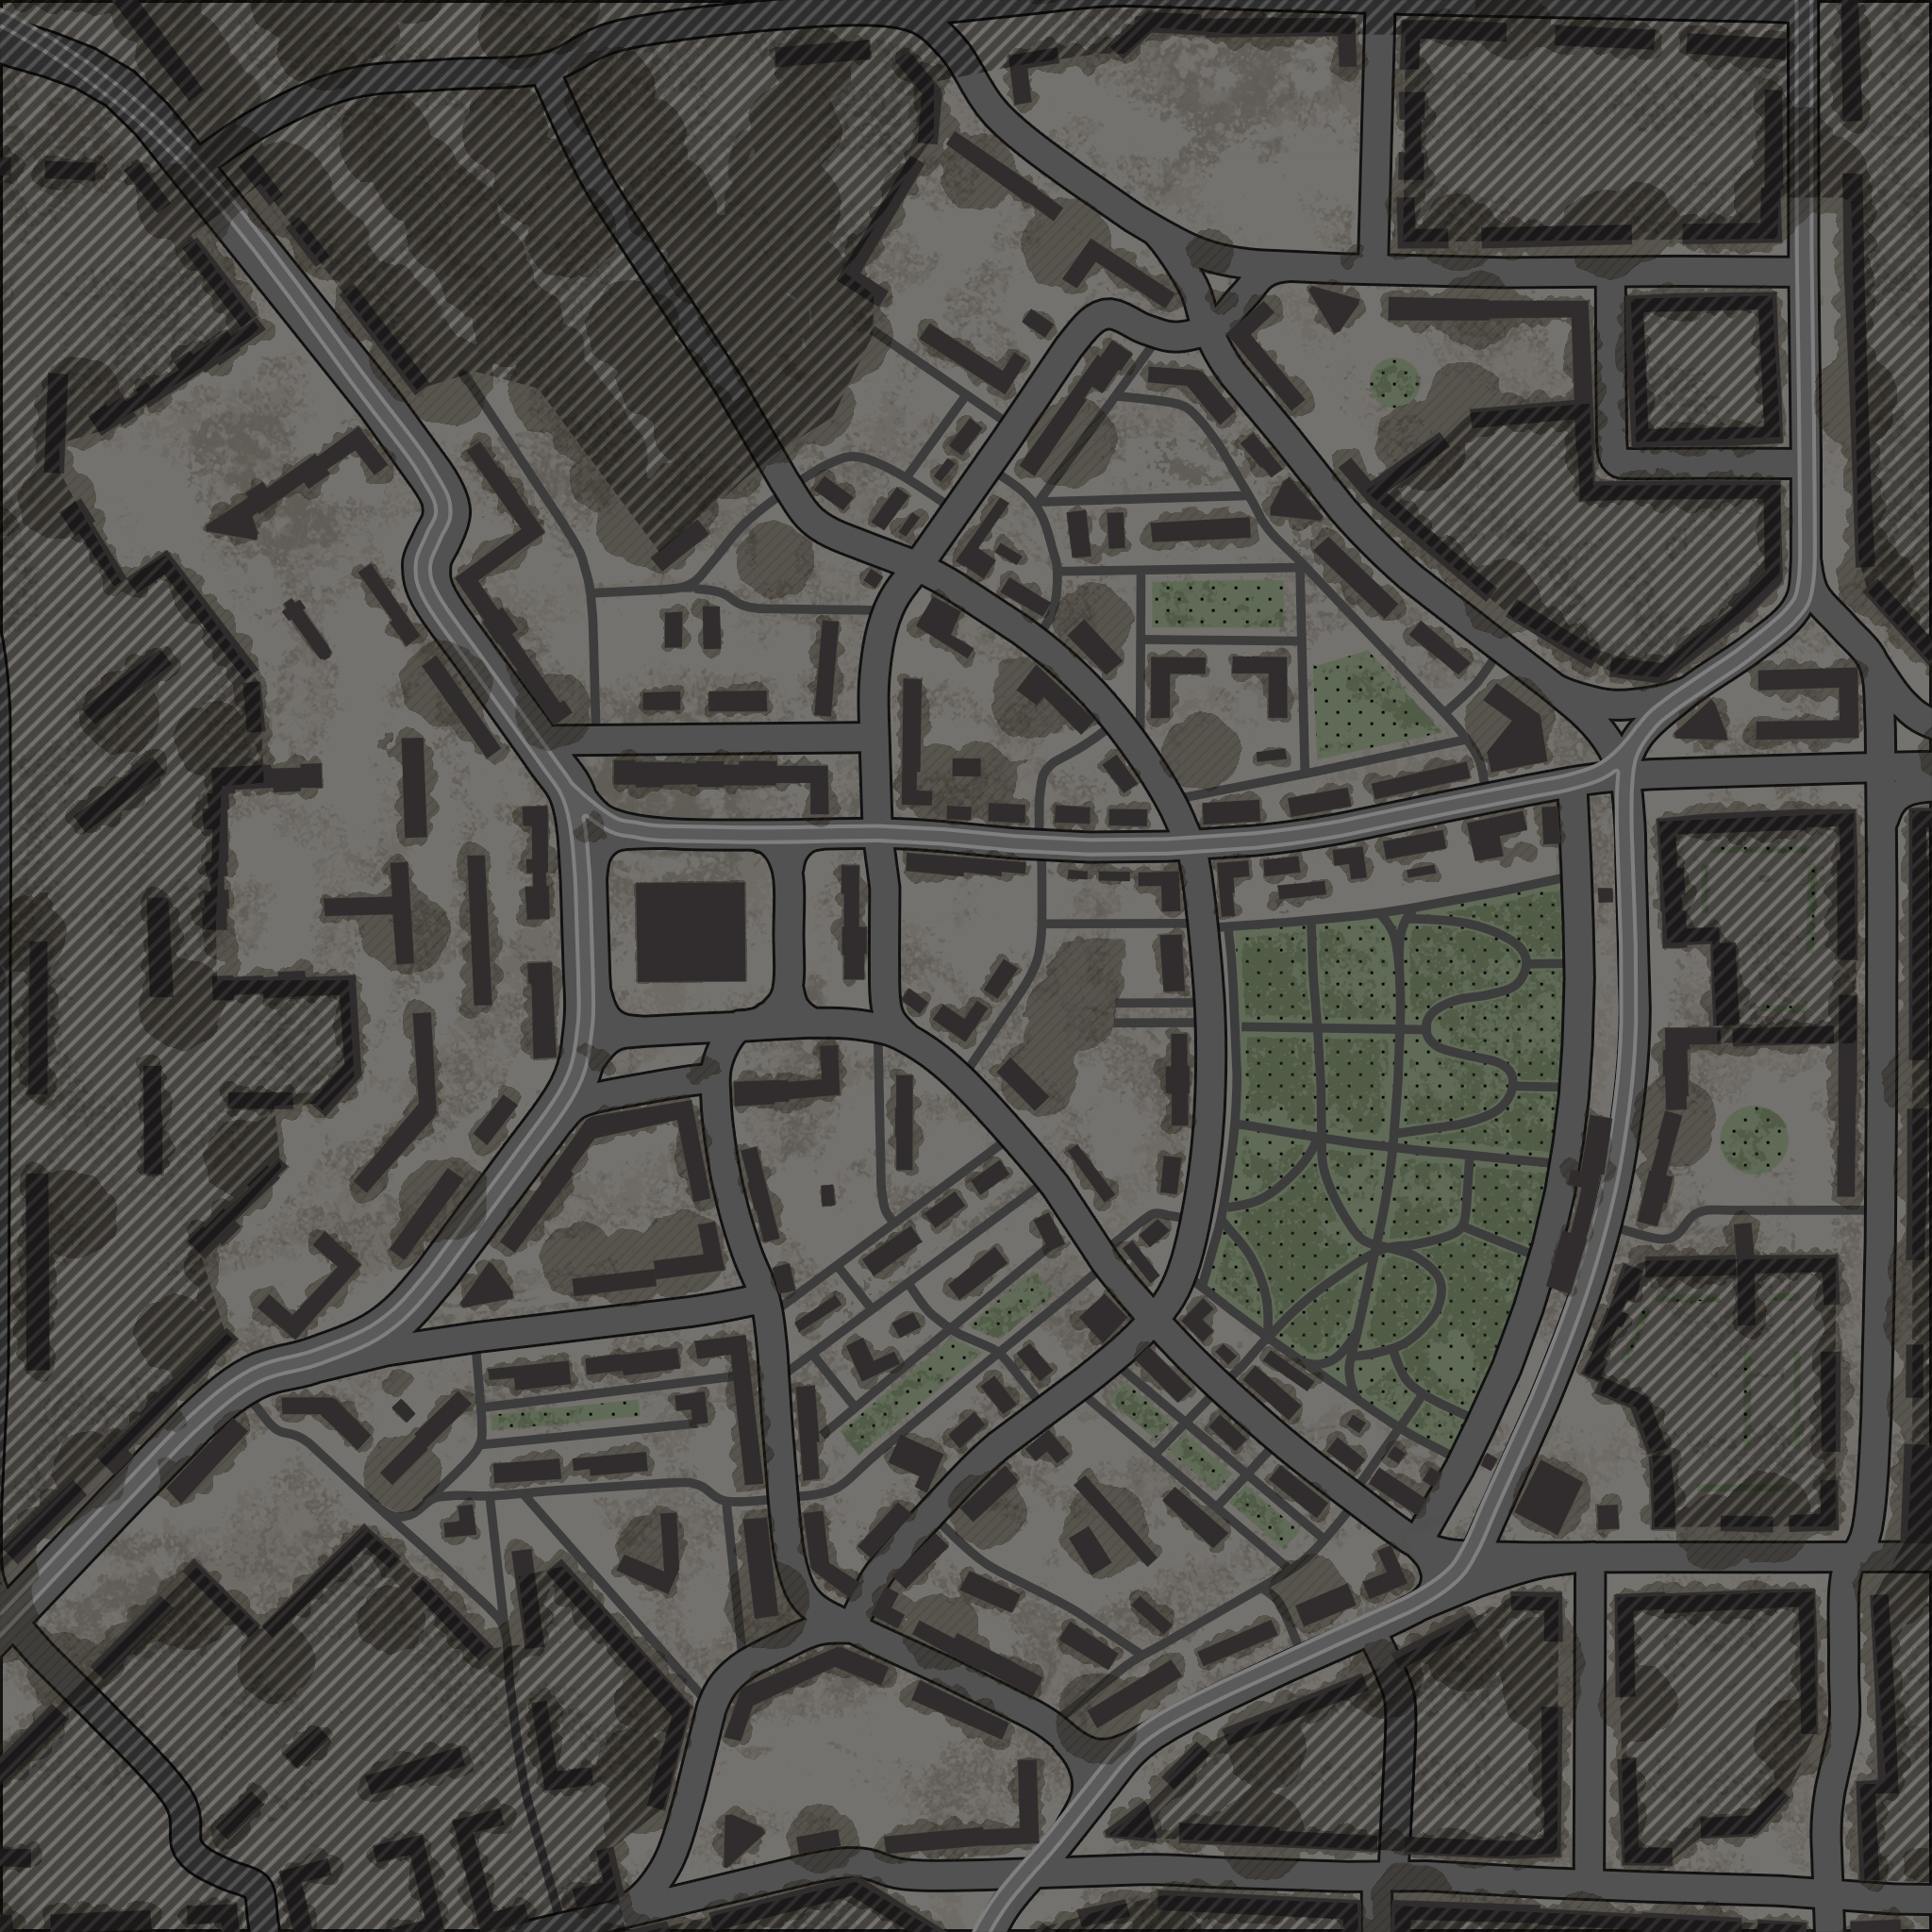
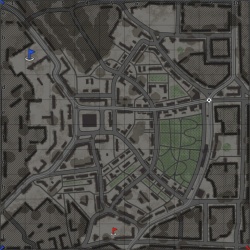
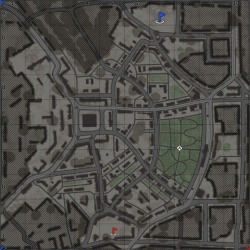
Advance to the Rhine is a ground forces map available in all modes. Being a "generalized recreation" of the city of Cologne, Germany, it was added in Update 1.53 "Fire Storm". The map is very close quarters, with fighting taking place on the city streets of Cologne. The majority of the map is made up of bombed out buildings, with a large tower statue in the west, and a more open park area in the east of the map.
The full tank map is 1.05 km x 1.05 km, making it the smallest tank map in the game. The air battle area is 65km x 65km.
| Game Mode | AB | RB | SB |
|---|---|---|---|
| Domination | 1.05 km x 1.05 km | 1.05 km x 1.05 km | 1.05 km x 1.05 km |
| Conquest #1 | 1.05 km x 1.05 km | 1.05 km x 1.05 km | 1.05 km x 1.05 km |
| Conquest #2 | 1.05 km x 1.05 km | 1.05 km x 1.05 km | 1.05 km x 1.05 km |
| Conquest #3 | 1.05 km x 1.05 km | 1.05 km x 1.05 km | 1.05 km x 1.05 km |
| Conquest #4 | 1.05 km x 1.05 km | 1.05 km x 1.05 km | 1.05 km x 1.05 km |
| Battle | 1.05 km x 1.05 km | 1.05 km x 1.05 km | 1.05 km x 1.05 km |
Game Description
Teams fight for control over the bridges leading to the other side of the Rhine.
Historical Background
The devastated urban environment of "Advance to the Rhine" is based off the conditions of the city Cologne in Germany.
During World War II, Cologne was the Military Area Command Headquarters for the Military District of Münster. The city was subjected to multiple air raids by Western Allies bombers throughout the war. In March 1945, the city was the target of the U.S. First Army in their path towards the Rhine River. It was here that a famous tank encounter occurred that was captured by Signal Corps member Jim Bates. A Panther tank taking position near the Cologne Cathedral gave the Americans heavy resistance, knocking out a M4A1 (76) lead in a tank platoon. Noting the heavy fire from a high-velocity gun, the crew of a M26 Pershing, commandeered by Sergeant Early, maneuvered around the Panther and in a meet-up with both of their guns pointing at each other, the Pershing fired off the first shot, hitting the Panther straight in the hull side. The Pershing fired two more shots as the Panther crew bailed out of their burning tank, ending with a catastrophic explosion of the Panther's ammunition.
The German garrison in Cologne soon surrendered to the Allies around March 7th. This freed up many American soldiers to exploit a new breakthrough discovered at the German city of Remagen, the still-standing Lundendorff Bridge over the Rhine.
Notable Landmarks
- The large tower statue as seen in the map's thumbnail is the landmark in most game modes for a flag point.
Map configuration
| Change Maps by Game Modes | ||
|---|---|---|
| | ||
At present this map has the same layouts in AB, RB and SB.
Domination
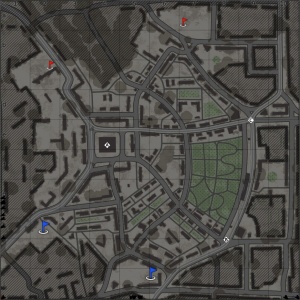
| Domination Mode - Map Layouts |
|---|
|
1.05 km x 1.05 km 1.05 km x 1.05 km 1.05 km x 1.05 km |
|
In AB point A is around the statue / column in the west, point B is at the southeast intersection, and C is at the northeast intersection. In RB point A is around the statue / column in the west, point B is at the southeast intersection, and C is at the northeast intersection. In SB point A is around the statue / column in the west, point B is at the southeast intersection, and C is at the northeast intersection. |
Conquest
| Conquest Mode - Map Layouts | |||
|---|---|---|---|
| Conquest #1 | Conquest #2 | Conquest #3 | Conquest #4 |
|
1.05 km x 1.05 km 1.05 km x 1.05 km 1.05 km x 1.05 km |
1.05 km x 1.05 km 1.05 km x 1.05 km 1.05 km x 1.05 km |
1.05 km x 1.05 km 1.05 km x 1.05 km 1.05 km x 1.05 km |
1.05 km x 1.05 km 1.05 km x 1.05 km 1.05 km x 1.05 km |
|
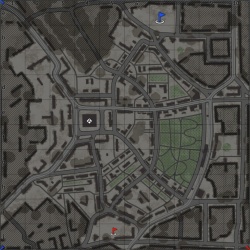
In AB the capture point is around the statue / column in the west. In RB the capture point is around the statue / column in the west. In SB the capture point is around the statue / column in the west. |
In AB the capture point is at the southeast intersection. In RB the capture point is at the southeast intersection. In SB the capture point is at the southeast intersection. |
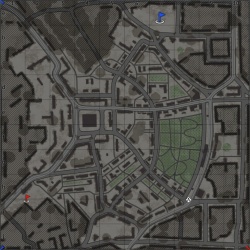
In AB the capture point is at the northeast intersection. In RB the capture point is at the northeast intersection. In SB the capture point is at the northeast intersection. |
In AB the capture point is in the middle of the park in the east of the map. In RB the capture point is in the middle of the park in the east of the map. In SB the capture point is in the middle of the park in the east of the map. |
Battle
| Battle Mode - Map Layouts |
|---|
|
1.05 km x 1.05 km 1.05 km x 1.05 km 1.05 km x 1.05 km |
|
In AB the capture points are located at the northeast and southeast intersections. In RB the capture points are located at the northeast and southeast intersections. In SB the capture points are located at the northeast and southeast intersections. |
Strategy
The map with its dense urban environment is unfriendly for tank destroyer players, giving them only two options:
- Camping behind strategic corners for long duration of time
- Attempting to advance along the wide and long streets on the far right side of the map and toward the central statue square
Tank destroyers should otherwise always advance in company of medium or heavy tanks, as they can be easily flanked in this map.
The map is a great battlefield for fast, light tanks that can outflank the enemy. Heavy tanks should similarly as tank destroyers beware of being flanked, traveling in groups and using street corners to their advantage.
Airplanes, especially bombers, will have a difficult time in the map against ground targets. The best opportunity for bombers to score hits is when the enemy is capturing a point or when allies designate their location on the mini-map. Flying low to spot enemies is also an option but very dangerous.
The design of the map makes it harder for the team starting in the bottom (south) spawn points.
Media
References


